

TNYotehntr
Active member
I thought I’d write a tutorial, or at least the history of how I started making my own tone boards. That way folks that would like to give call making a try would have a hint of which way to go.
I asked a call maker (sorry I don’t have his permission to use his name) for tips on tone board construction; his reply was you need to use a jig. You want your tone boards sound to be “your sound” that way if someone hears one of your calls and wants “your sound” and buys one of your calls that’s what they’ll get. That made perfect sense to me. The thing he and I didn’t realize is that I’d never seen a tone board jig (you can google tone board jig to see one) in my thinking I wanted a radius jig. At work I did electrical drawings so I got on Auto Cad and figured out the length I wanted my tone boards, decided the high spot and the low spot and did a 3 point circle the 3rd point being one that would maximize the arc of the ramp. After the drawings I went out to the garage and made a radius jig that lasted for years and years. You can figure out what you want your radius to be. ( I use a rotary table on a mill these days it’s much more consistent). That said if you have a call from my 1st 10 or so years of call making this is what your tone board was cut on. I made hundreds and hundreds on this jig. I would take my dowel drill it on the lathe for my air channel. Then cut it on the jig.
Making the jig:
1st I took a 2” x 4” and cut it to 6” or 7” inches in length. Drilled a 5/8” hole as deep as I wanted my tone boards to be in length (so the dowel to be a tone board would drop all the way in) 2 inch long tone board 2” deep hole. Location of the hole has to match where you want the radius to hit. Then after drilling I put it on a table saw and slotted it. (see pic’s below) .
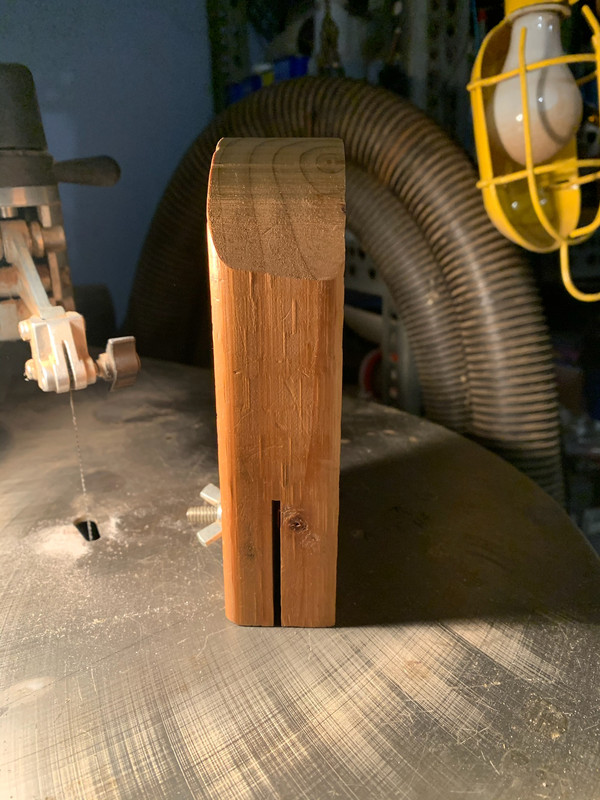
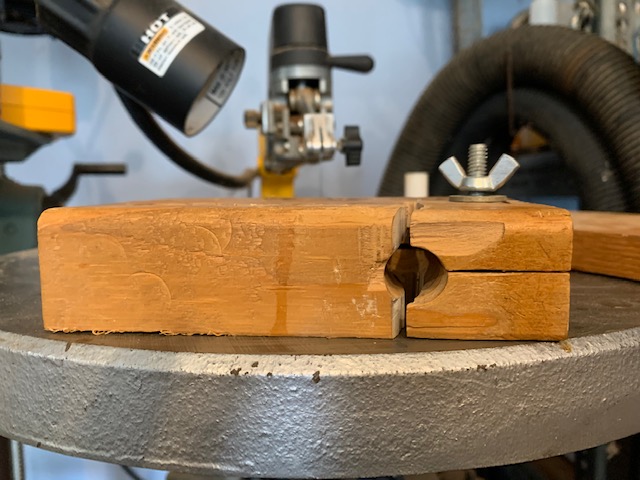
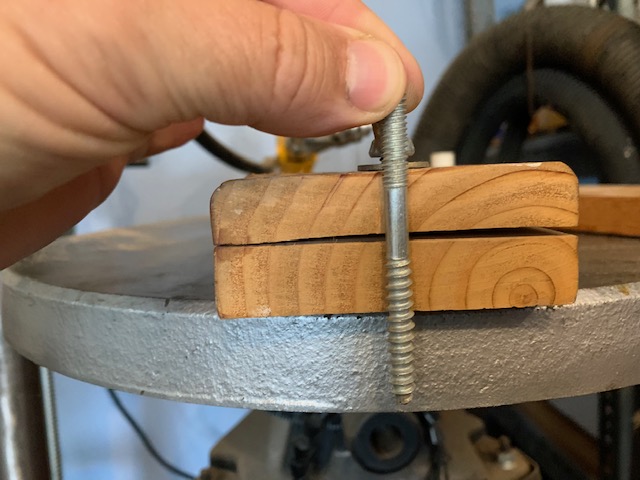
I wanted to keep the dowel from spinning while I cut it (yes that happened) so I put a screw in that’s wood screw on one side and machine screw on the other. I put a wing nut on and after inserting the dowel I tighten the wing nut. I had to cut the bolt to length, and pre drill the hole for the machine side so it will slide down and tighten the jig.
I had to have a base with a stud to pivot on and allow the blade through. (the additional slots were for different experimental lengths. I would c-clamp to the jig saw to cut.
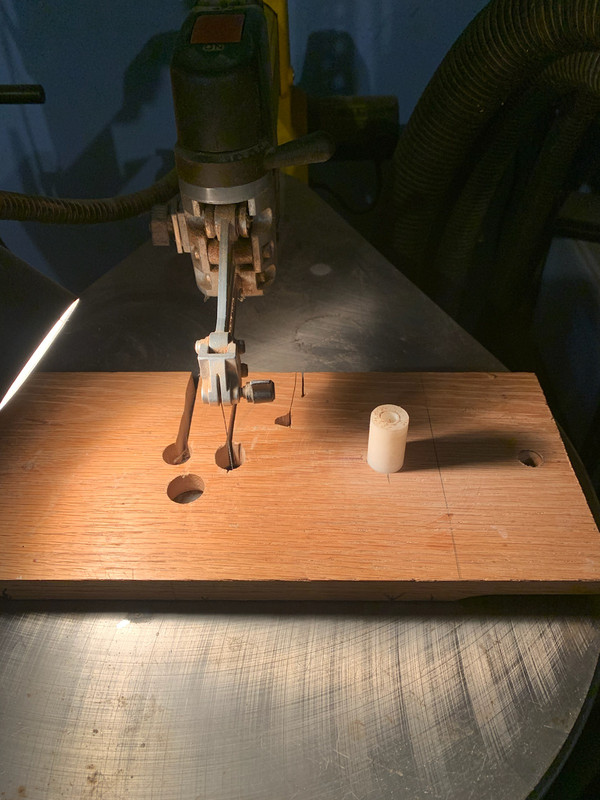
So when I put my dowel in I start the jig saw and cut my radius. Jig saws aren’t perfect so I had the occasional screw up. (Jig saw would run off on a tangent.
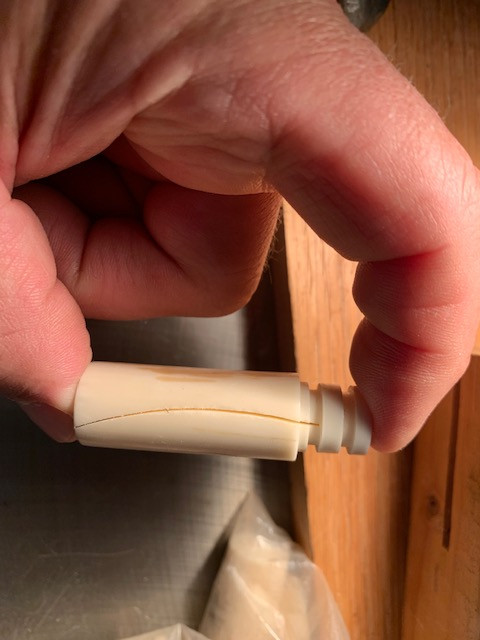
When I’d pull the tone board out I had to cut off the waste and there’s my tone board. This was a hippo ivory toneboard to be… it ran off on this one.
I asked a call maker (sorry I don’t have his permission to use his name) for tips on tone board construction; his reply was you need to use a jig. You want your tone boards sound to be “your sound” that way if someone hears one of your calls and wants “your sound” and buys one of your calls that’s what they’ll get. That made perfect sense to me. The thing he and I didn’t realize is that I’d never seen a tone board jig (you can google tone board jig to see one) in my thinking I wanted a radius jig. At work I did electrical drawings so I got on Auto Cad and figured out the length I wanted my tone boards, decided the high spot and the low spot and did a 3 point circle the 3rd point being one that would maximize the arc of the ramp. After the drawings I went out to the garage and made a radius jig that lasted for years and years. You can figure out what you want your radius to be. ( I use a rotary table on a mill these days it’s much more consistent). That said if you have a call from my 1st 10 or so years of call making this is what your tone board was cut on. I made hundreds and hundreds on this jig. I would take my dowel drill it on the lathe for my air channel. Then cut it on the jig.
Making the jig:
1st I took a 2” x 4” and cut it to 6” or 7” inches in length. Drilled a 5/8” hole as deep as I wanted my tone boards to be in length (so the dowel to be a tone board would drop all the way in) 2 inch long tone board 2” deep hole. Location of the hole has to match where you want the radius to hit. Then after drilling I put it on a table saw and slotted it. (see pic’s below) .
I wanted to keep the dowel from spinning while I cut it (yes that happened) so I put a screw in that’s wood screw on one side and machine screw on the other. I put a wing nut on and after inserting the dowel I tighten the wing nut. I had to cut the bolt to length, and pre drill the hole for the machine side so it will slide down and tighten the jig.
I had to have a base with a stud to pivot on and allow the blade through. (the additional slots were for different experimental lengths. I would c-clamp to the jig saw to cut.
So when I put my dowel in I start the jig saw and cut my radius. Jig saws aren’t perfect so I had the occasional screw up. (Jig saw would run off on a tangent.
When I’d pull the tone board out I had to cut off the waste and there’s my tone board. This was a hippo ivory toneboard to be… it ran off on this one.