New Rifle Build with PICTURES!

1ASSASSIN

New member
Hi guys!

I thought I would post a couple of pictures of a new rifle build ands hope you like them...

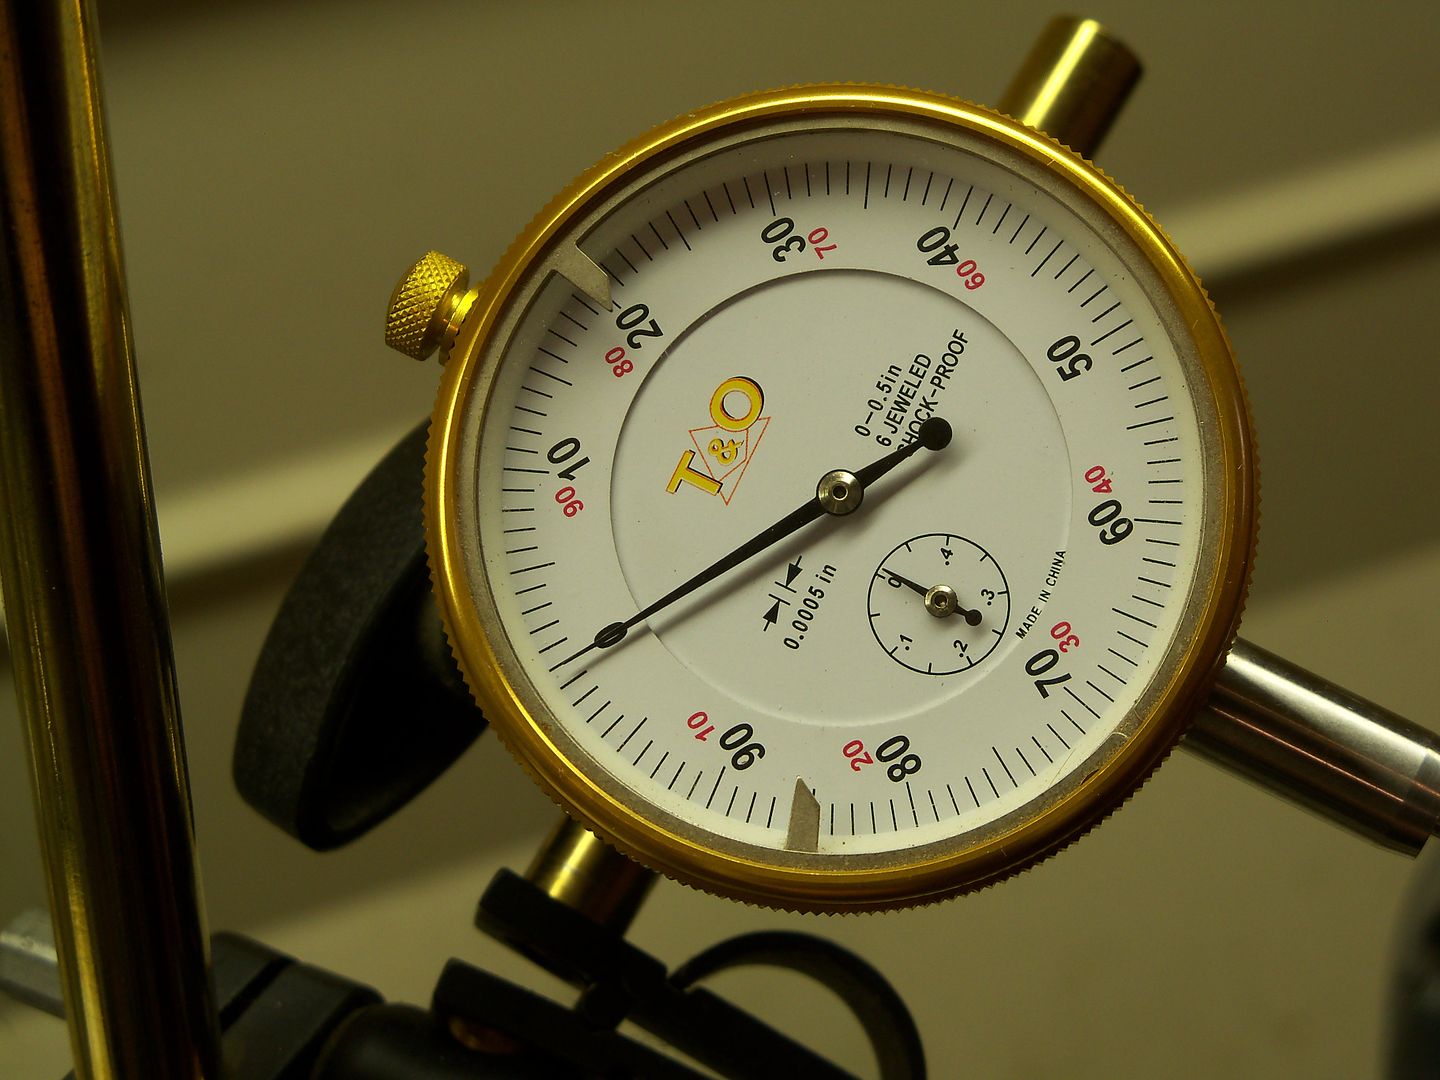
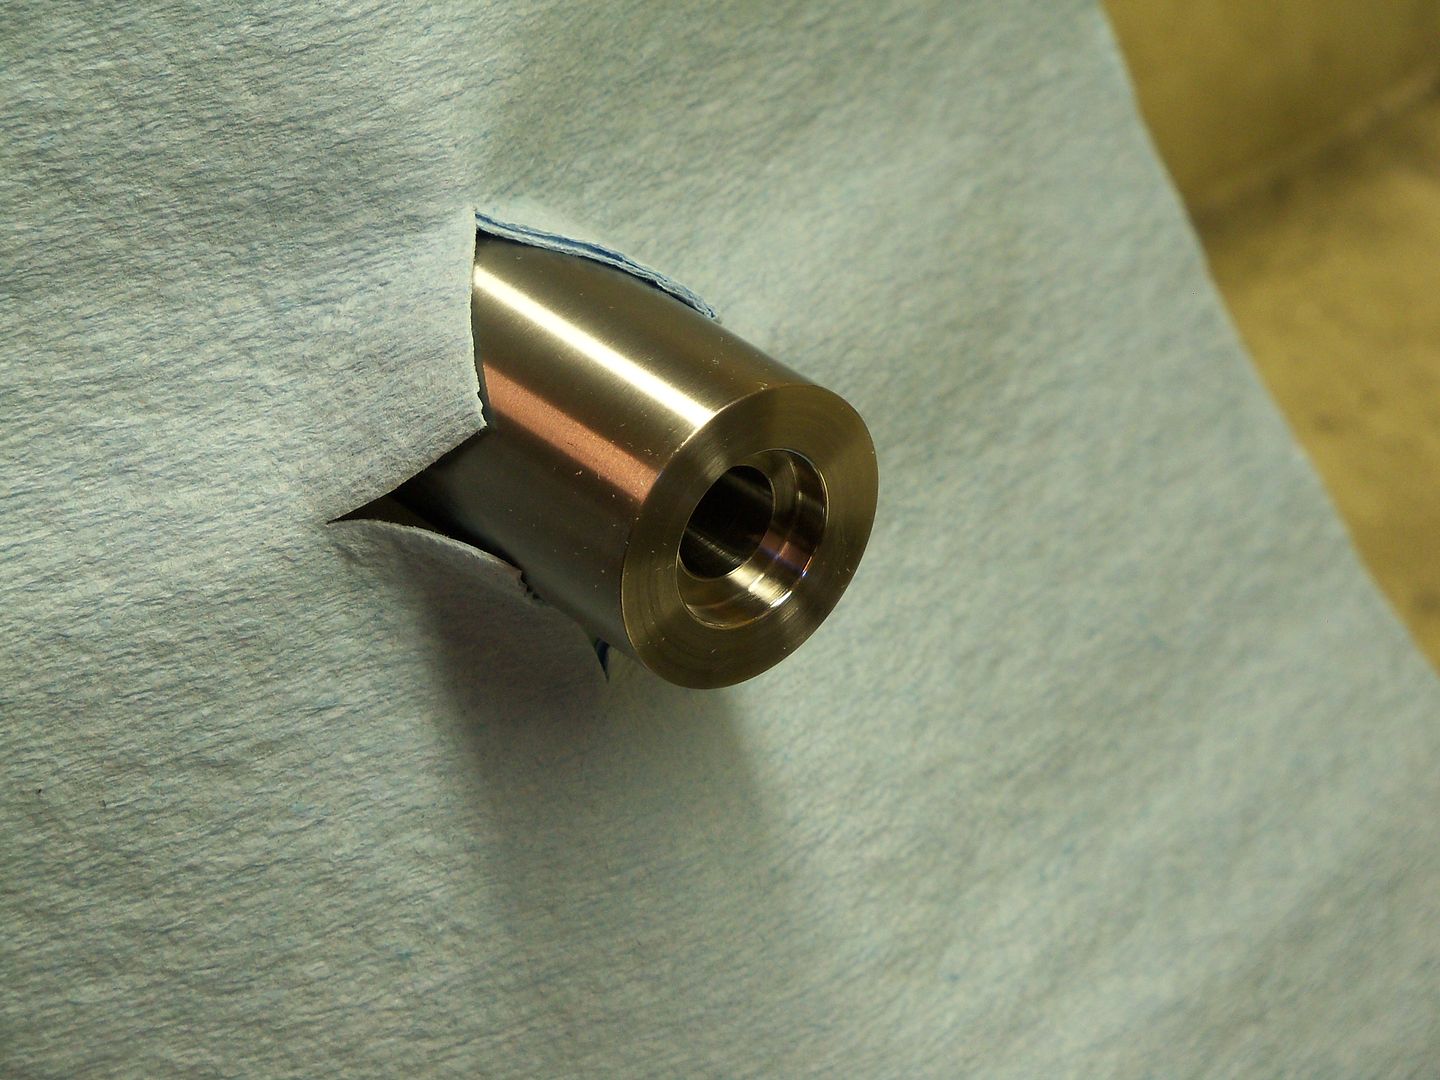
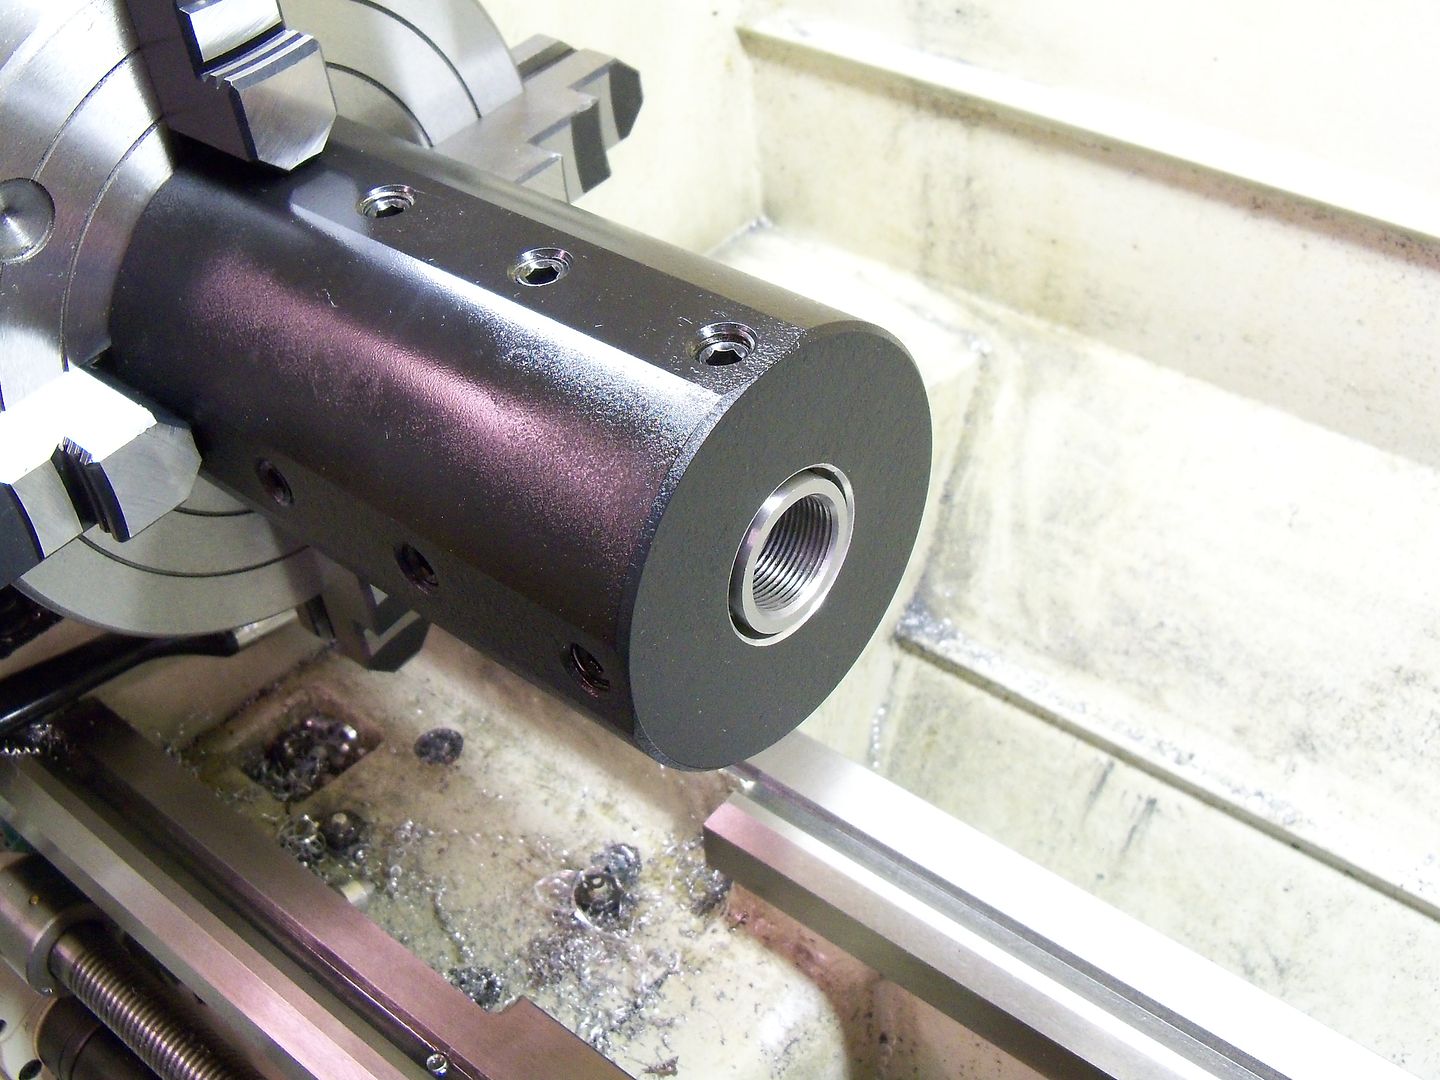
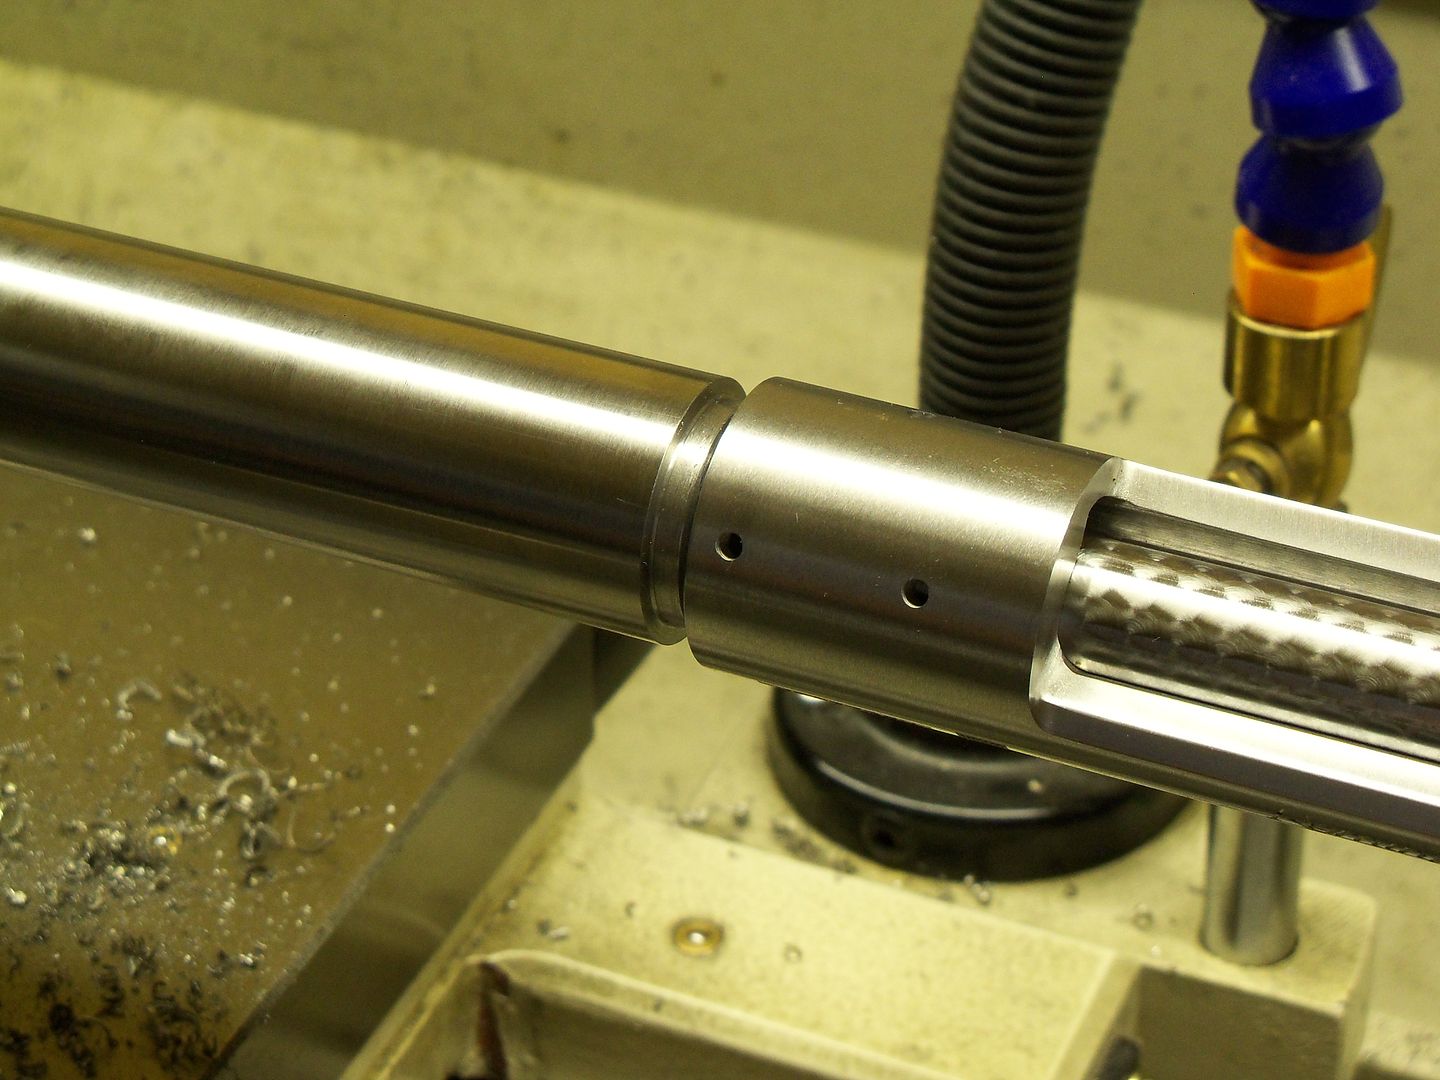
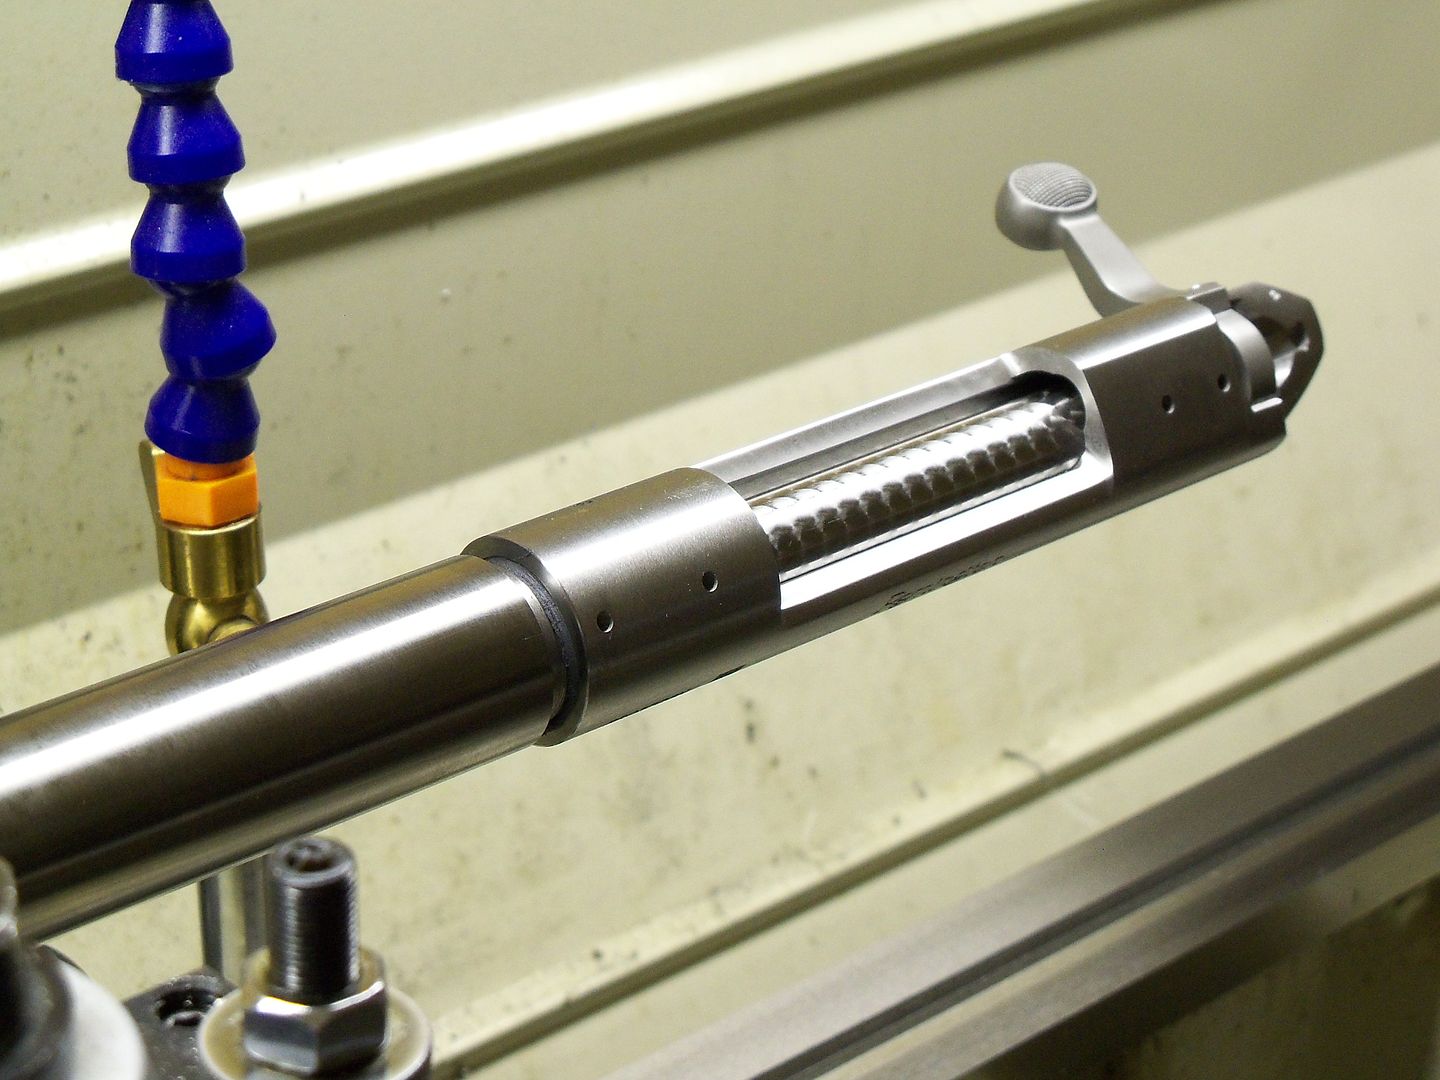
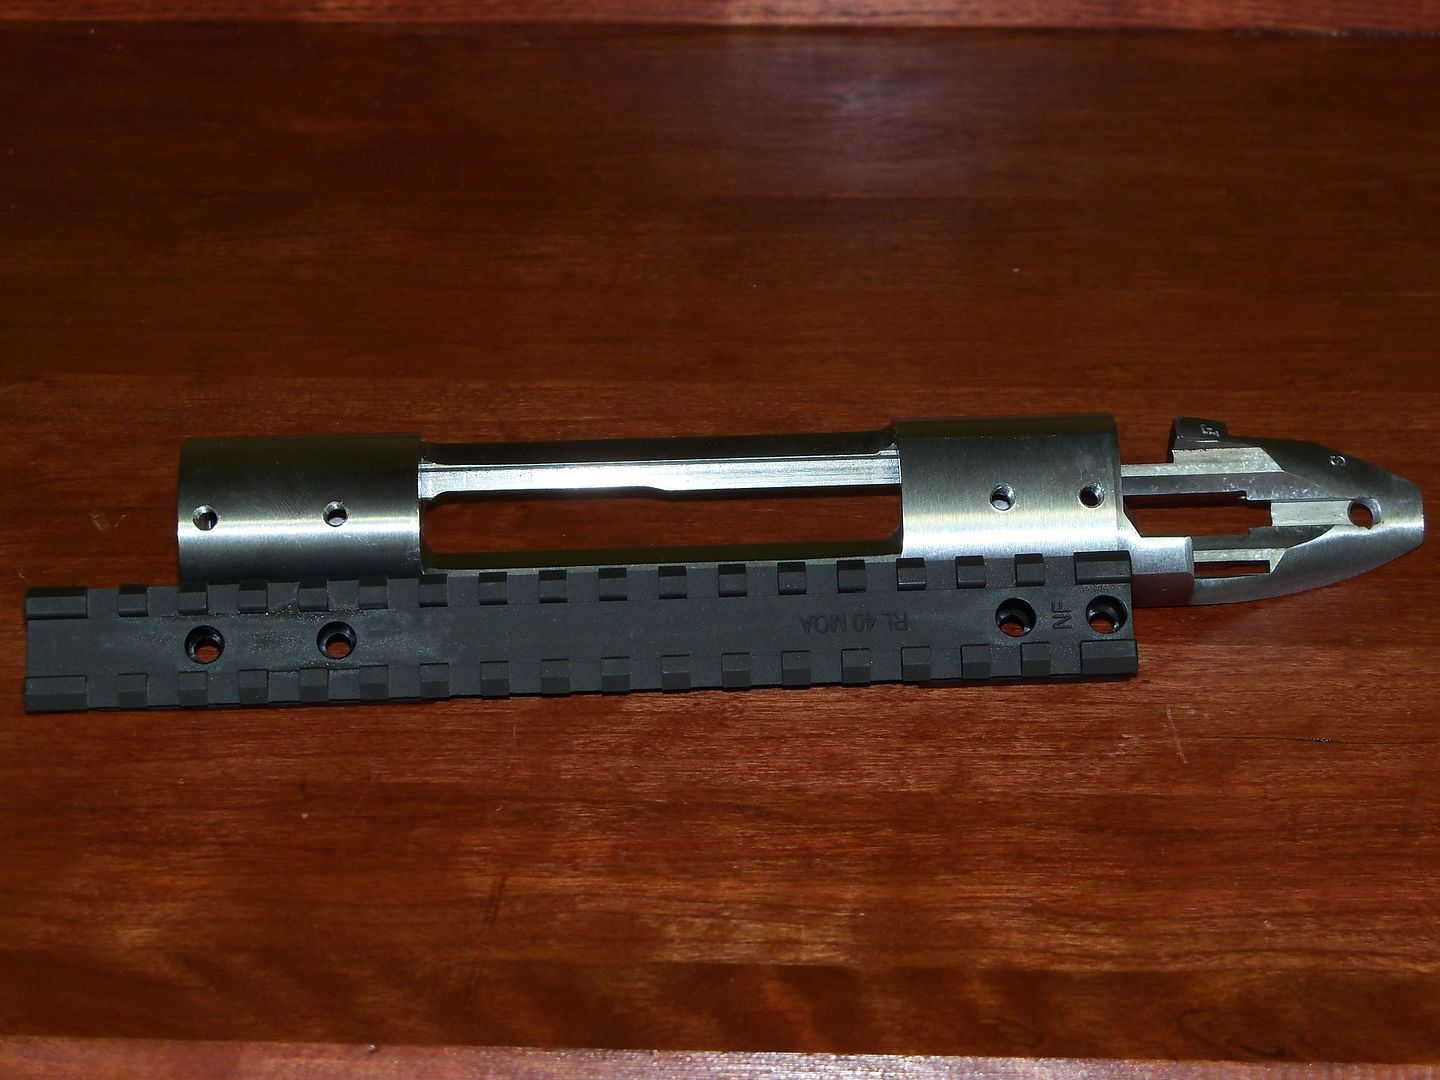
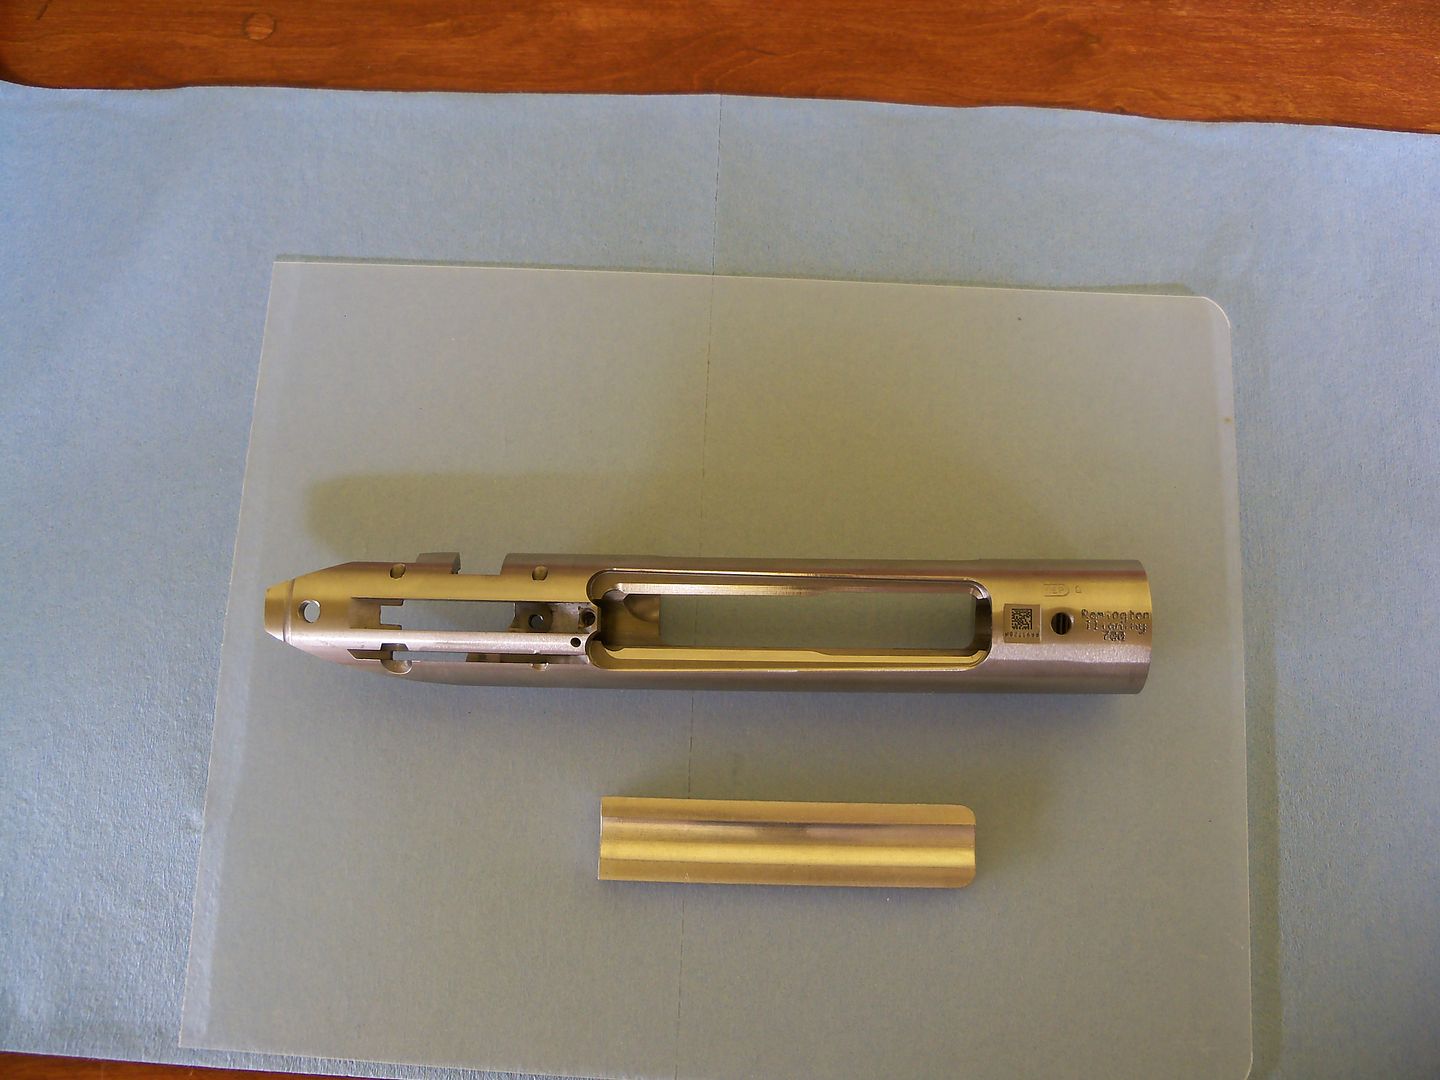
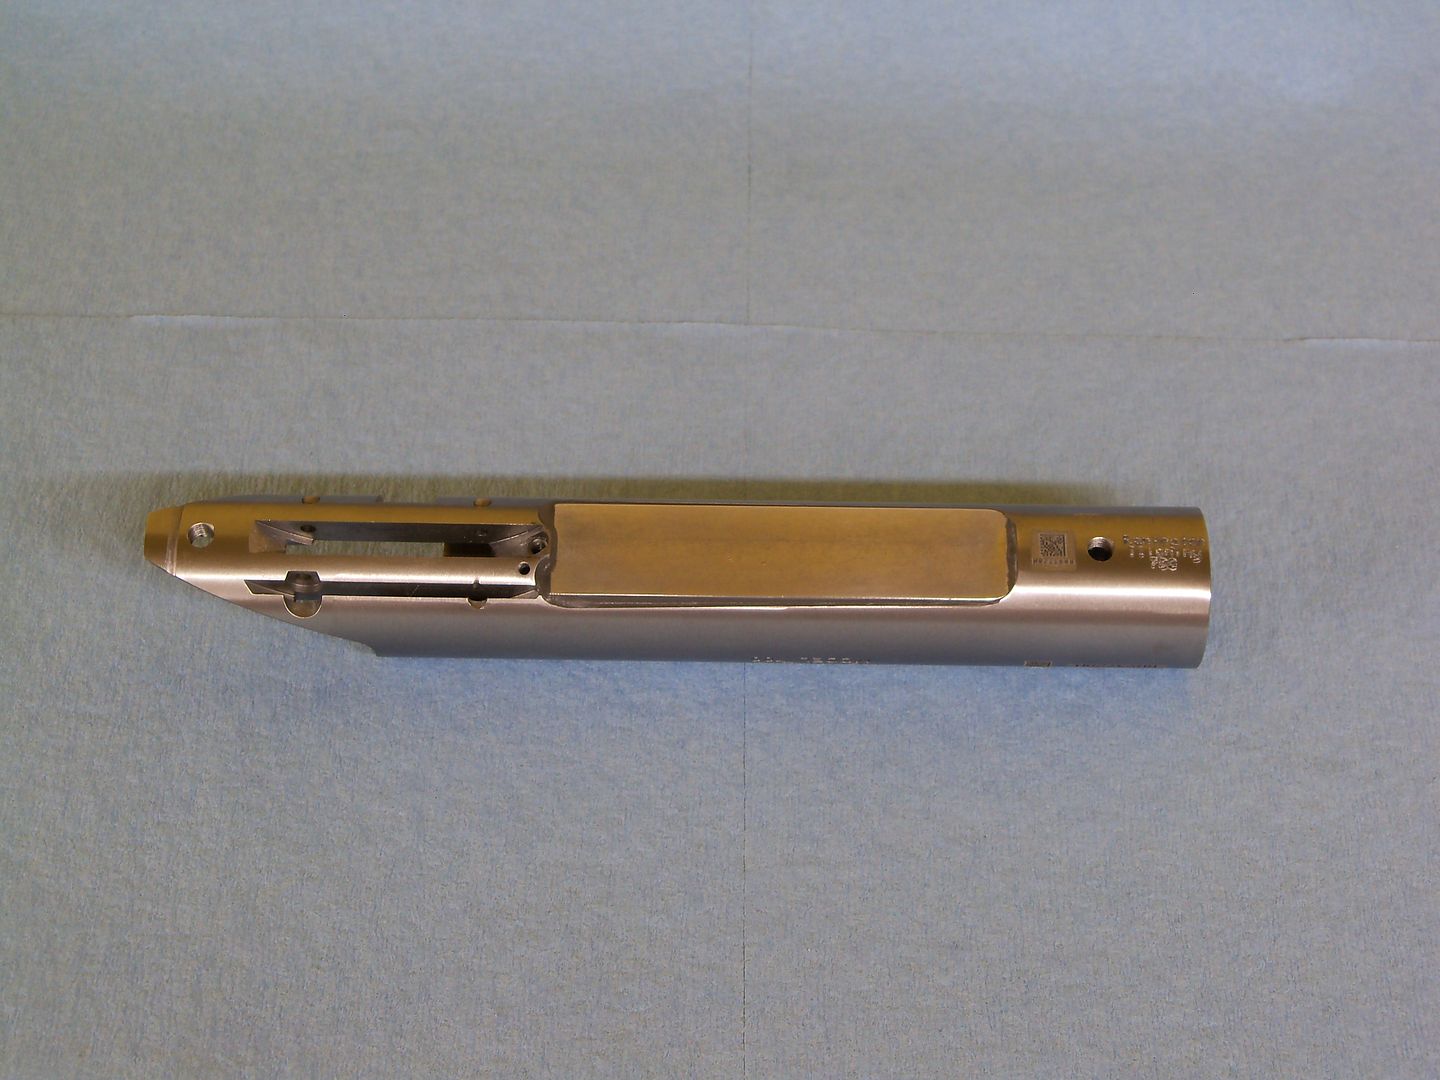
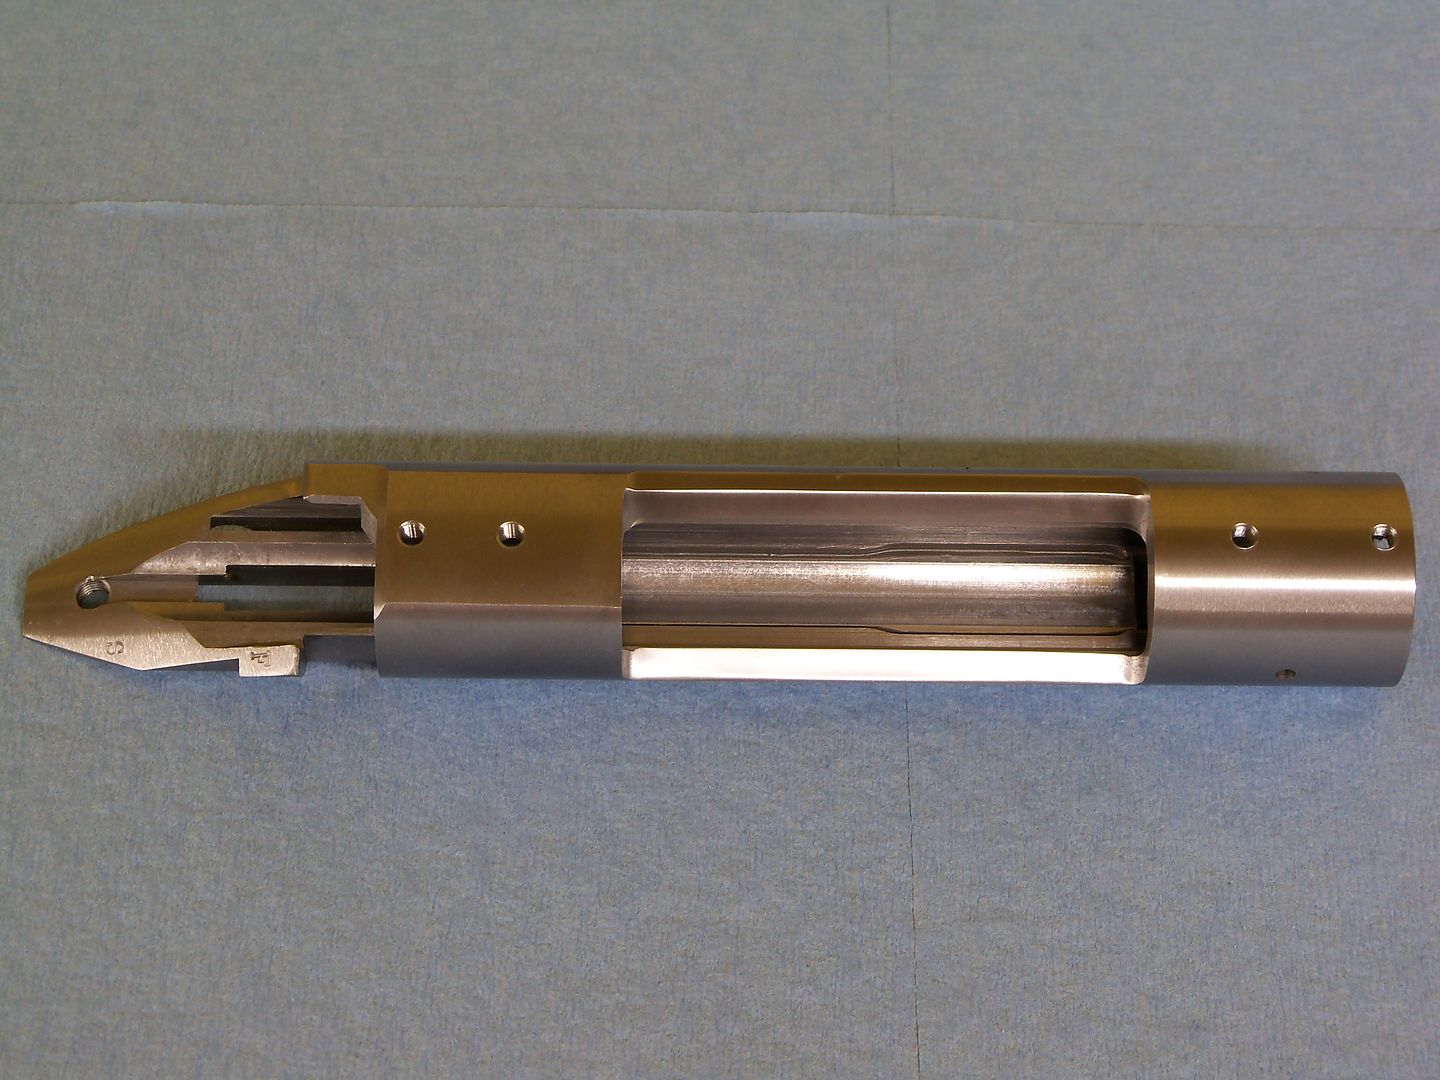
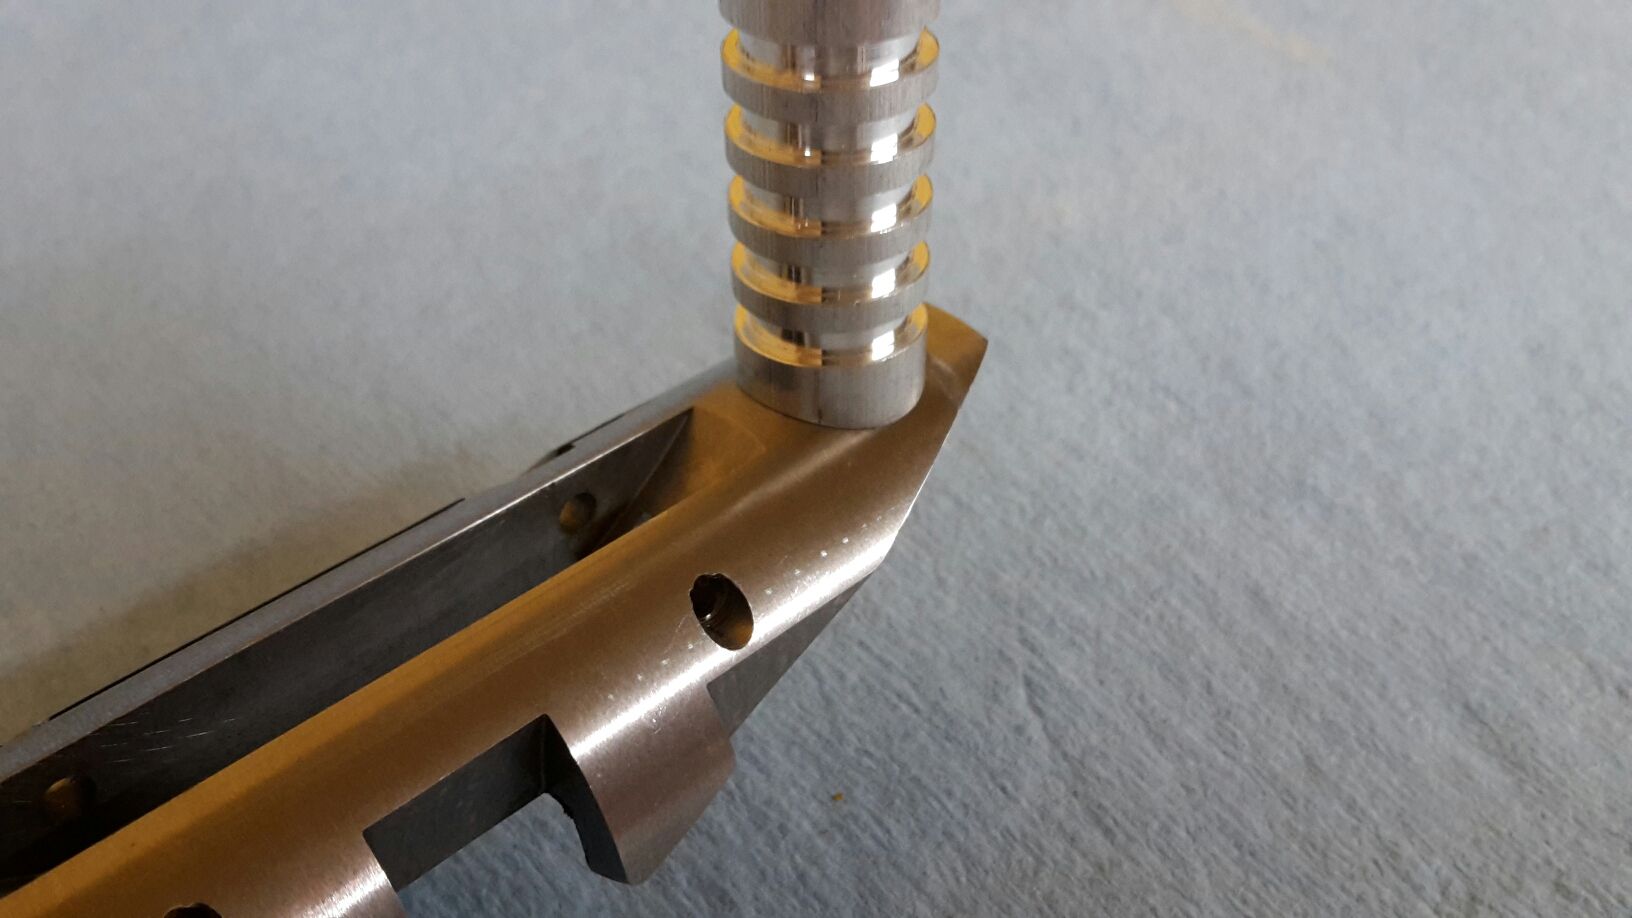
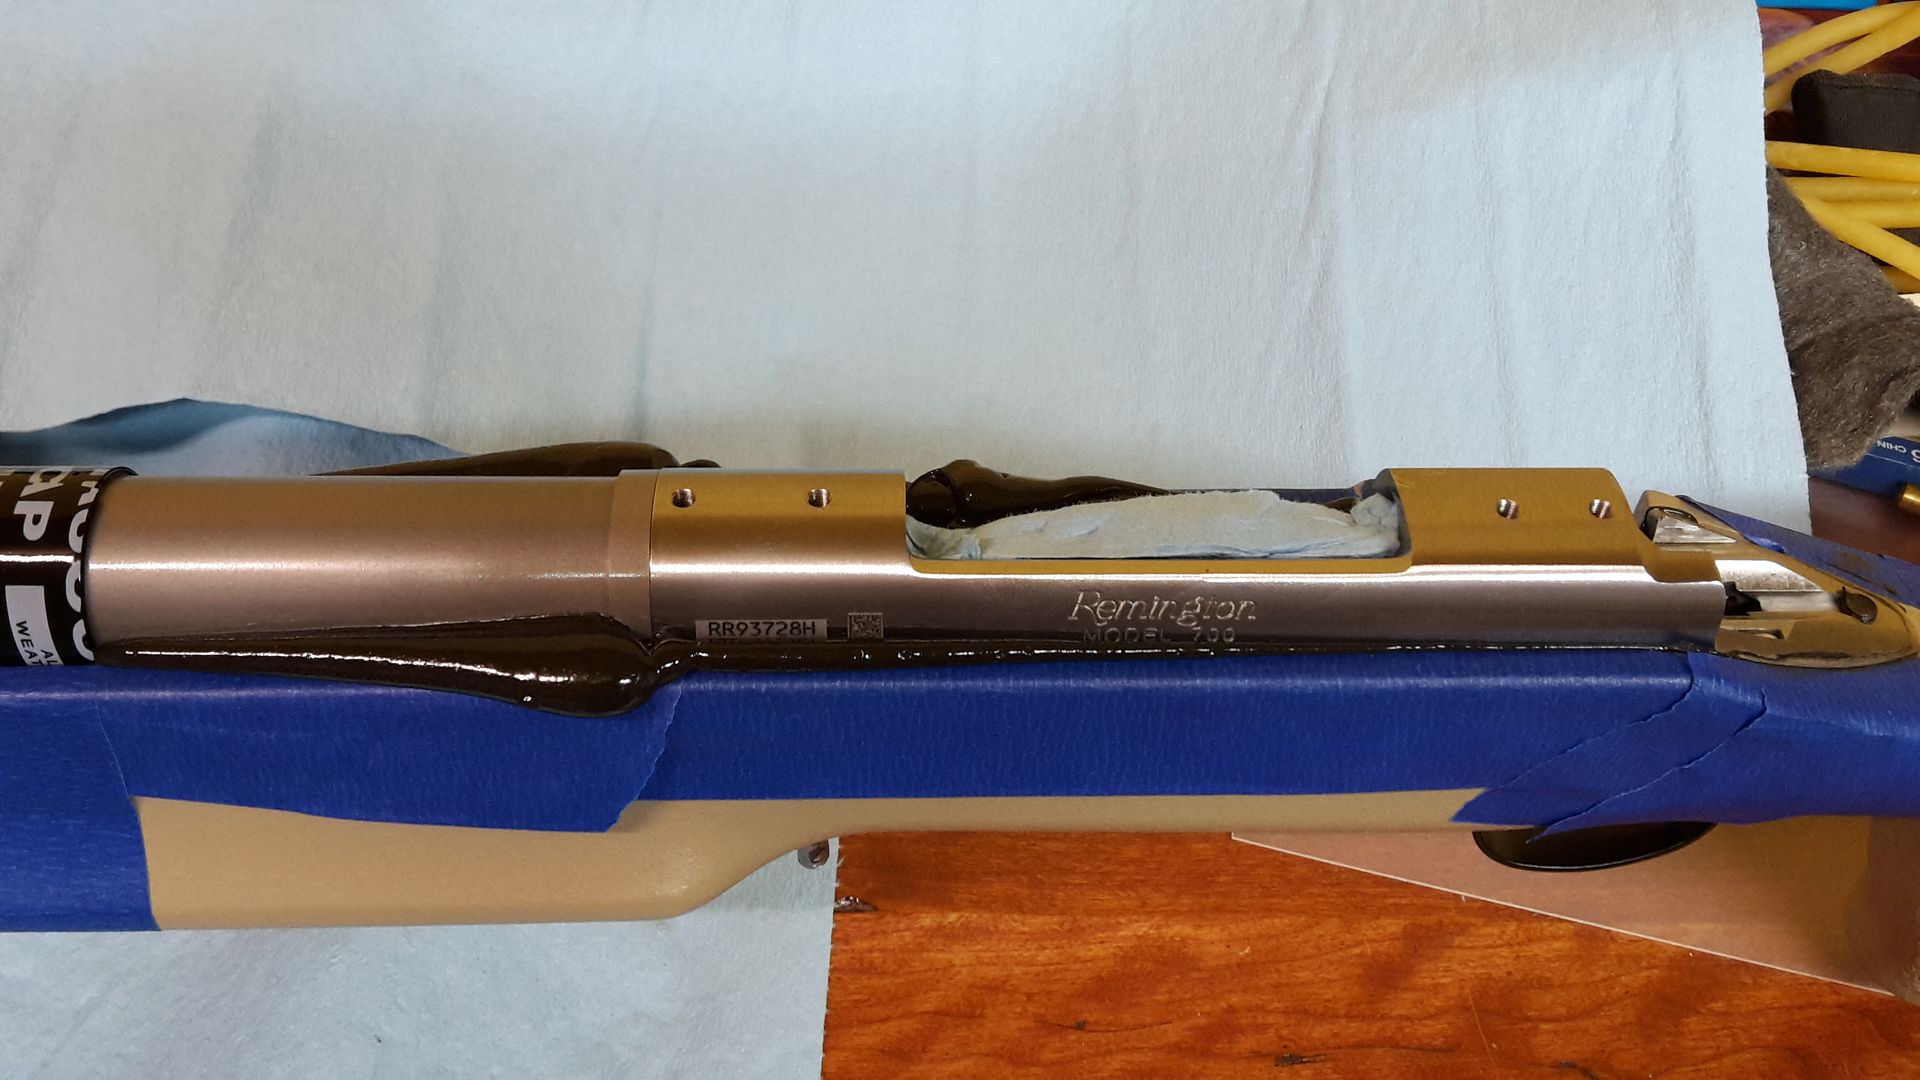
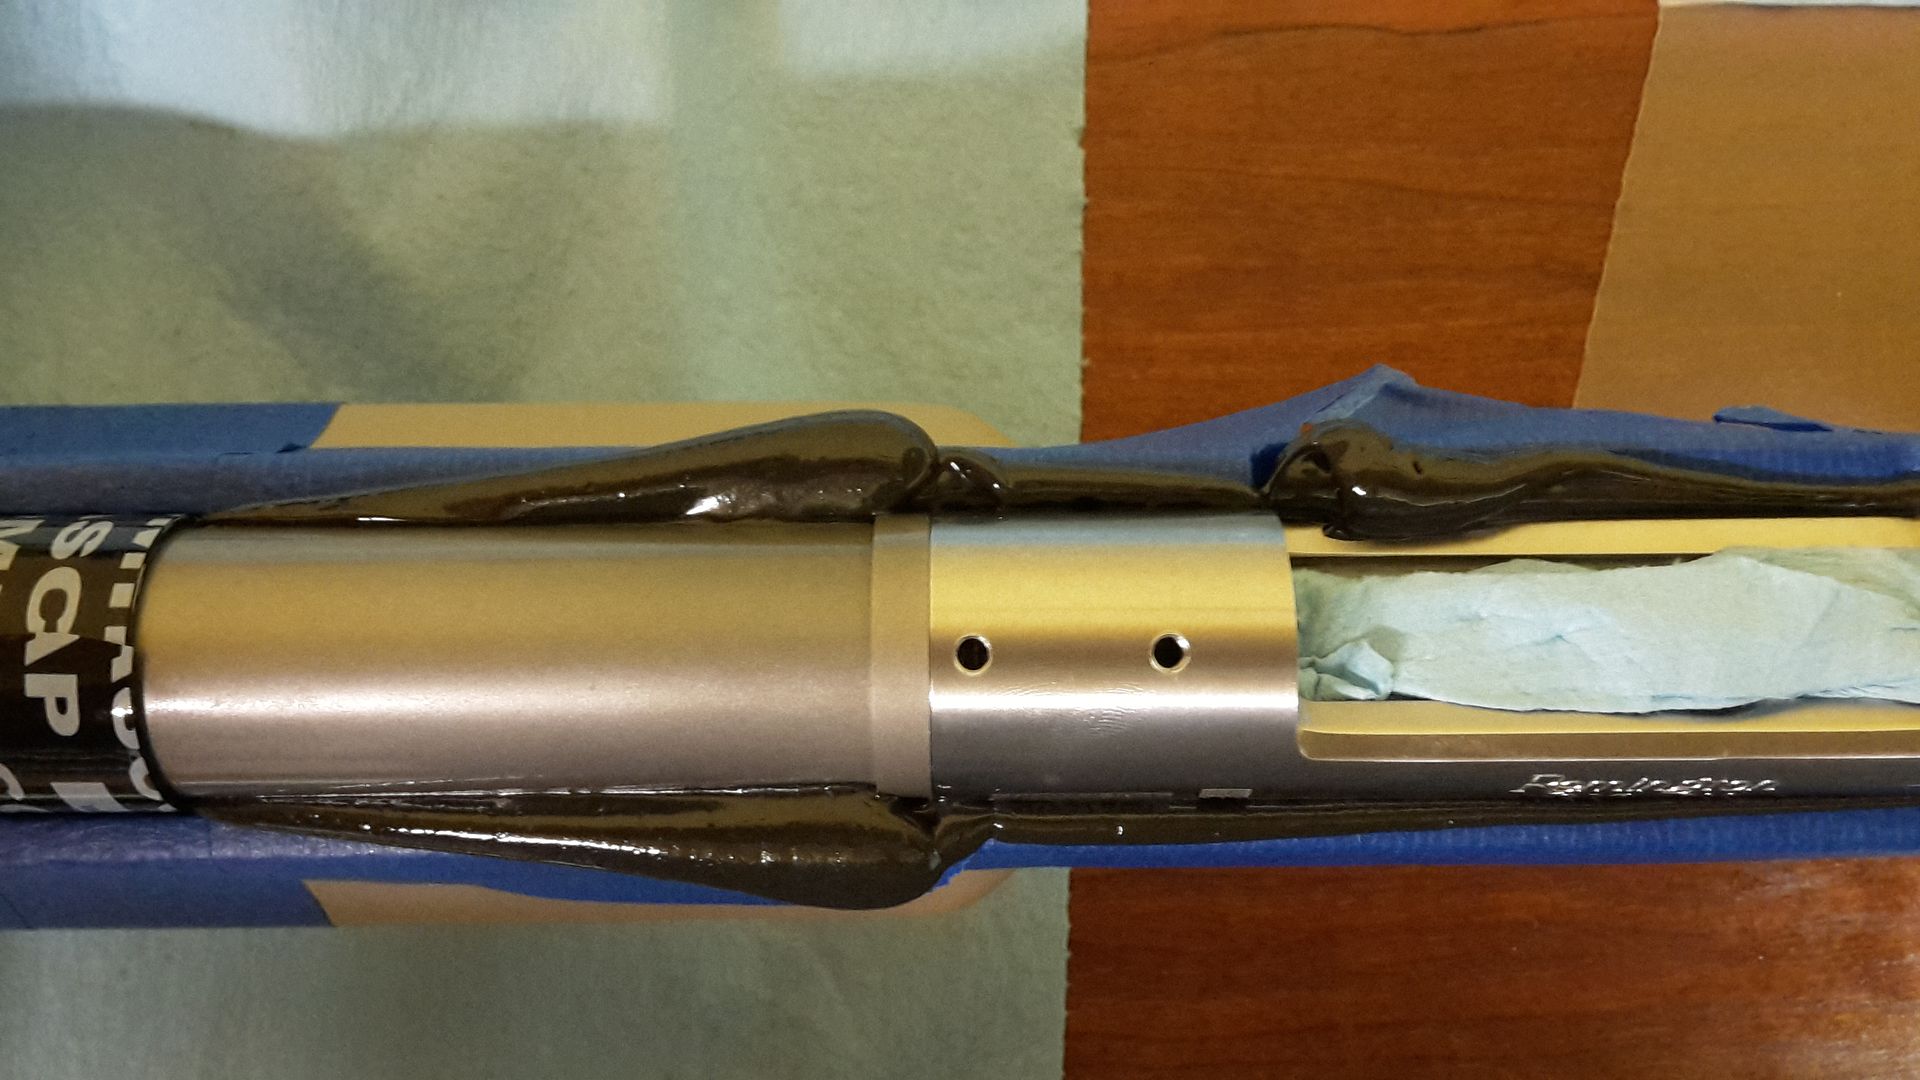
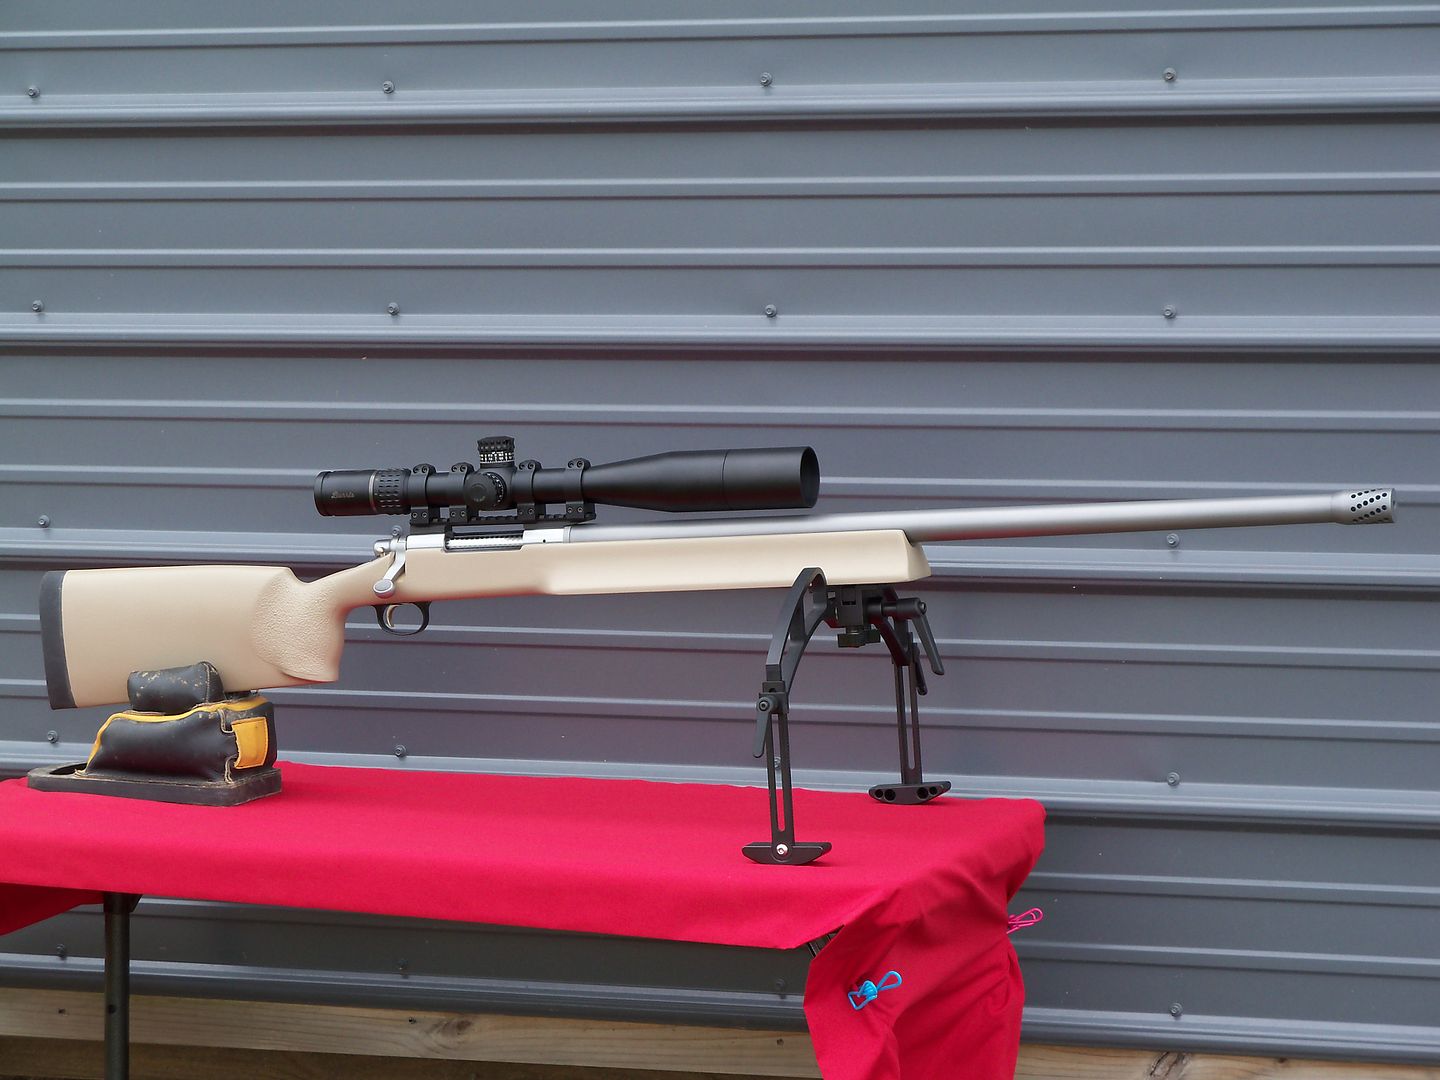
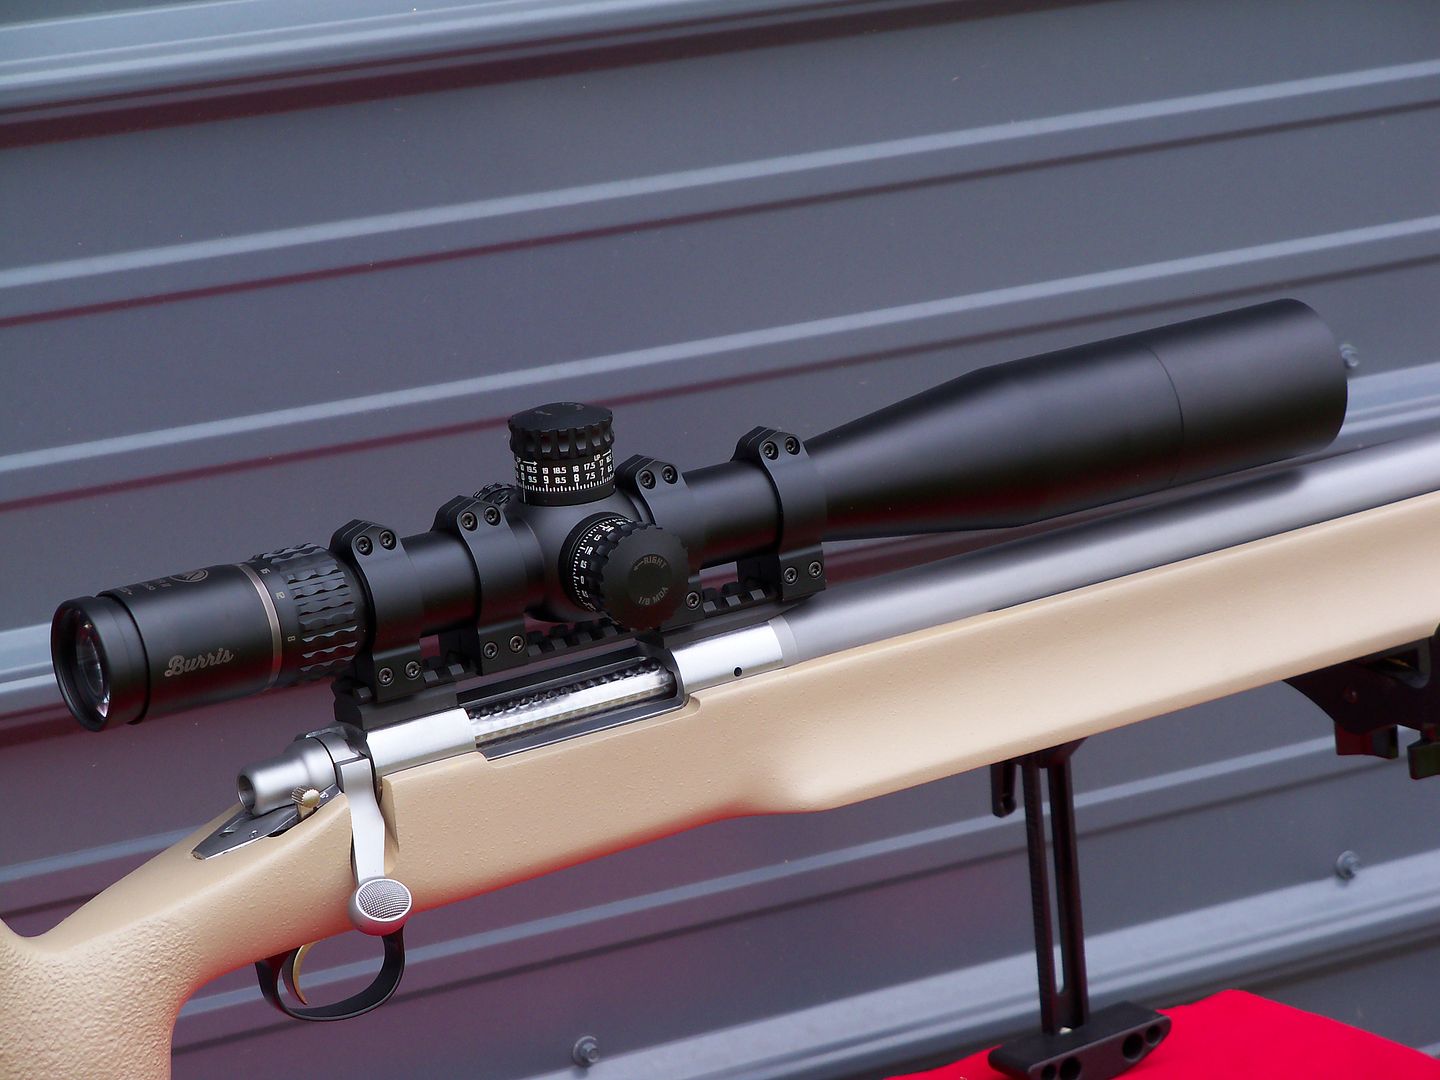
The action on this build is a brand new Remington 700 long action that will be set up as a single shot and will be blue-printed to match specifications...

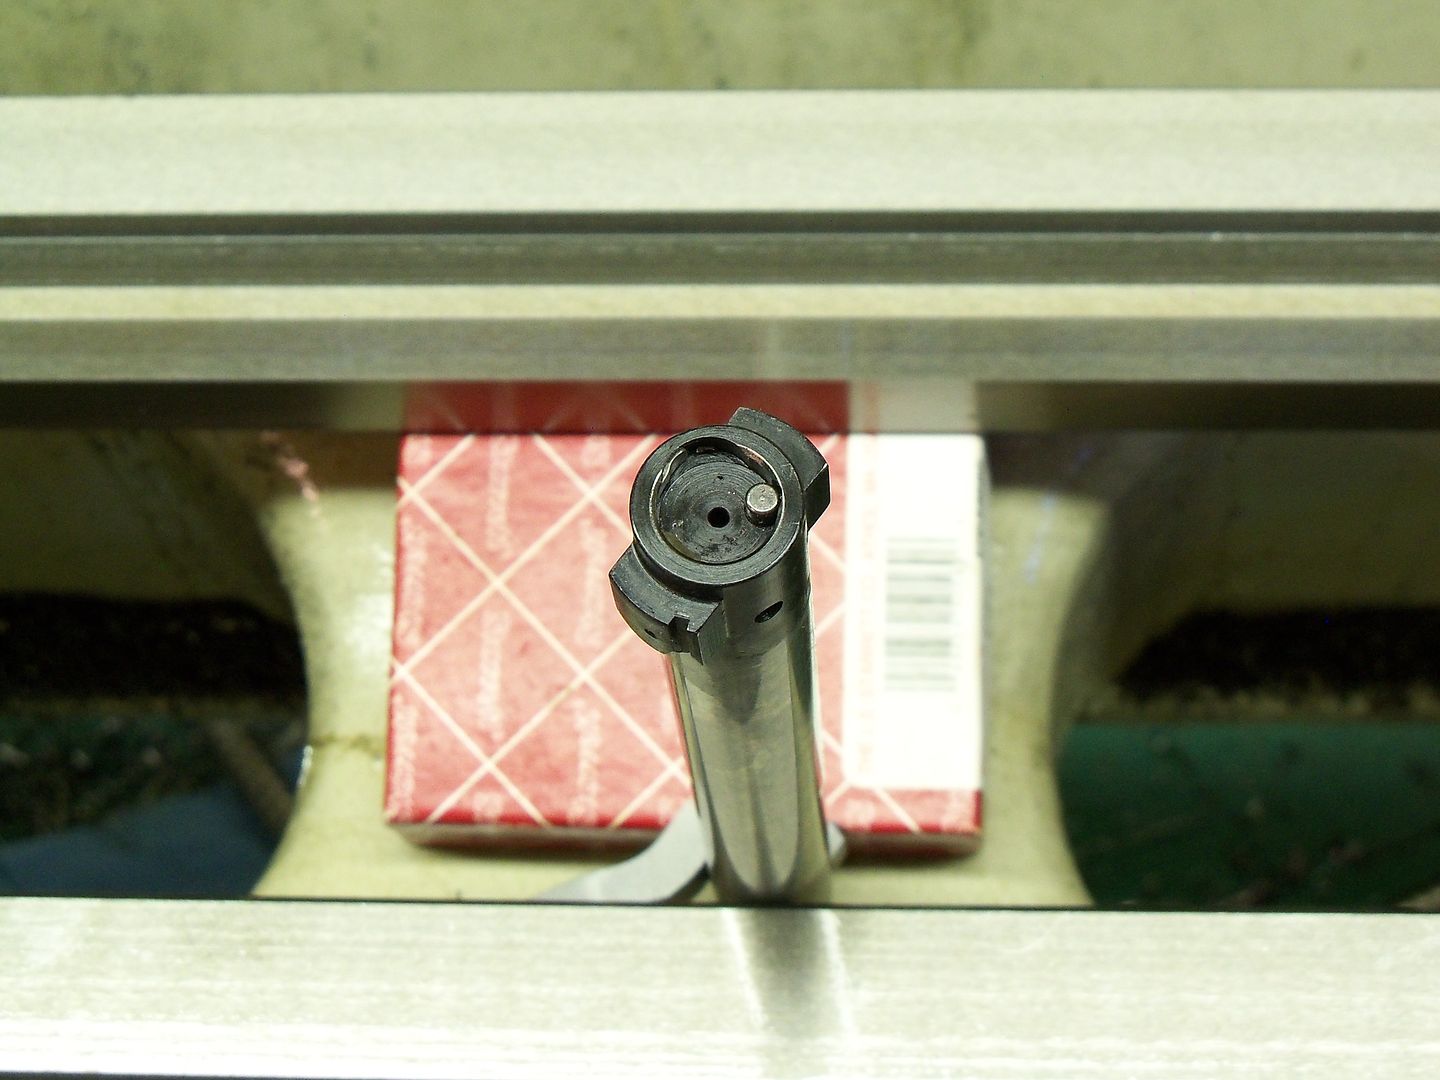
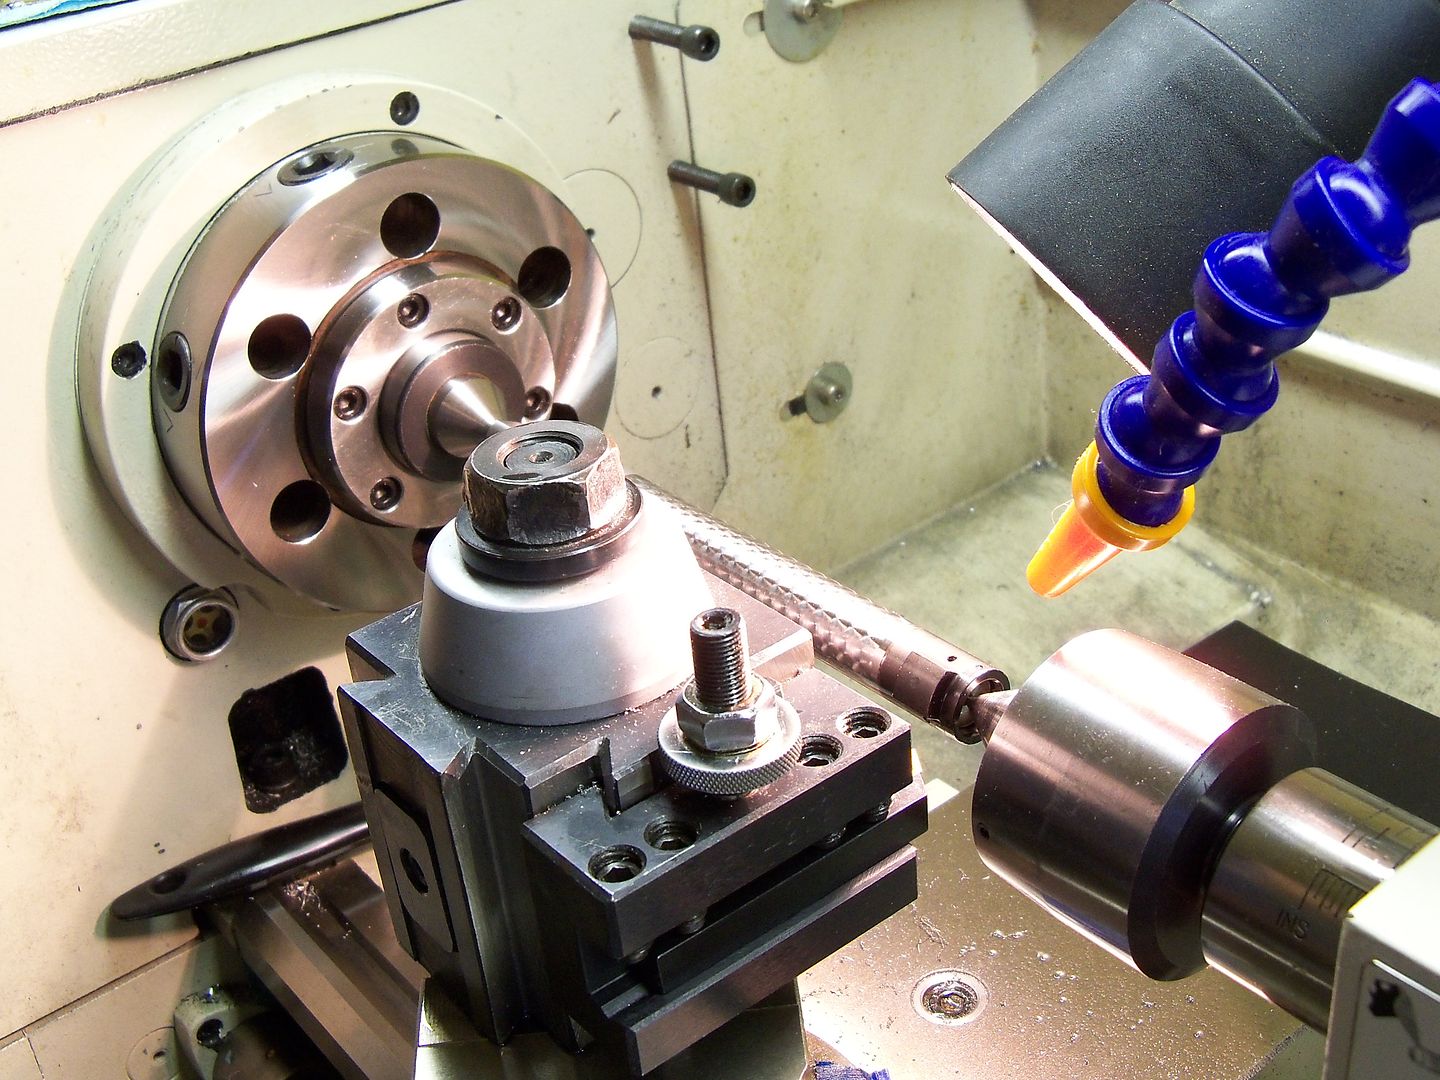
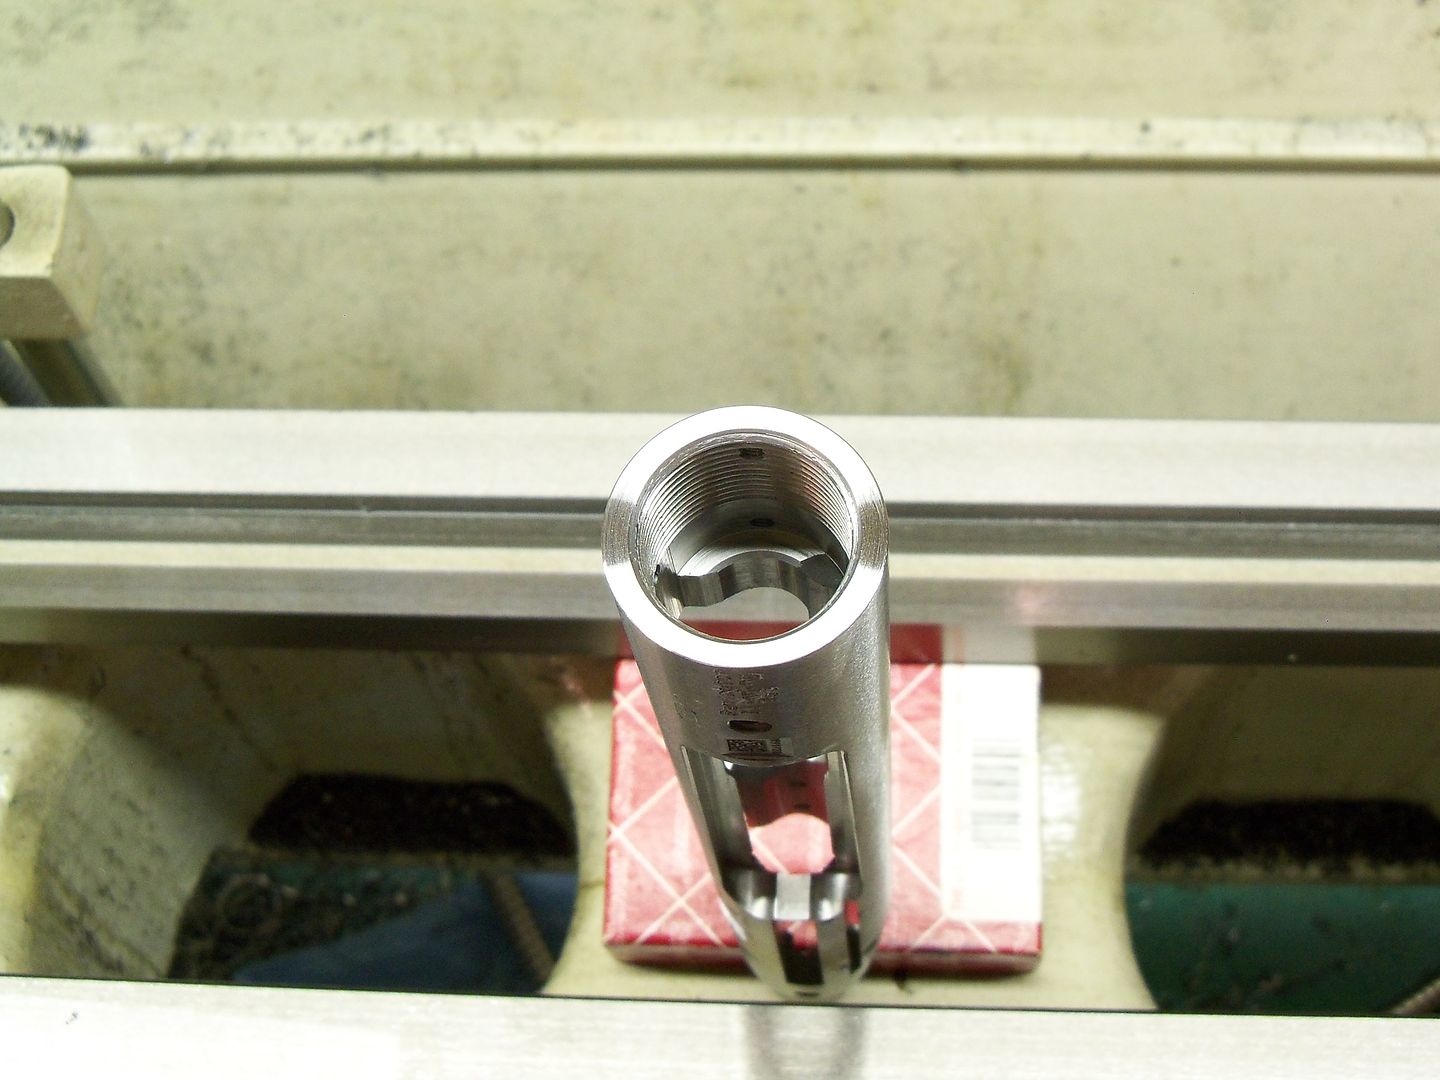
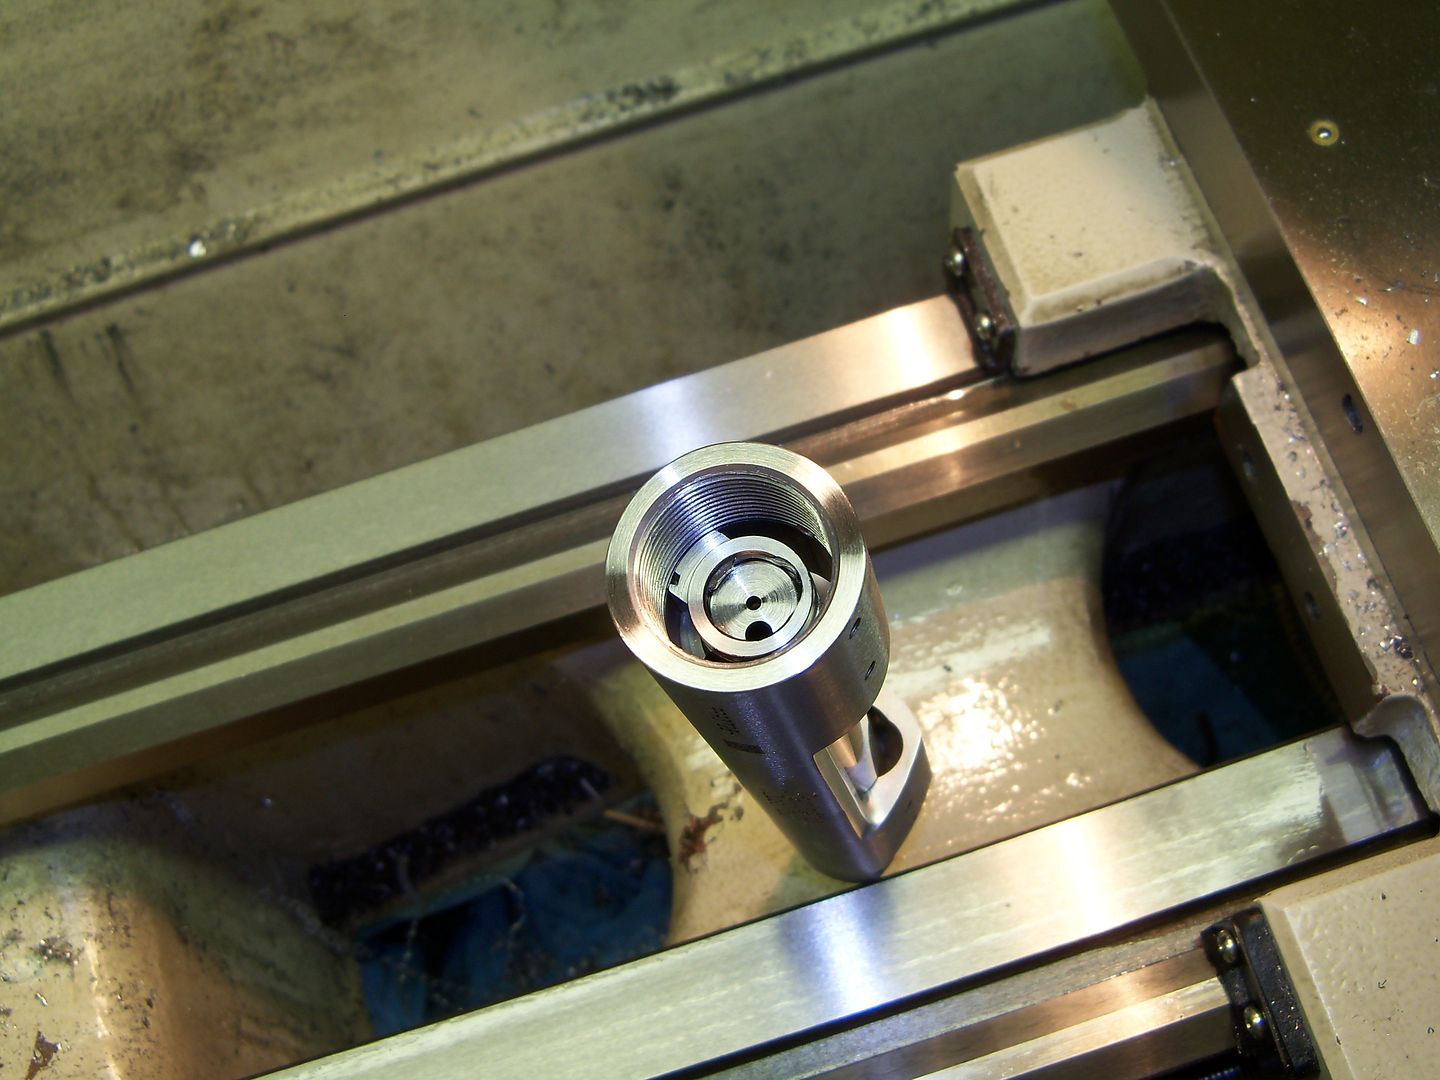
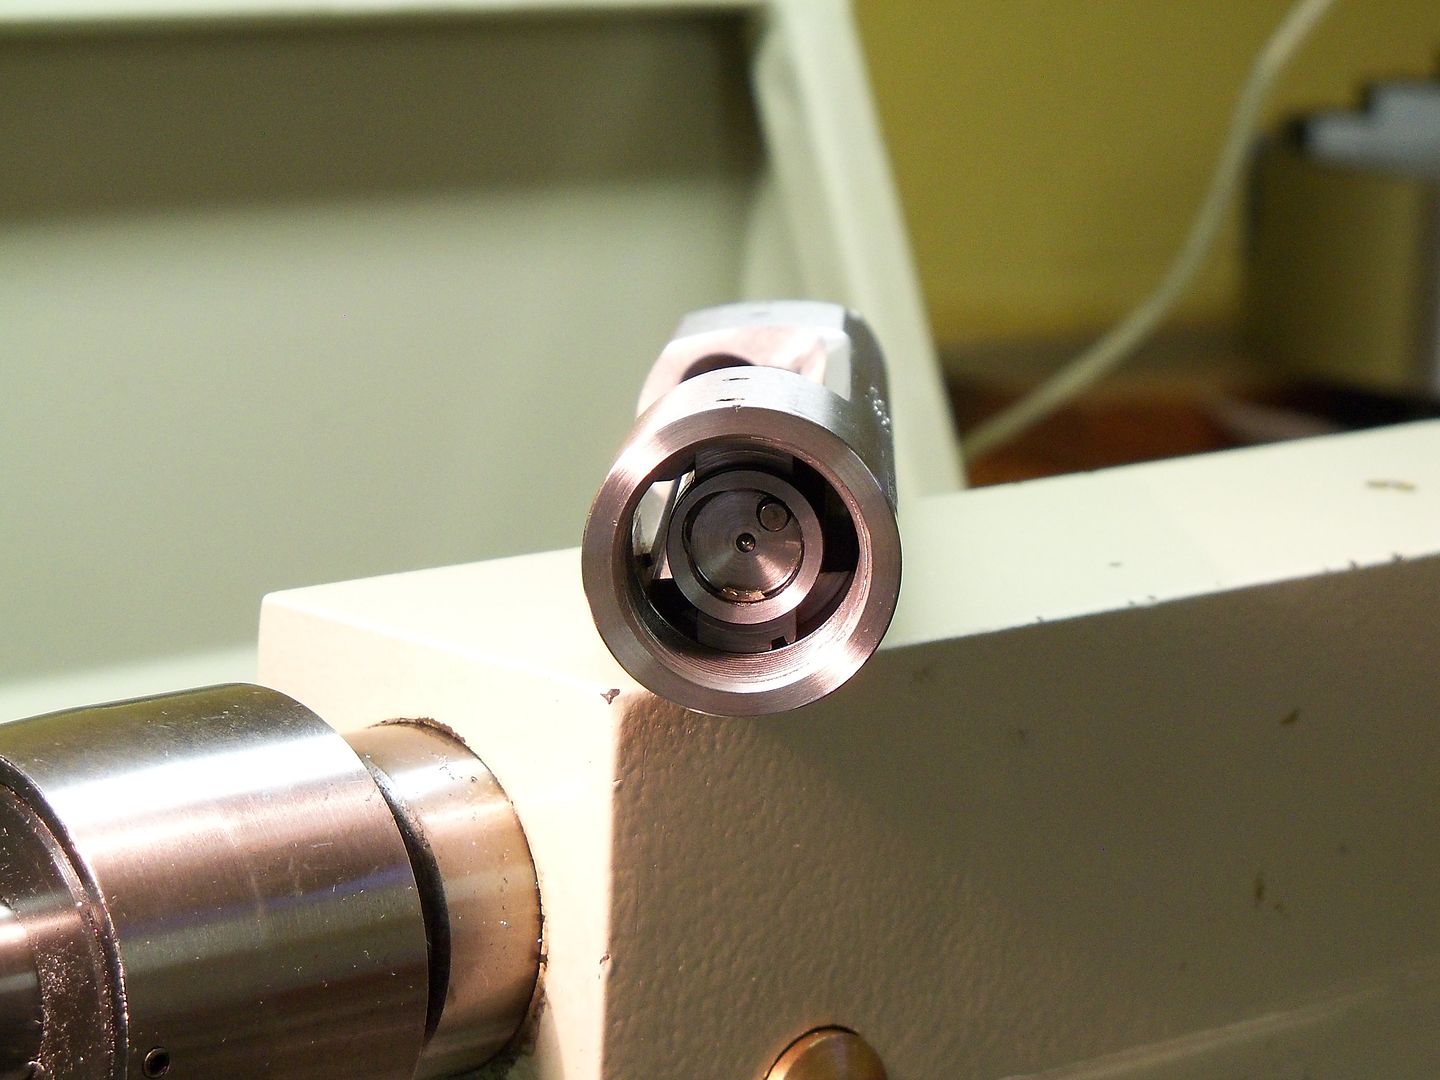
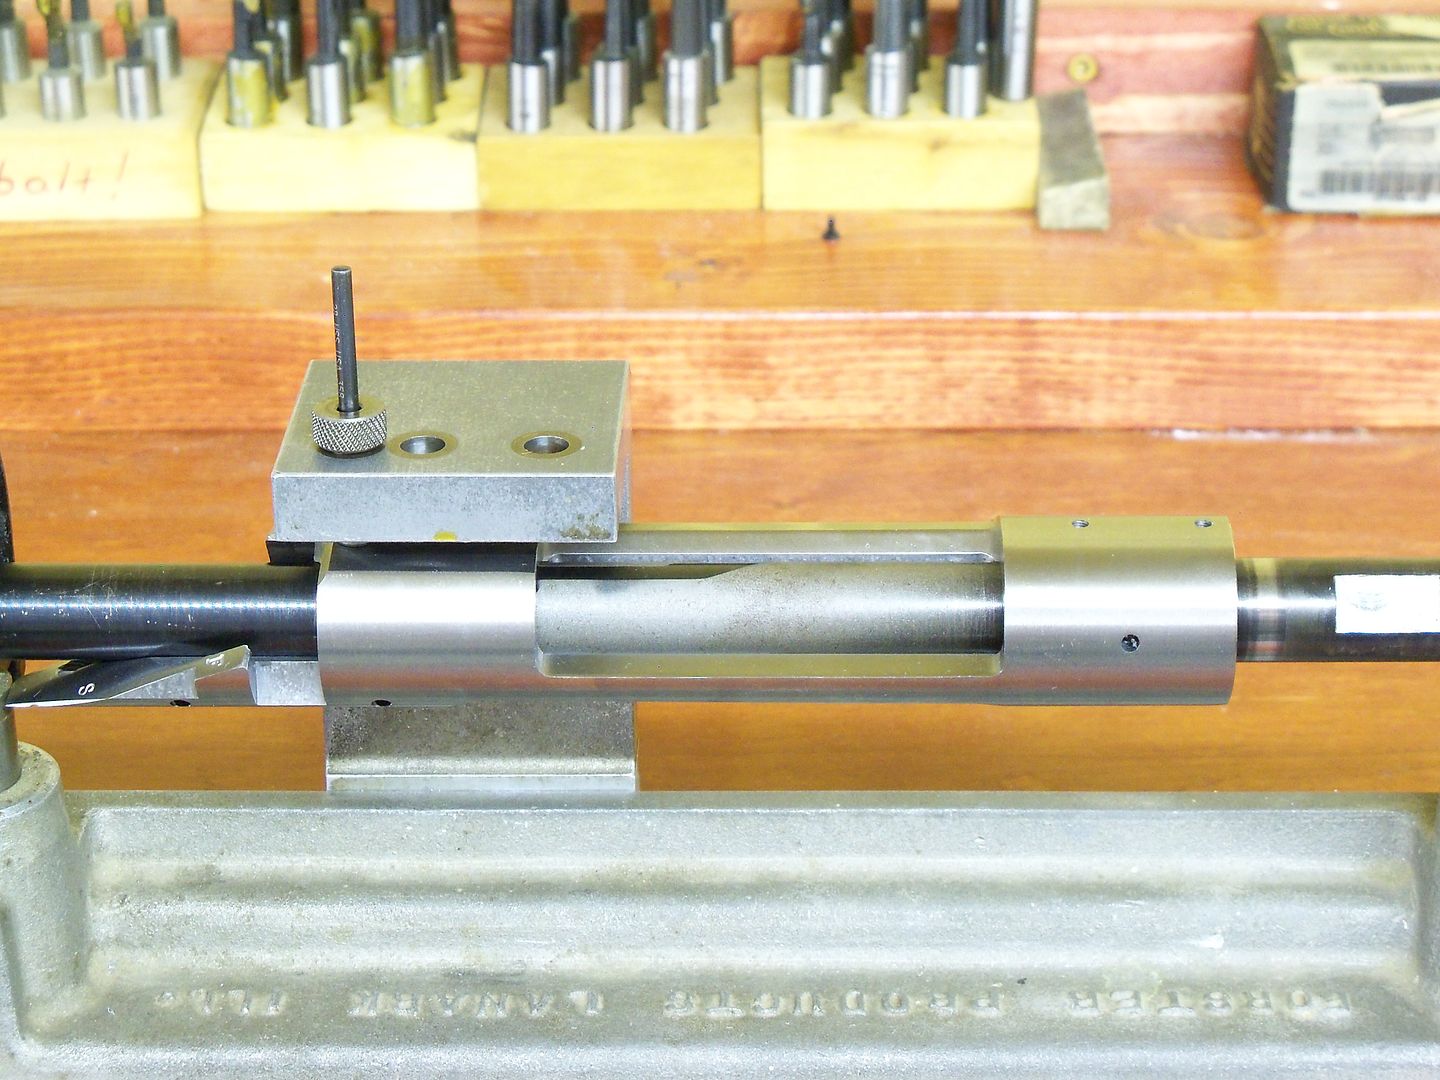
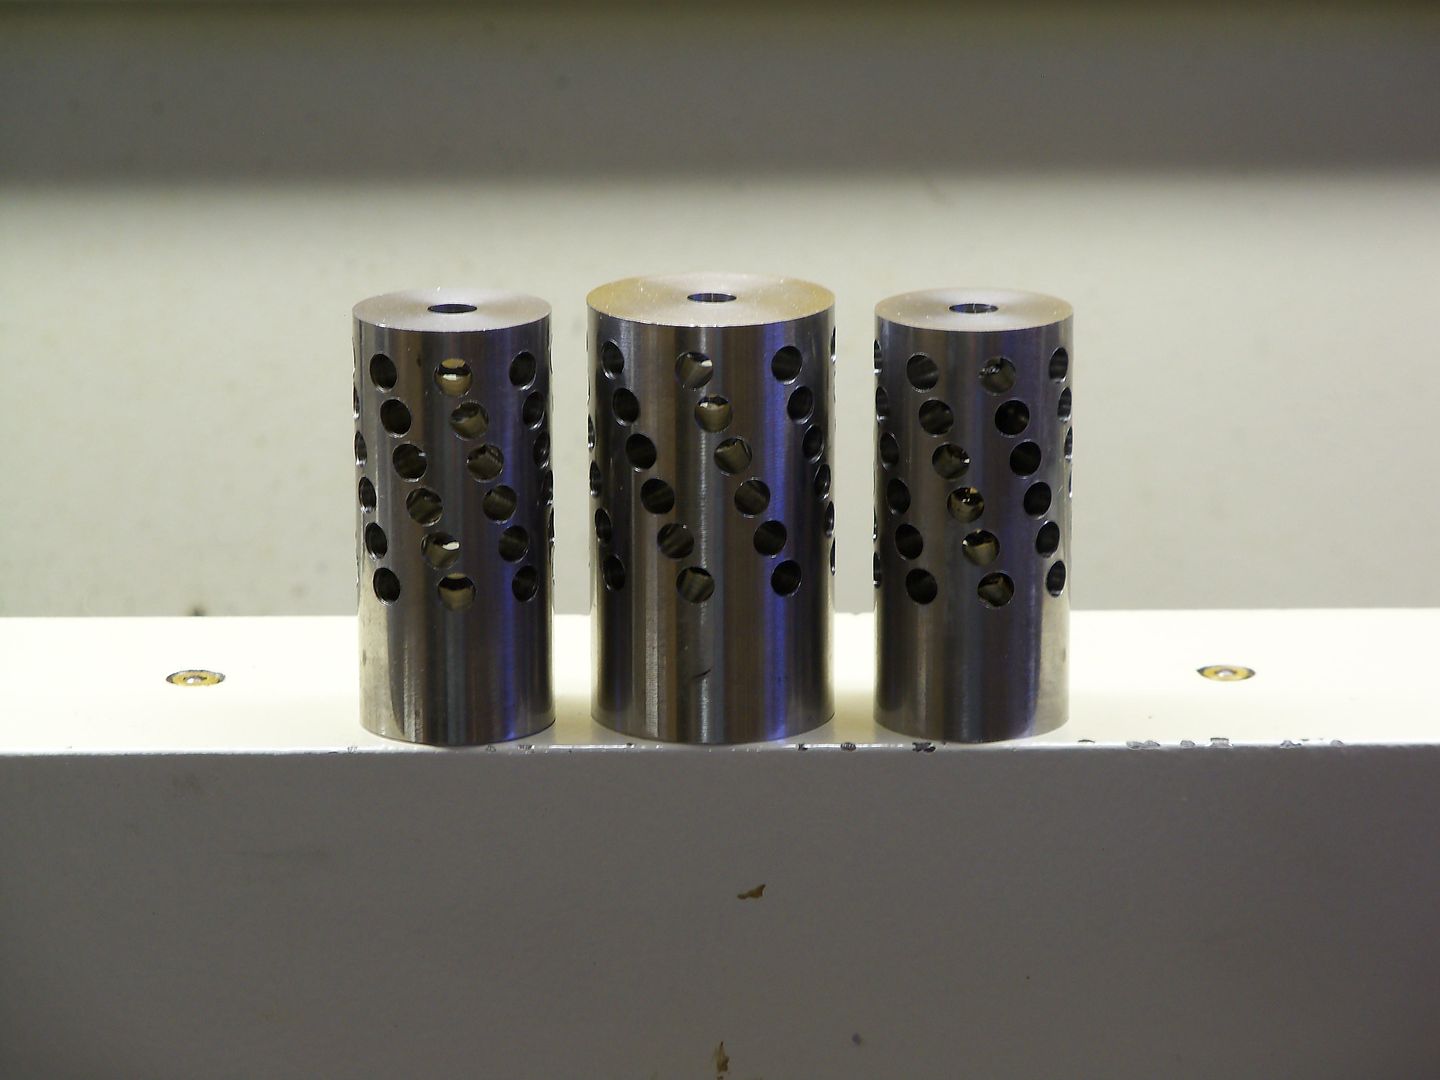
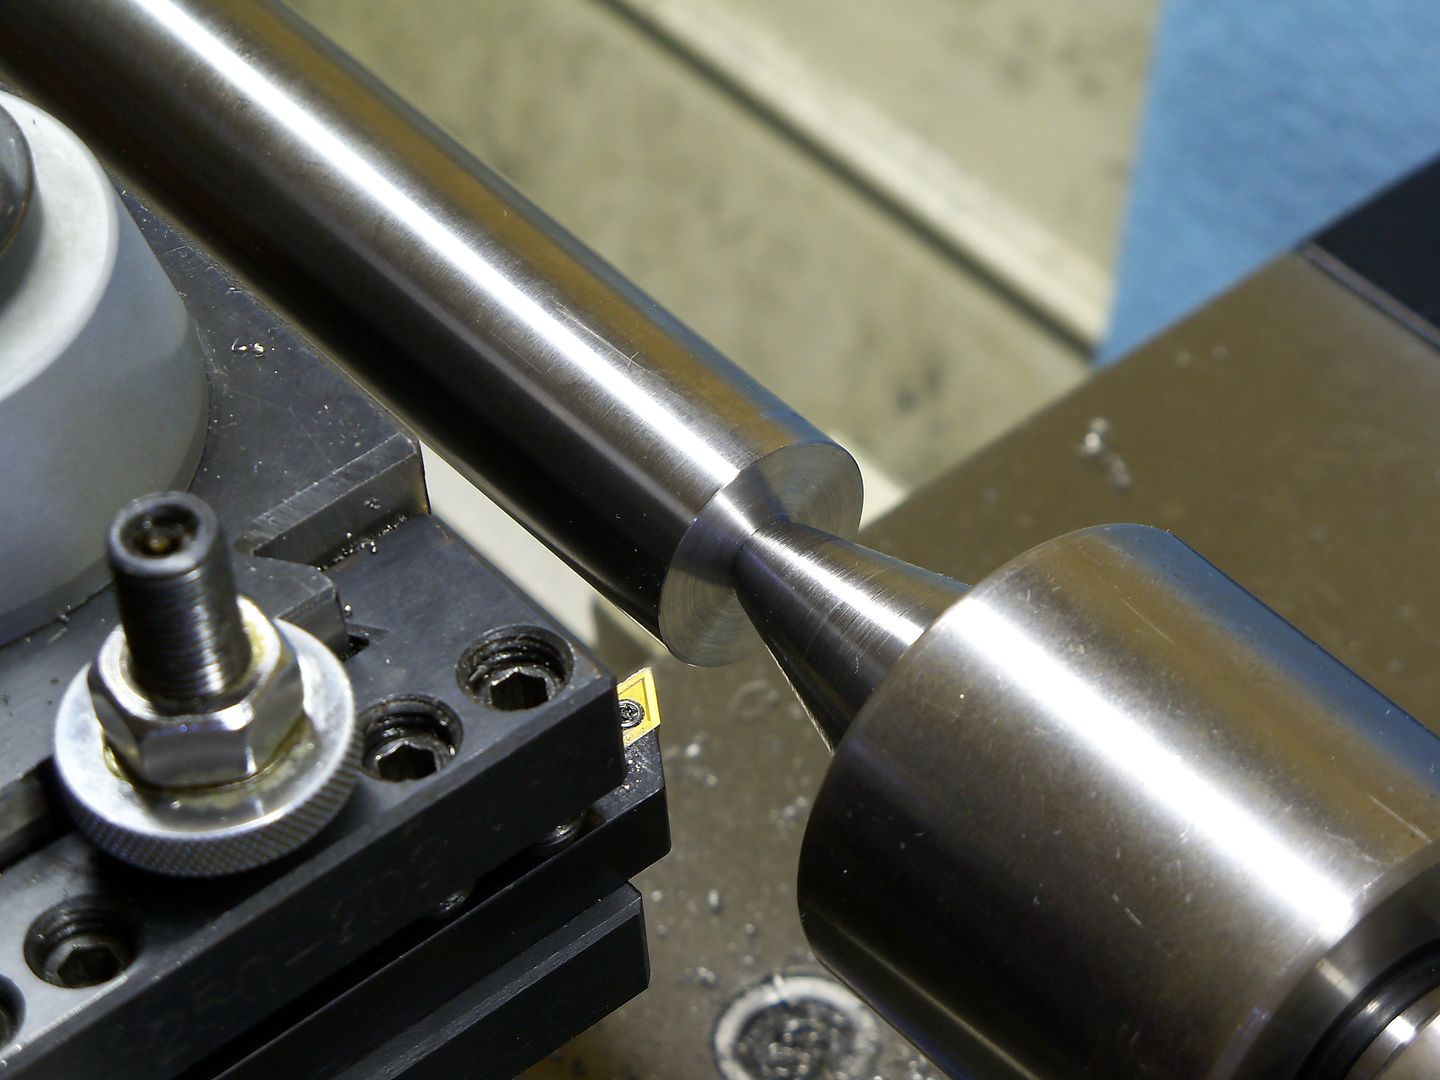
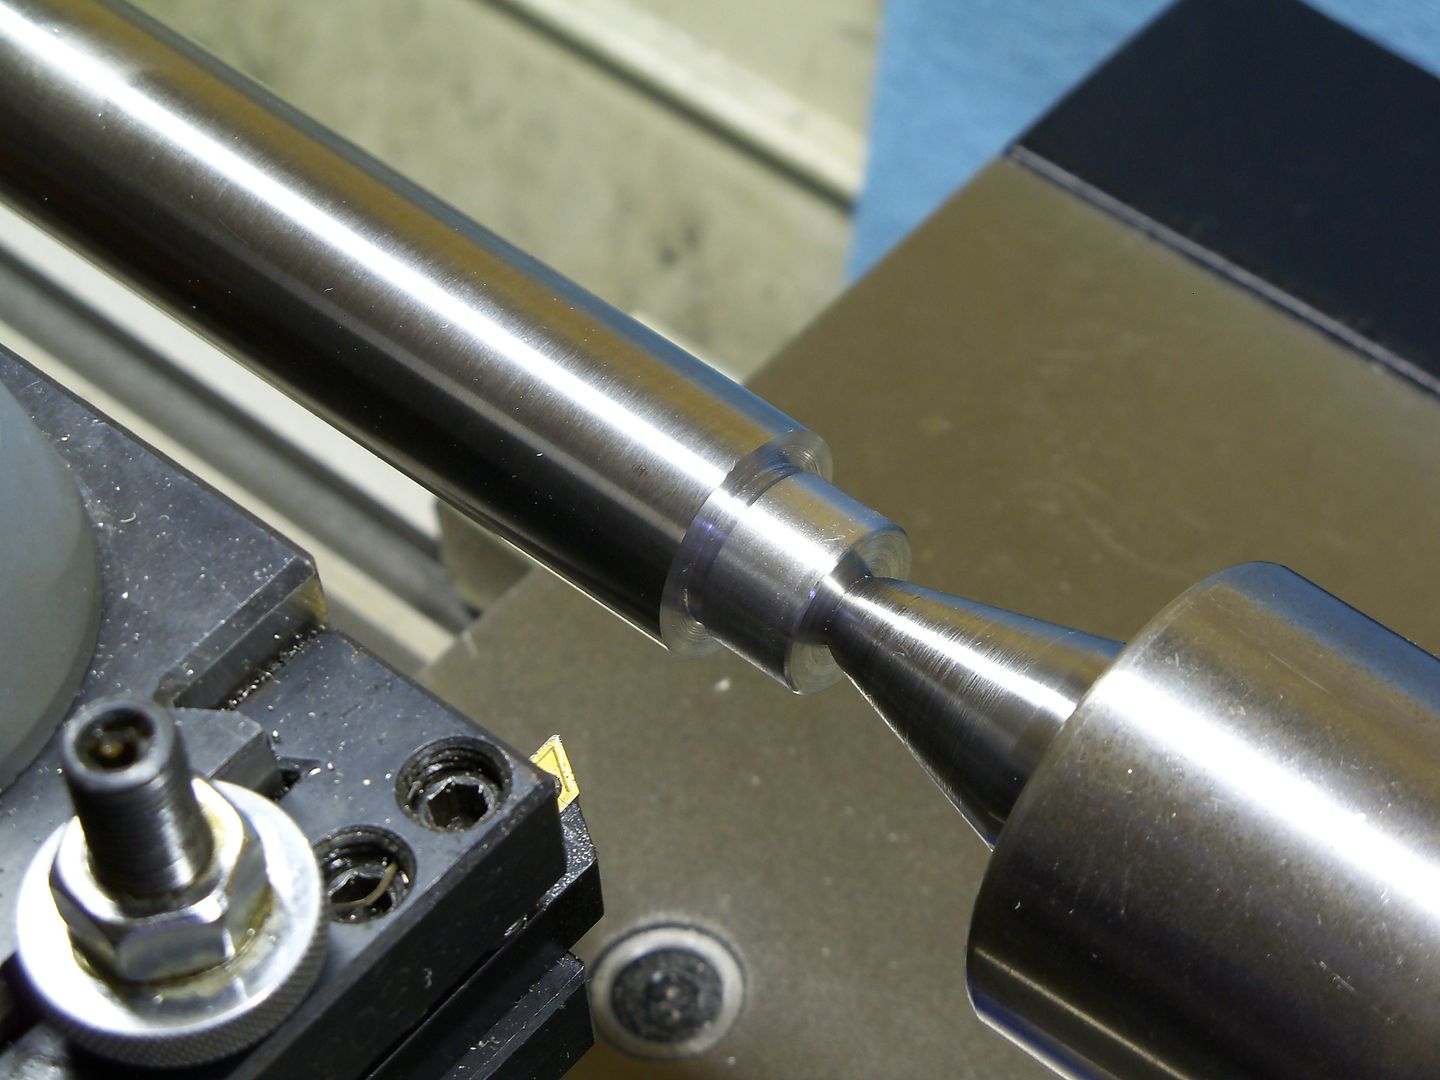
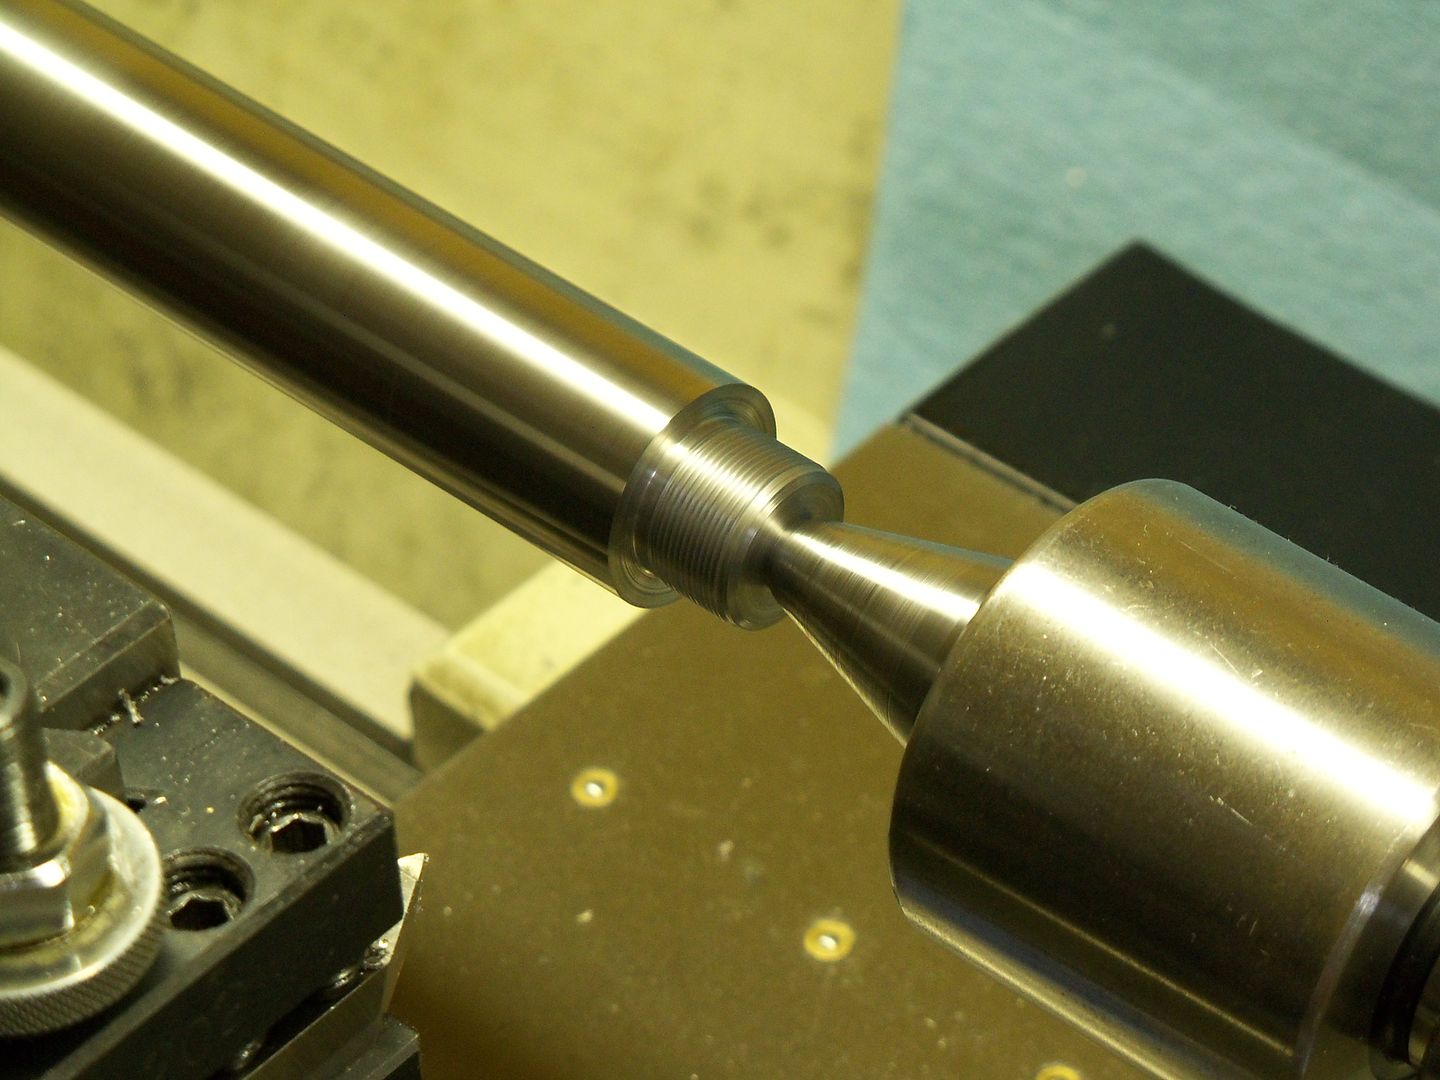
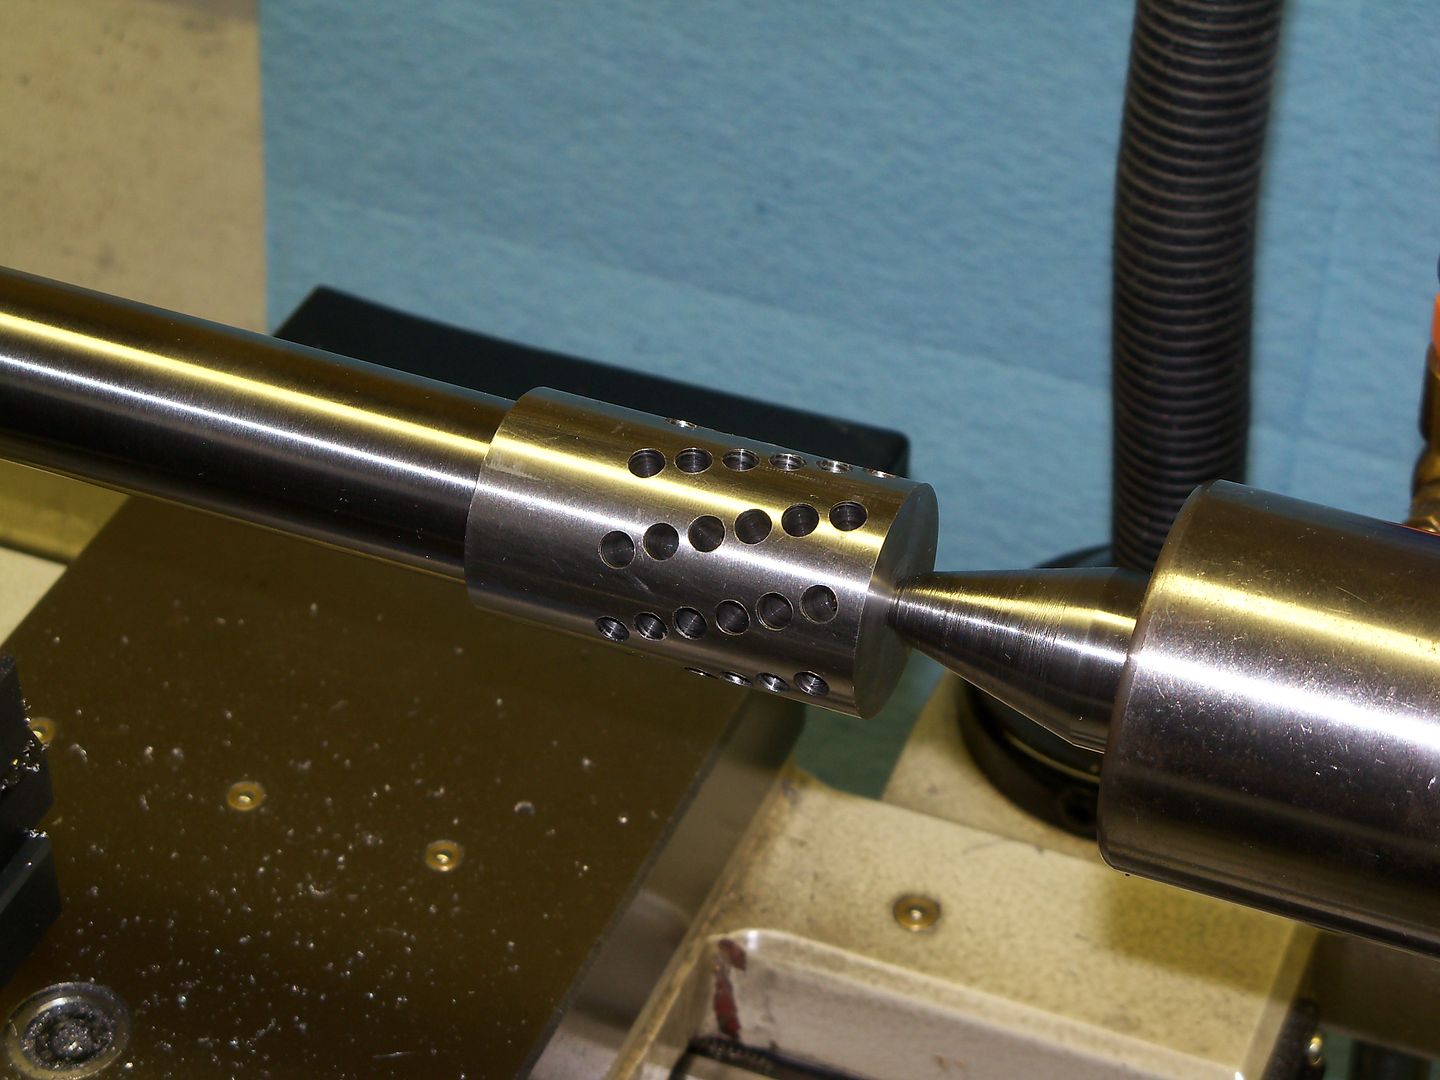
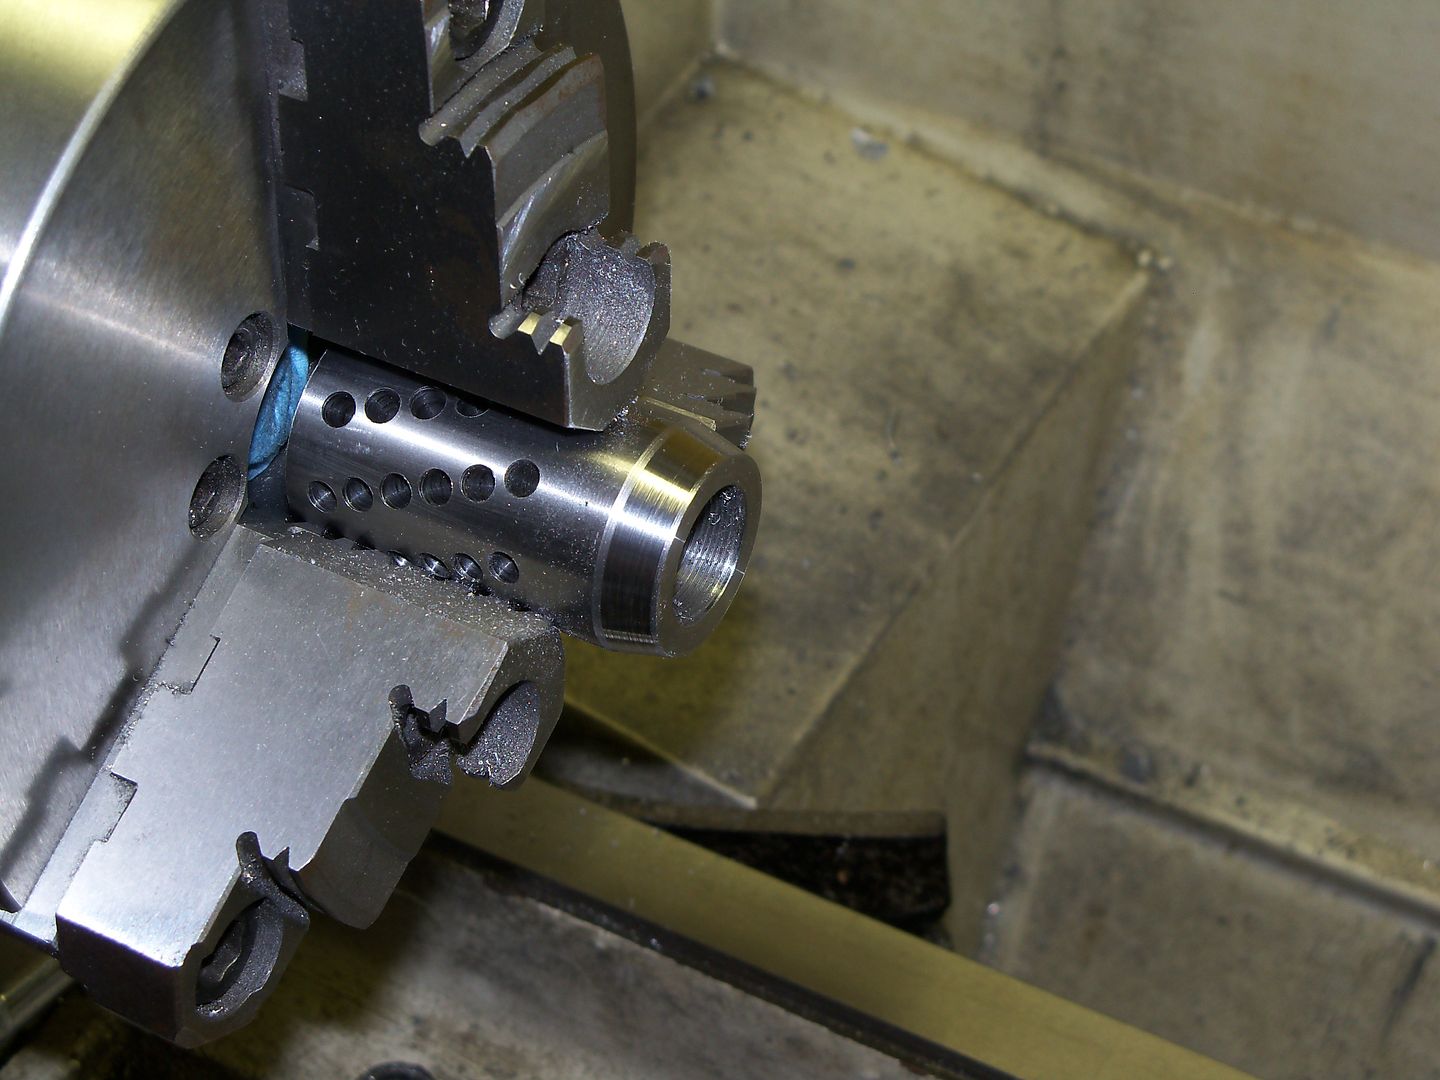
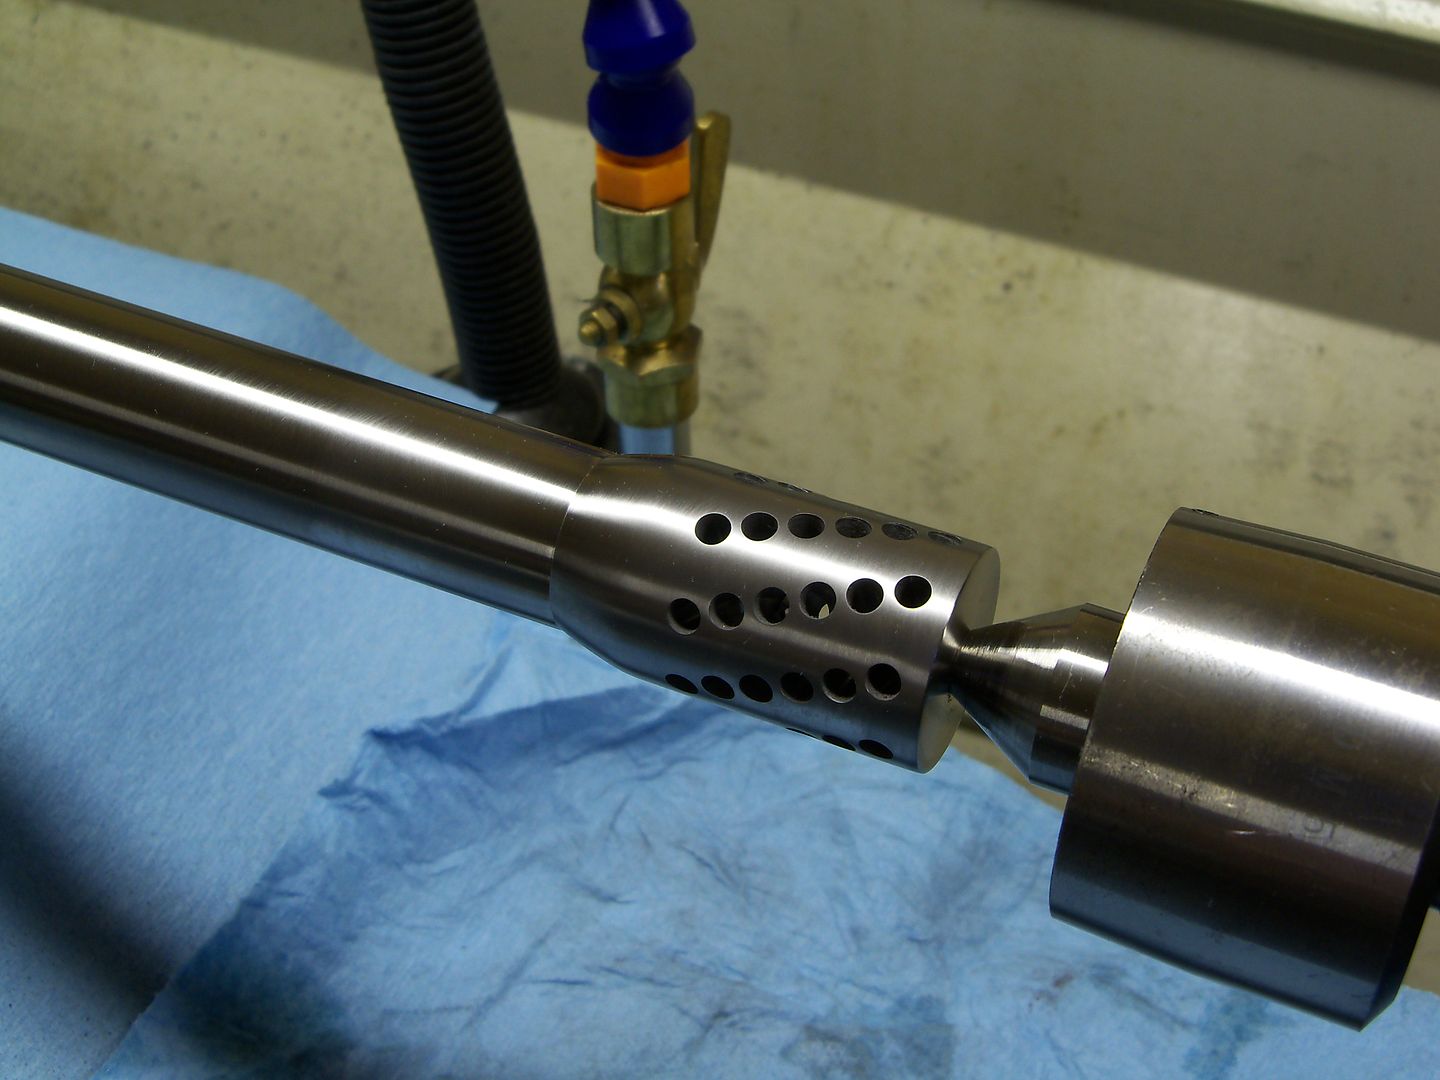
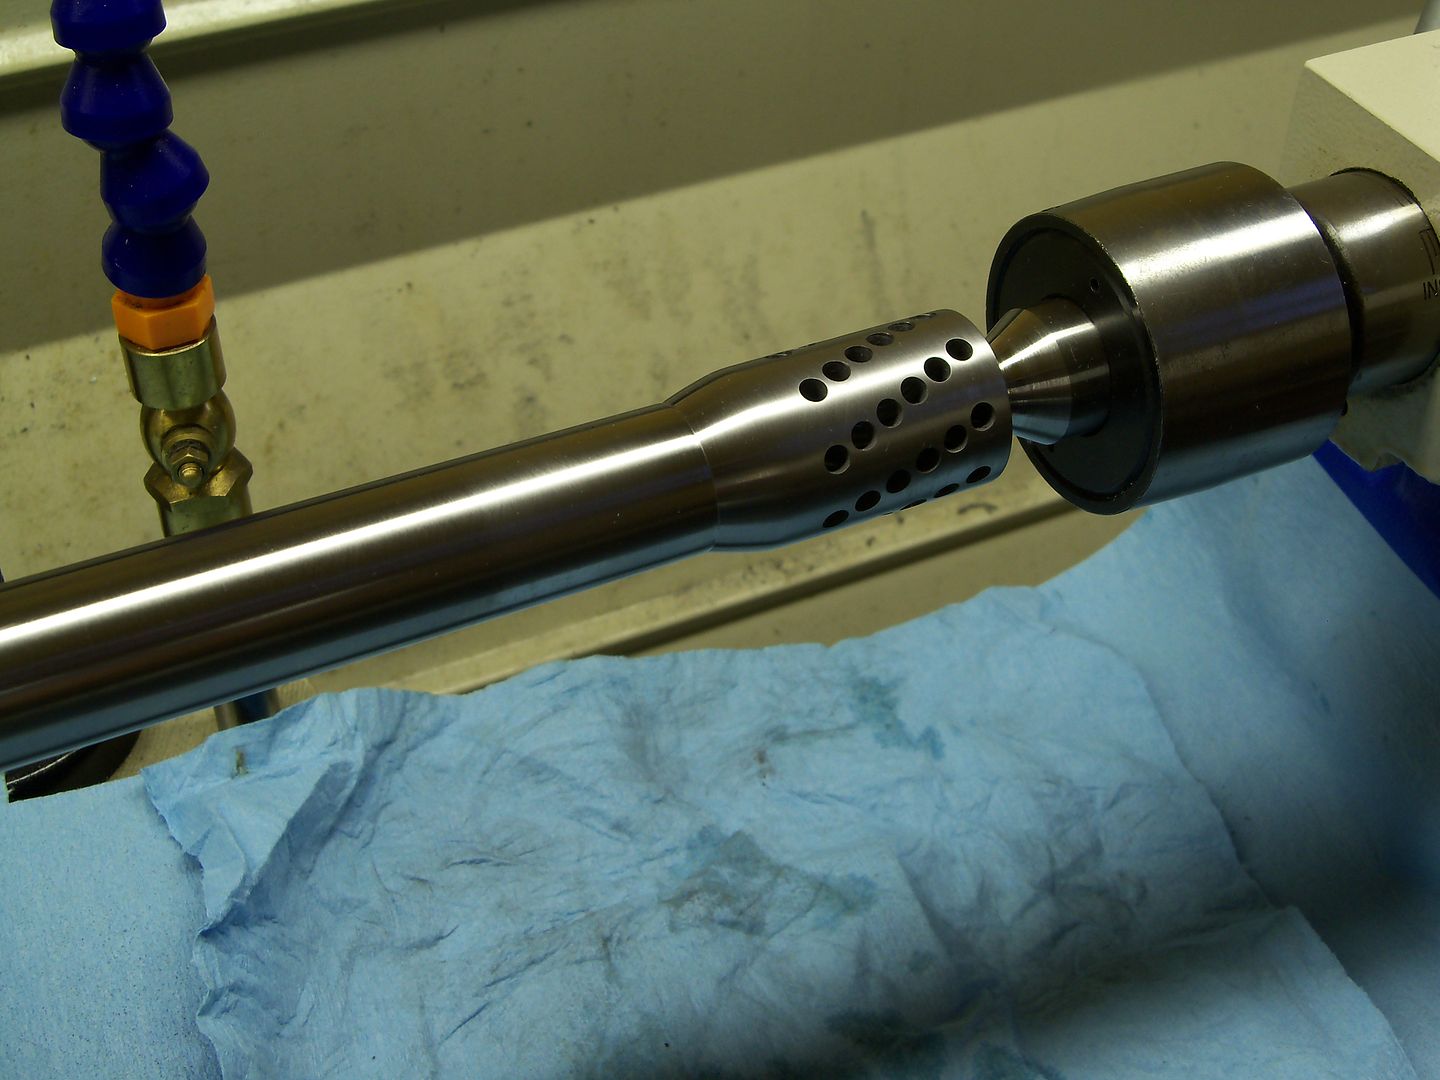
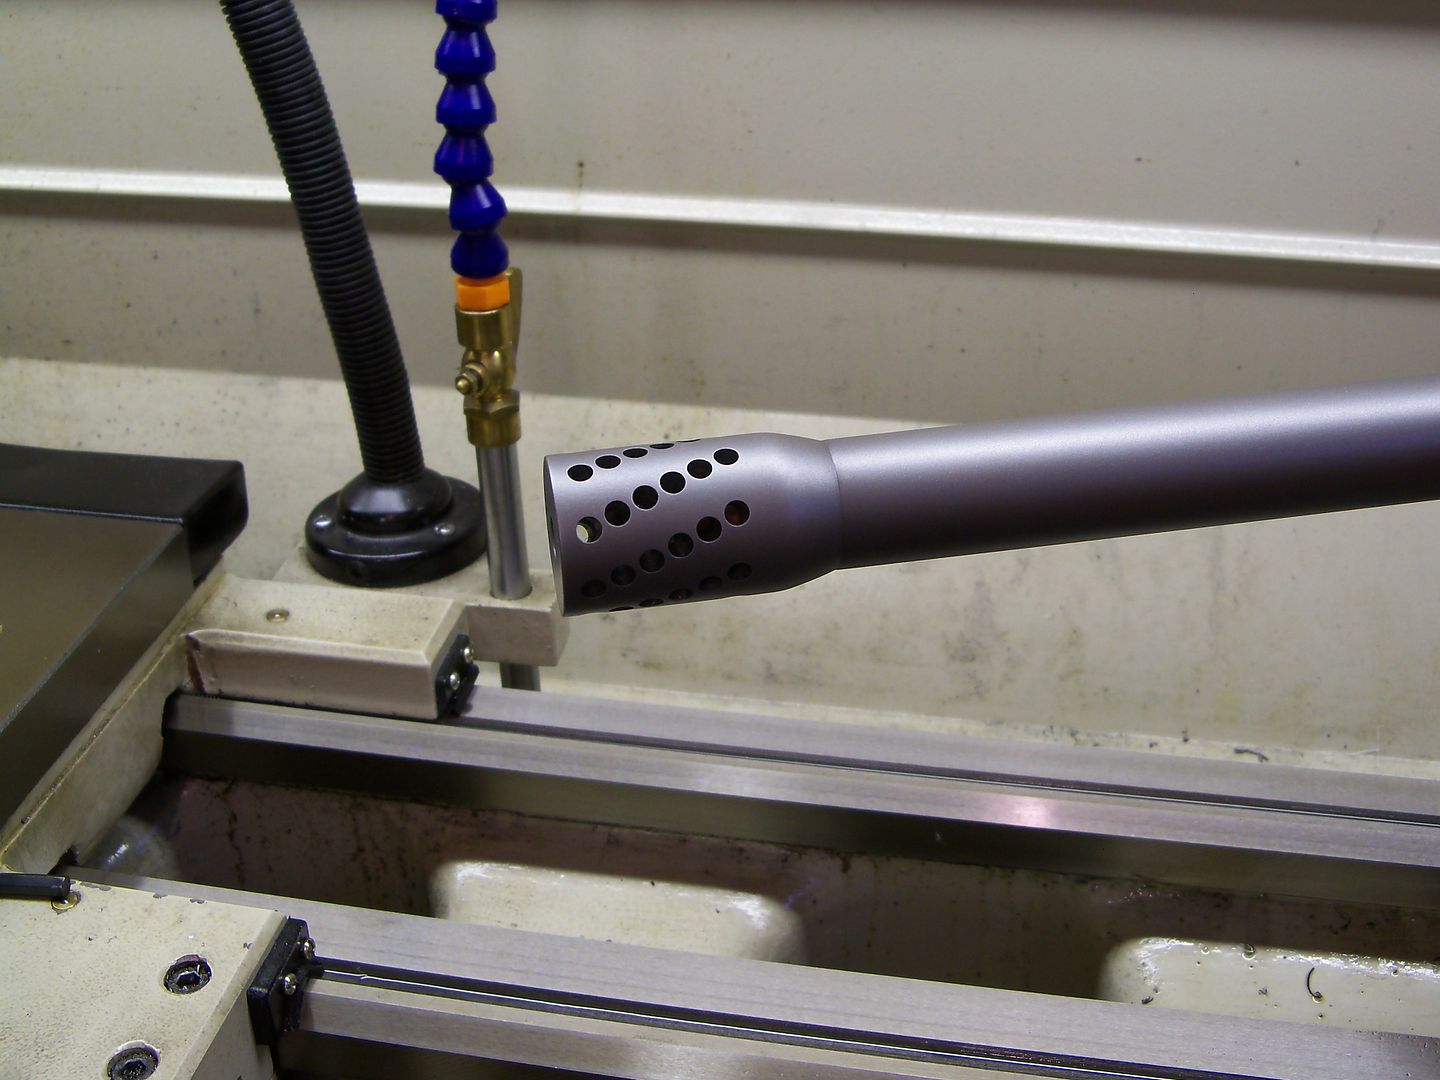
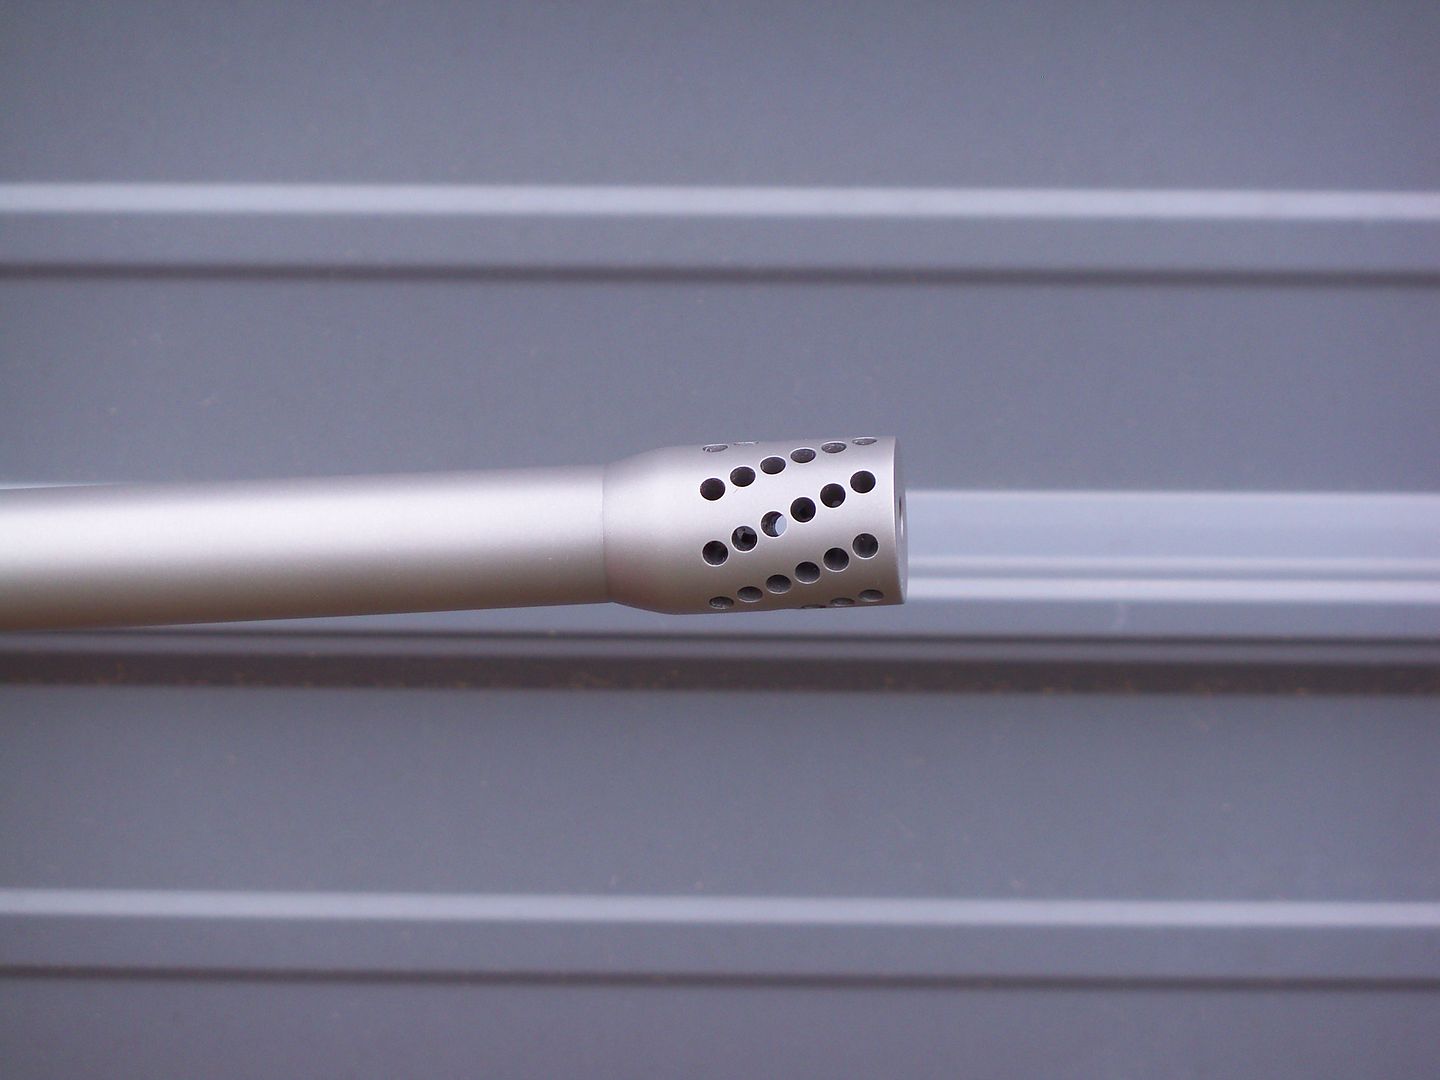
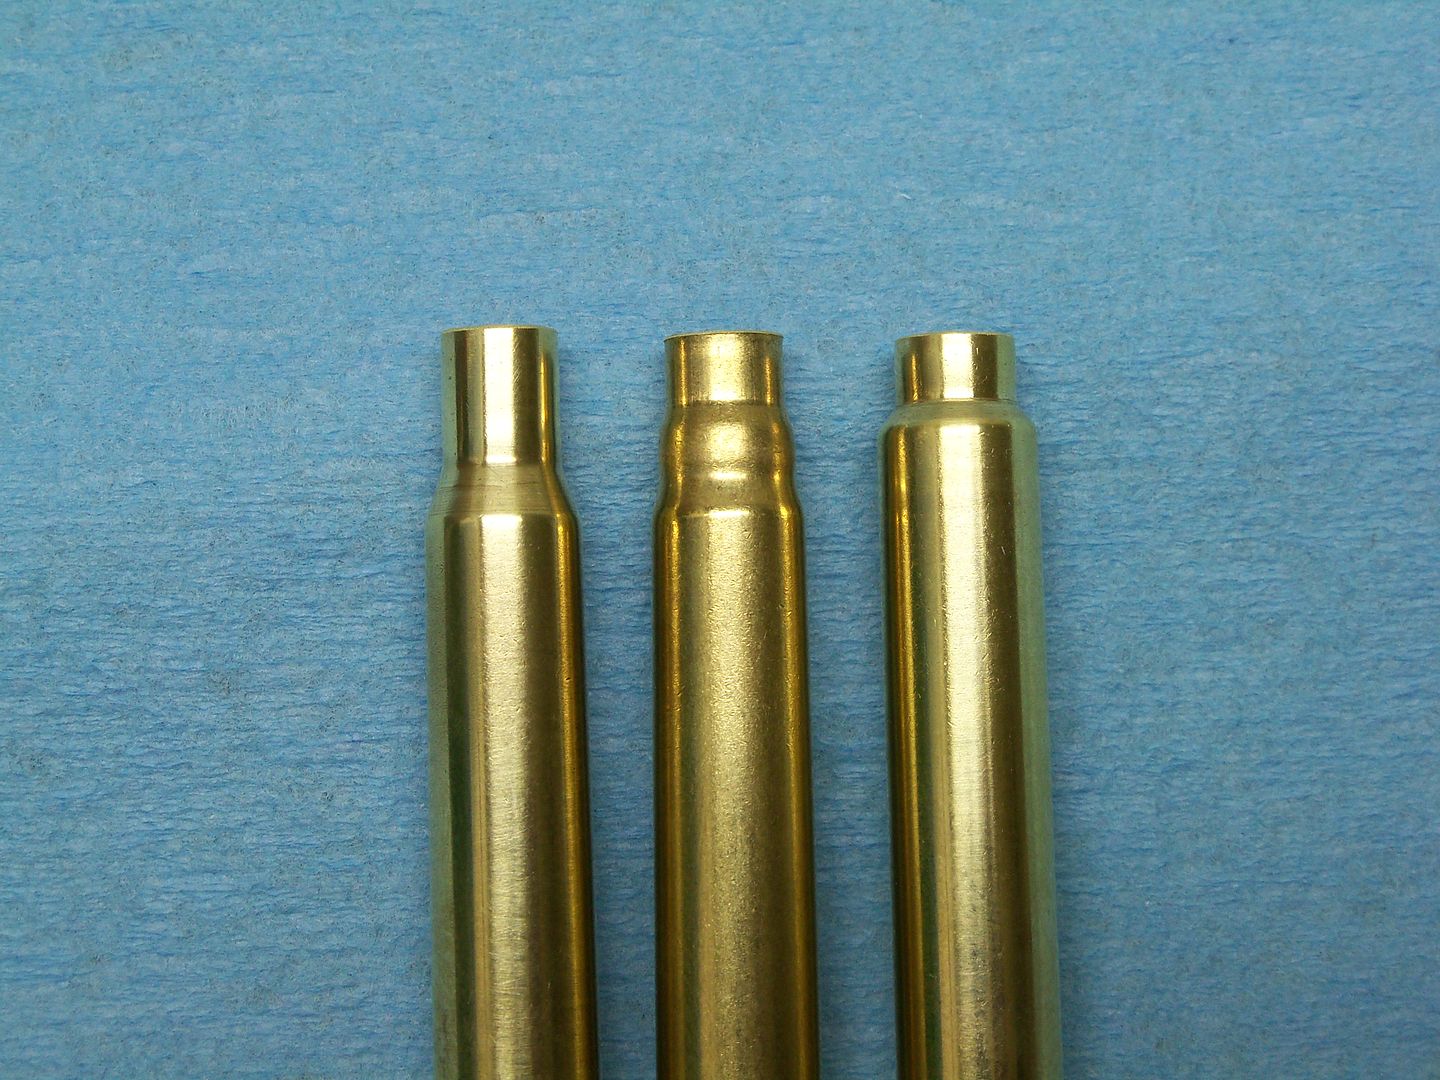
The barrel is a Bartlein .30 caliber / 1-10" twist rate / 32" length / finish length will be 30" plus the addition of a muzzle brake, for an overall length of 31 1/2"...

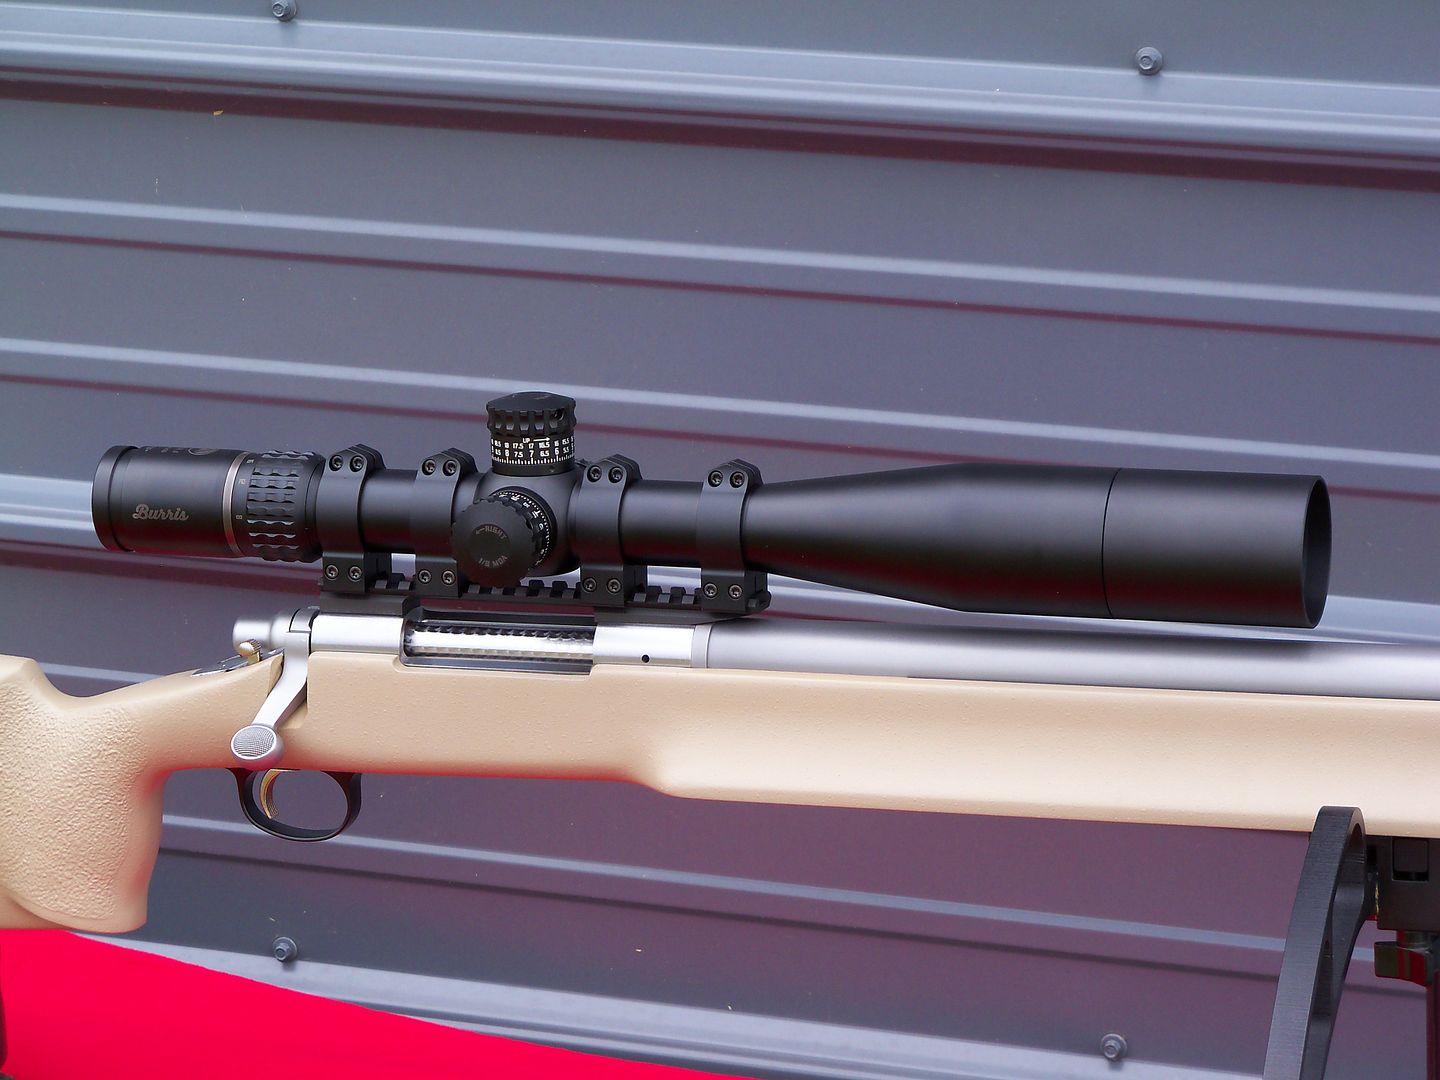
The stock is a McMillan MBR with a 3" wide forend. The stock is weighted to 7 pounds...


101_4913_zpsti9y1ygp.jpg


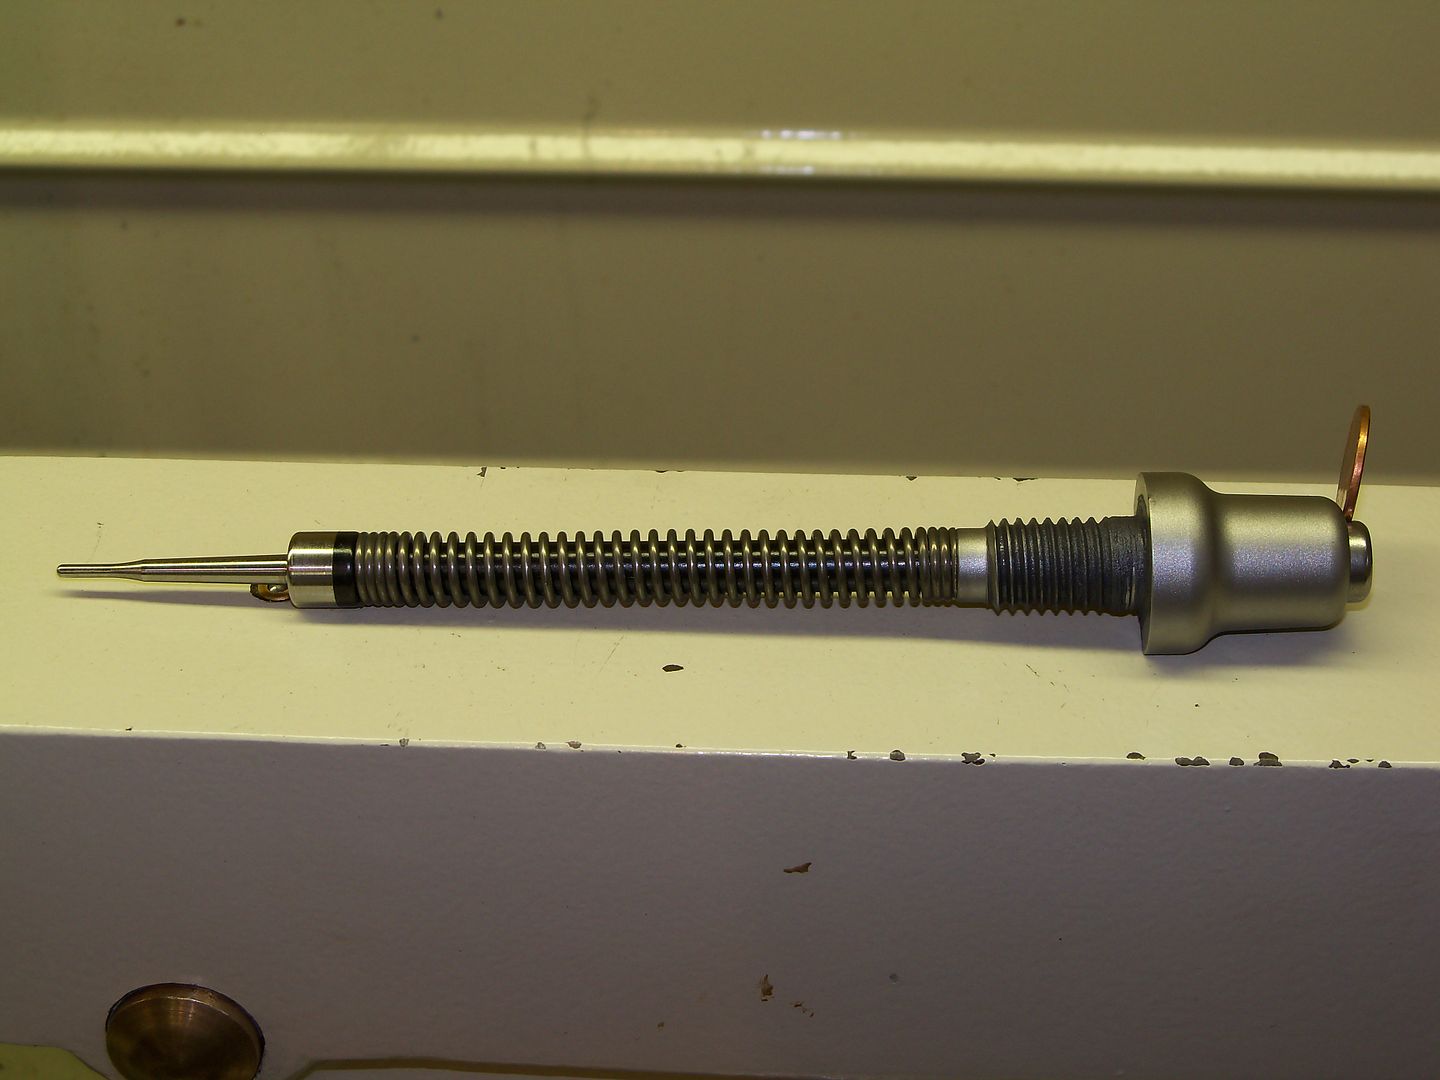
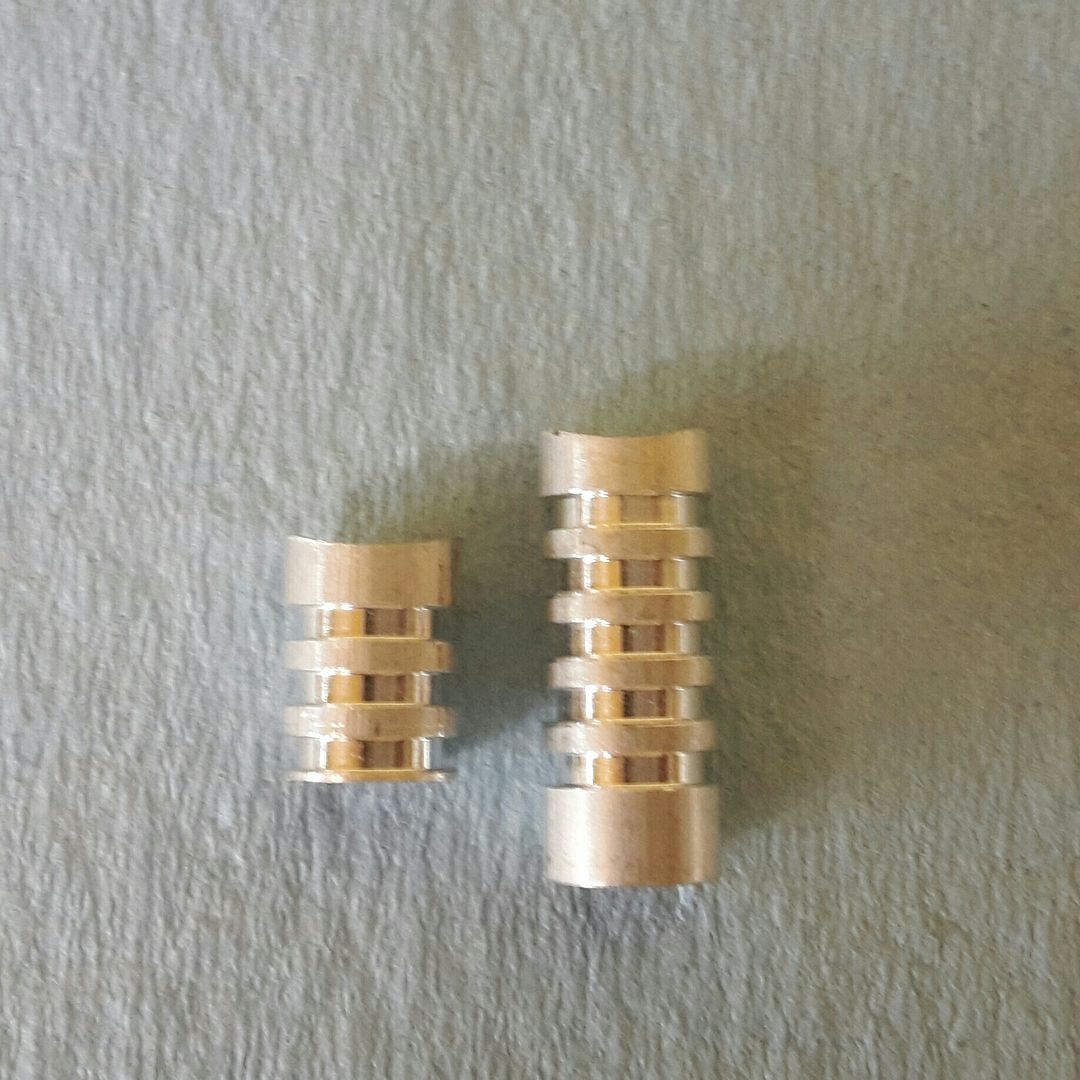
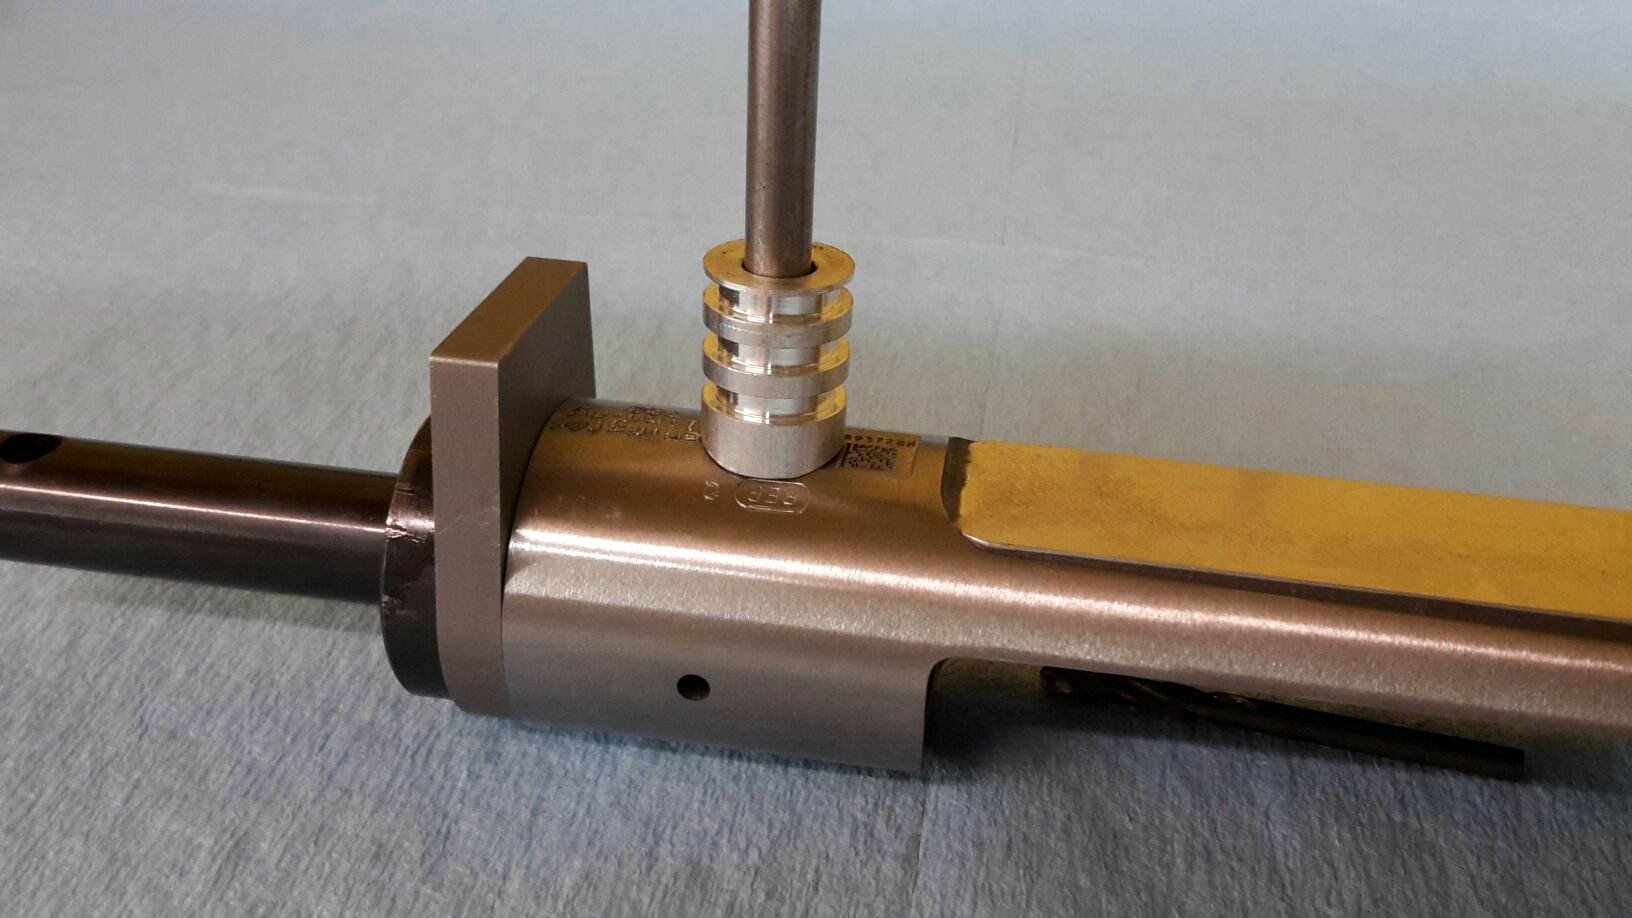
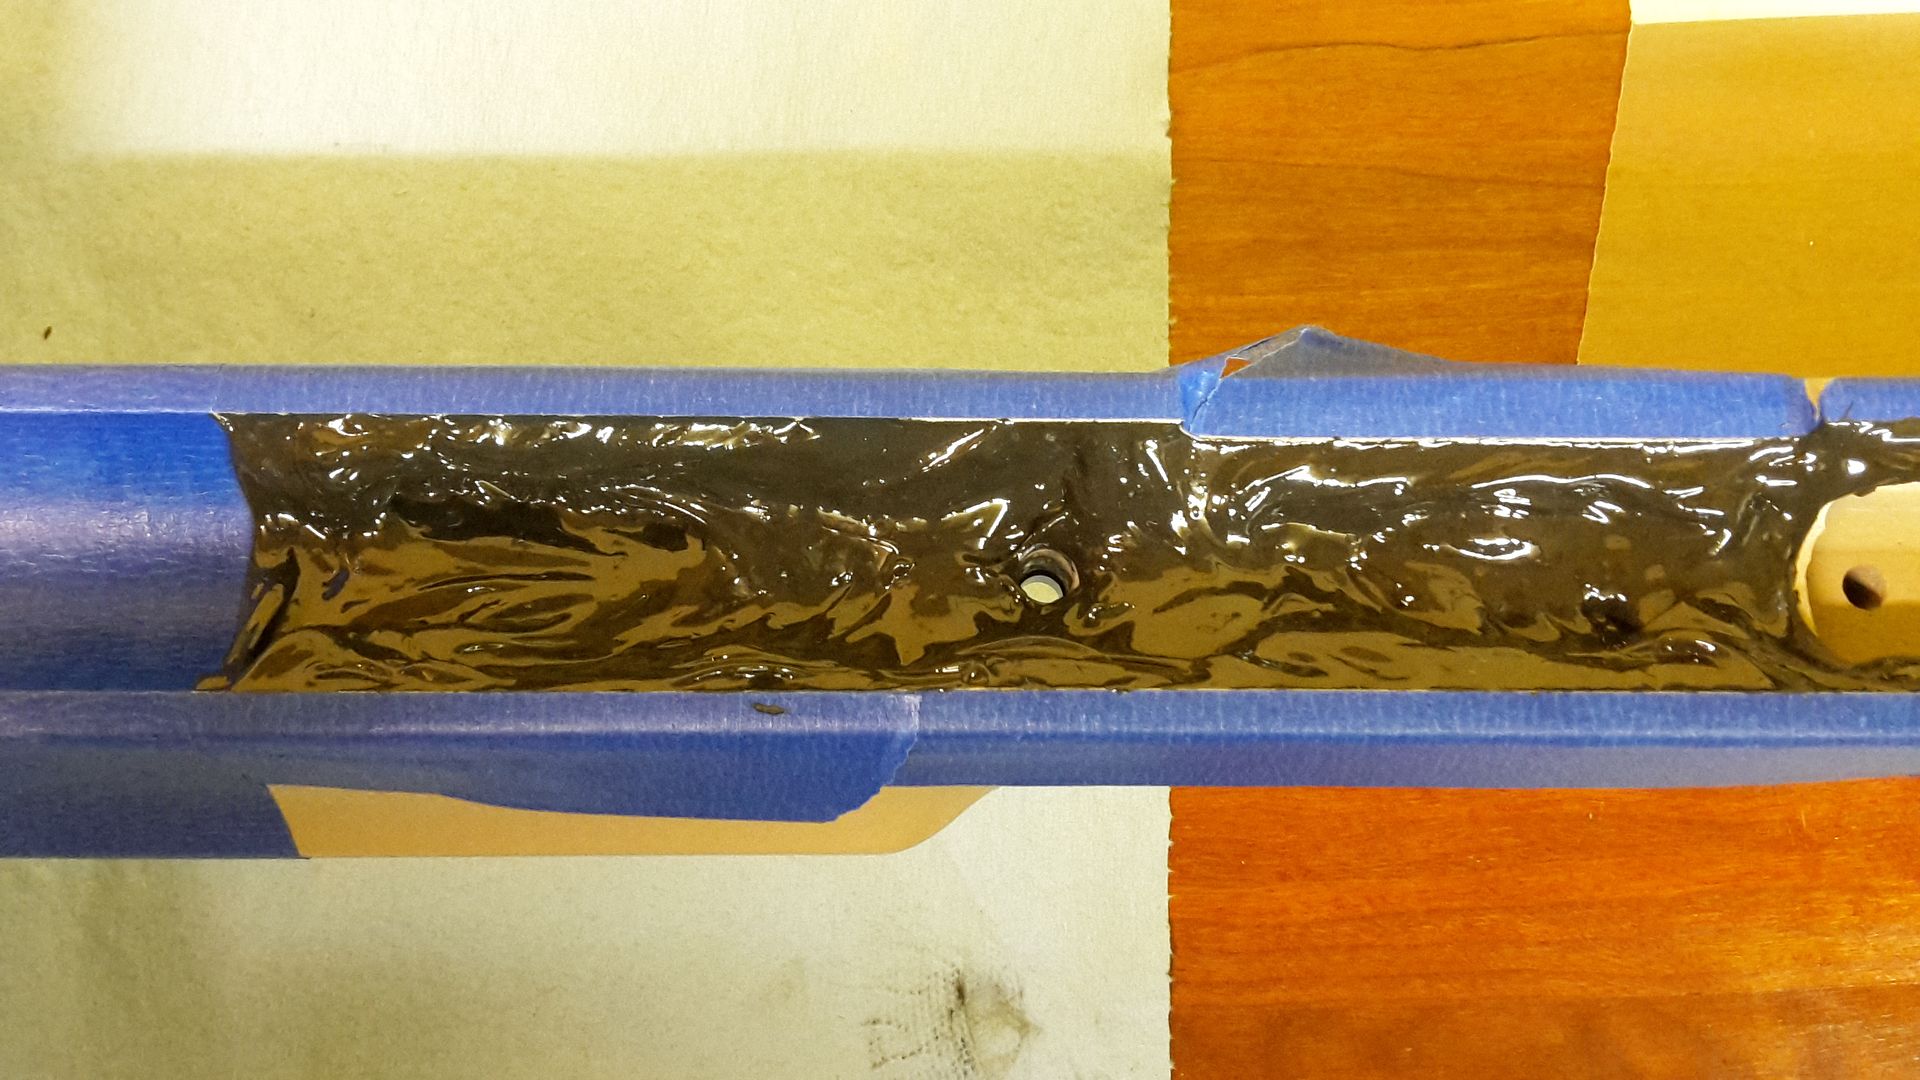
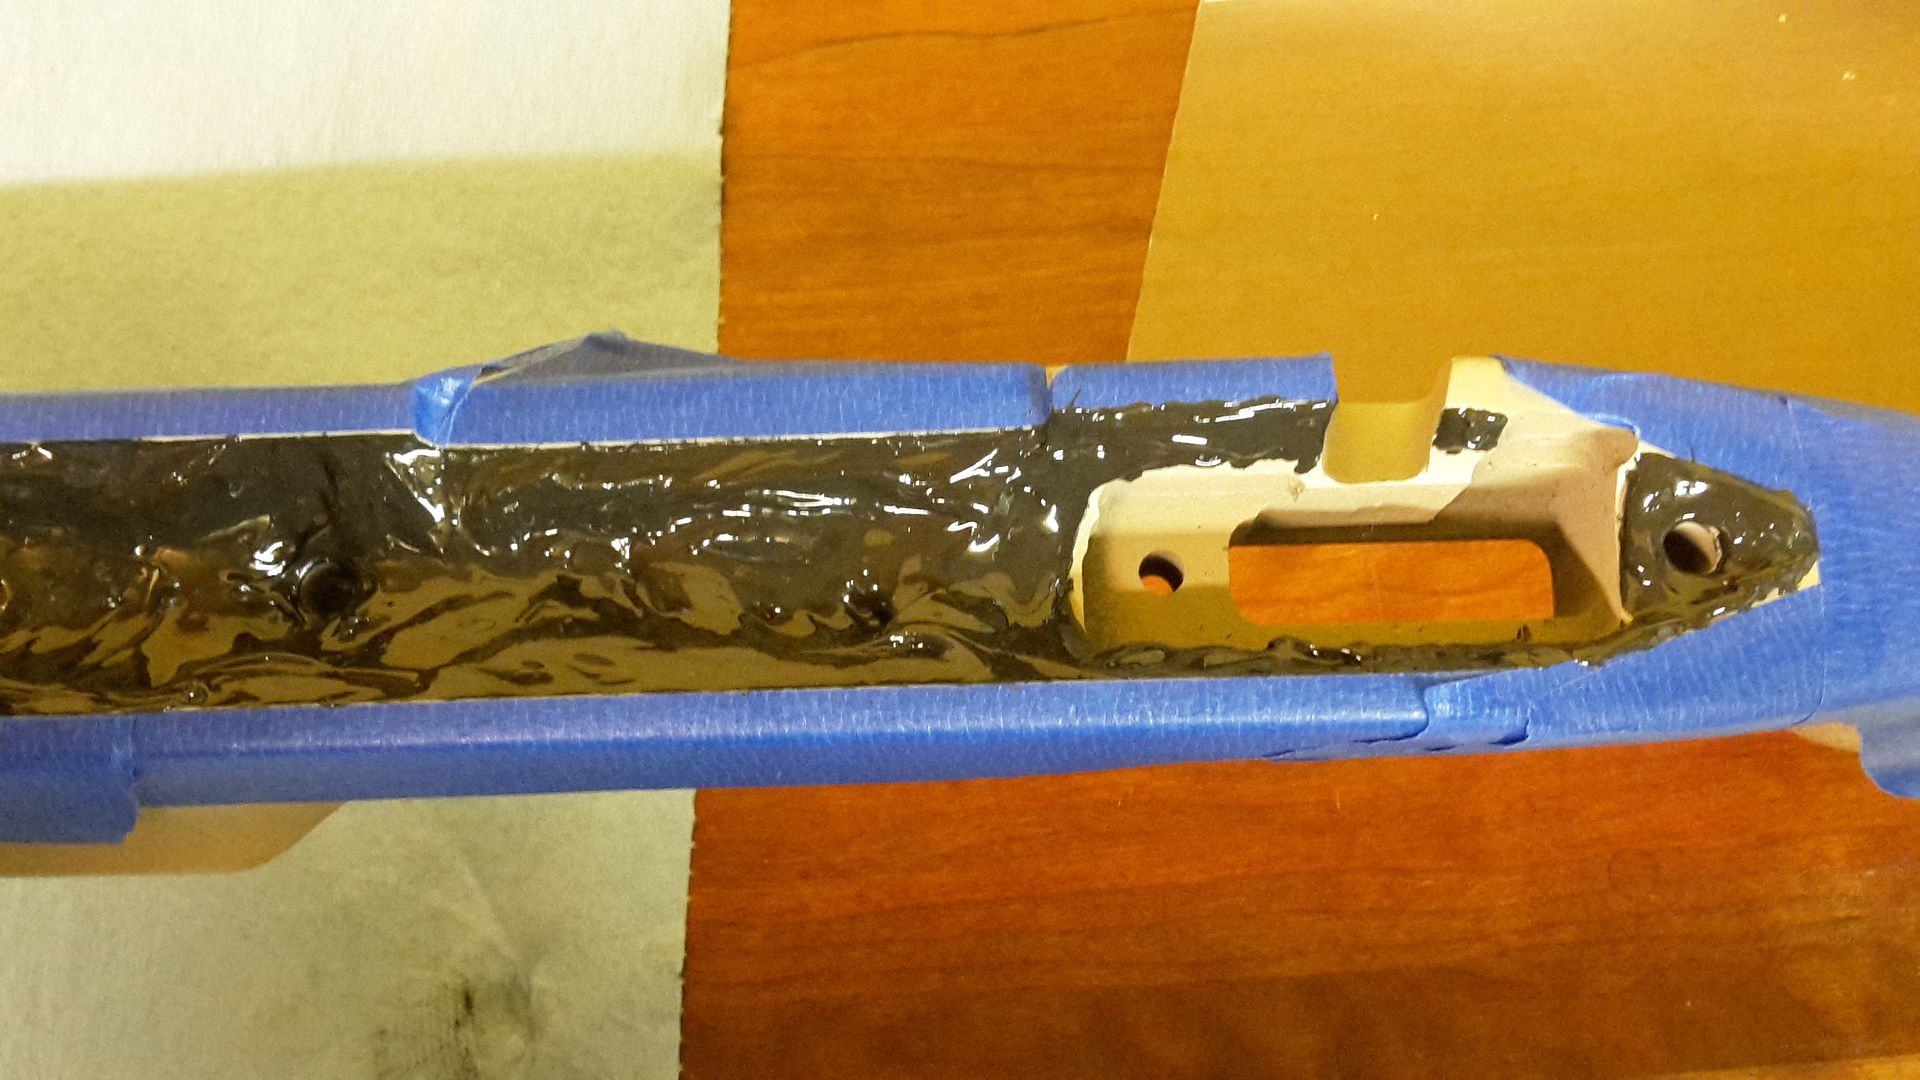
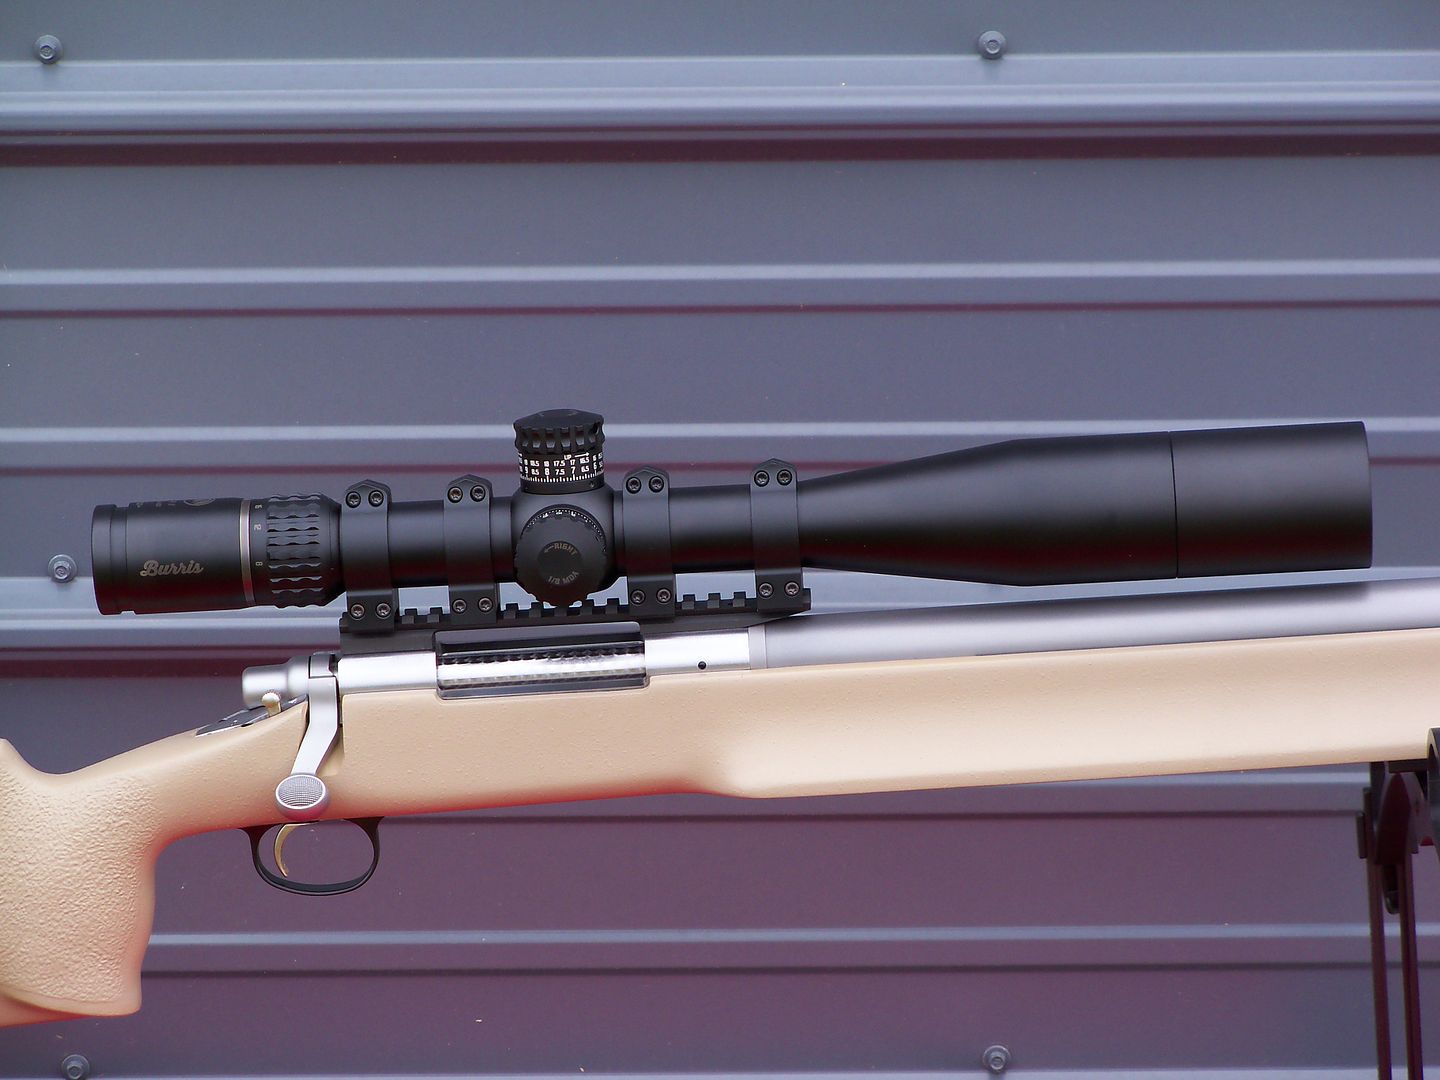
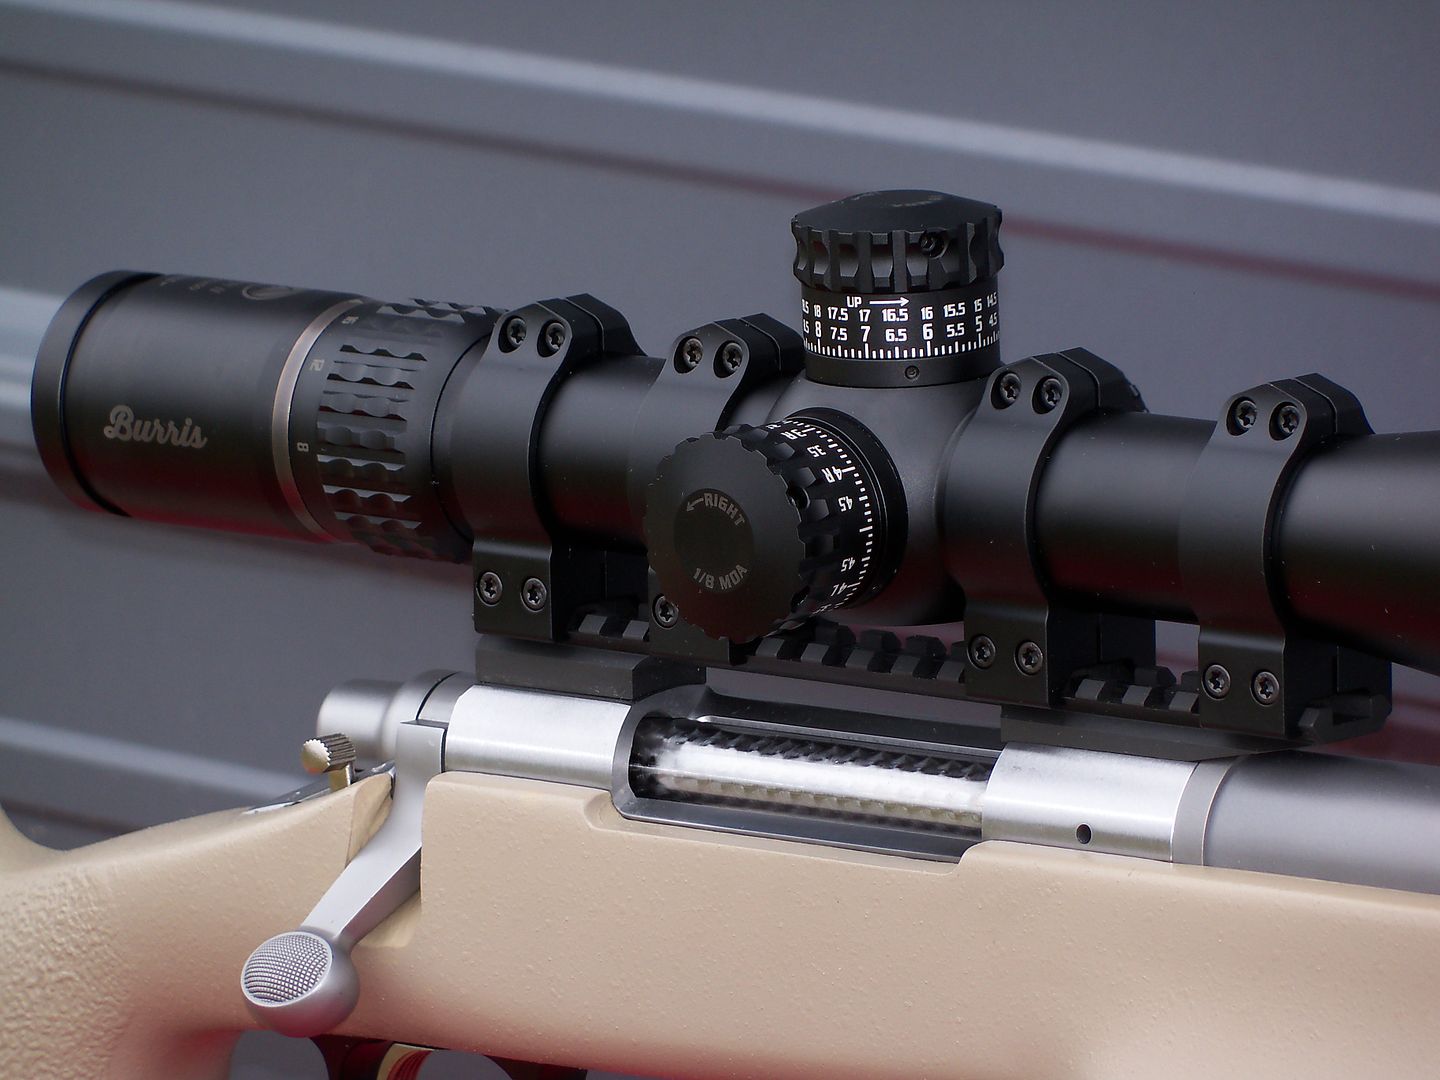
Some of the accessories that go with this build: Oversize recoil lug / lightweight firing pin with heavy duty firing pin spring / steel scope base with .040 taper / base and action will both be modified for the larger 8-40 screws / steel trigger guard with new action screws / single shot follower that will be glued in the bottom of the action / Rifle Basic trigger that will be adjusted and set to 10 oz...


101_4915_zpsbhxl6k1h.jpg


It may take me an hour or so to post all pictures, so if you have any comments, please wait till the last picture id posted. Thank you!
 
Last edited:
Once the dial gauge was set up, the chamber end of the barrel was dialed in at two different points. One point was at the breech face, and the second point was 3 inches inside the bore. The barrel was dialed in, in a 4 jaw chuck, and a spider was used on the outboard end of the lathe to help keep everything in perfect alignment, and to keep the muzzle end of the barrel from flopping around. Once everything was dialed in to complete satisfaction, the dial gauge did not even quiver when the barrel was spun at 200 or 700 rmp...

101_4924_zpsme0ur5oa.jpg


A boring bar was used to cut the bolt recess in the barrel, then the chamber was rough cut...

101_4932_zpstpwcp0gx.jpg


101_4926_zpsighybdl9.jpg


The reason for the blue shop towel around the barrel, is because the camera would not focus on anything but the lathe chuck. After putting the paper towel in front of it, the camera was able to focus a little more clearly...
 
Factory bolt face -

101_5004_zpsqabjitge.jpg


101_5023_zpsso9tuqwk.jpg


This shows the front of the Remington action with their "grinding" marks across the face of it -

101_5001_zps9xat74zg.jpg


Action set up for blue-printing -

101_5007_zpsf1mzenxc.jpg


101_5014_zpsezxi9lze.jpg


The face of the action was NOT square and one lug set .004 higher than the other! So when the bolt was in battery, it was sitting .004 high and above center. Not good!

101_5041_zpsi1fpnscd.jpg


101_5094_zpsmw50hsva.jpg


When the barrel between centers for threading, the threads were cut .0015 over size so they can be lapped in with the action, so there is "0" play between the barrel and action threads...

101_5049_zpsjmyp0pbi.jpg


101_5058_zps4pvnrnoy.jpg


The factory firing pin and spring were replaced with a much lighter weight firing pin, and a heavier firing pin spring. The firing pin tip was turned to where it was .0005 smaller than the firing pin hole. The assembly shown here is less than half the weight of the factory firing pin and spring...

101_5079_zpsesrucau0.jpg
 
The action was set up "between centers" so it could be re-drilled and tapped for the larger 8-40 screws...

The base was then modified for the 8-40 screws as well...

Since the barrel's muzzle diameter was 1.00", I had a muzzle brake that diameter, but decided on the larger 1.250" diameter brake...


101_5110_zpsrxpshlca.jpg


101_5121_zpscldglclq.jpg


101_5115_zps0jbjbunm.jpg
 
...And the cartridge.......

It is based on a maximized 280 case, necked to .30 caliber with minimum body taper and a 40 degree shoulder angle...

Starting off with new Norma brass in 280 Remington, the case is expanded to .35 caliber, then necked down to .30 caliber to create a secondary shoulder, loaded and fired in the guns chamber. Neck length is .220 and water capacity is 71.0 grains

101_5127_zpsoxa9p6by.jpg


Here is another picture that shows the 280 case, necked to .35 caliber, then the fully fire-formed case -

004.jpg
 
Last edited:
Originally Posted By: 1ASSASSINThe project is finished, so I hope you guys liked the pictures...

Very, very nice!!
thumbup1.gif


Thanks for taking the time and trouble to post all the great pictures!

*


Now for the negatives........just not from me! Great pics, great looking rifle, great informative post. You should pat yourself on the back. You done real good. What a great way to introduce yourself to the forum!!! Very nice build!!
thumbup1.gif
 
Originally Posted By: 1ASSASSINThank you pyscodog. I'm quite proud of this gun, and thought a few guys would appreciate a couple of pictures like this...

There are several folks on here that have had rifles built, like the process you did on yours.
I’m sure they all appreciate the pictures.
 
You betcha. Put all this kinda stuff you want on here. This place gets in the doldrums at times and it's nice to have new things and new posters. Especially when it accompanied with eye candy. Keep 'em coming.
 
Back
Top