Trashcan builds a rifle. Stevens 200. Tons of pics......

trashcan

New member
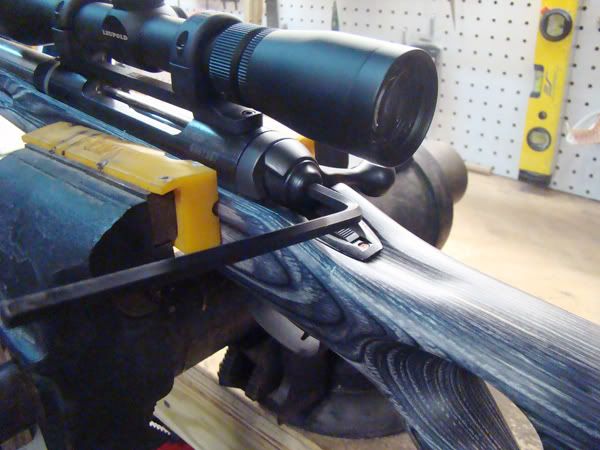
This project started almost two years ago when our local Academy had Stevens 200's left over from a Black Friday sale for $179.00.
I picked up one in 270 just cause of the price.

1.jpg


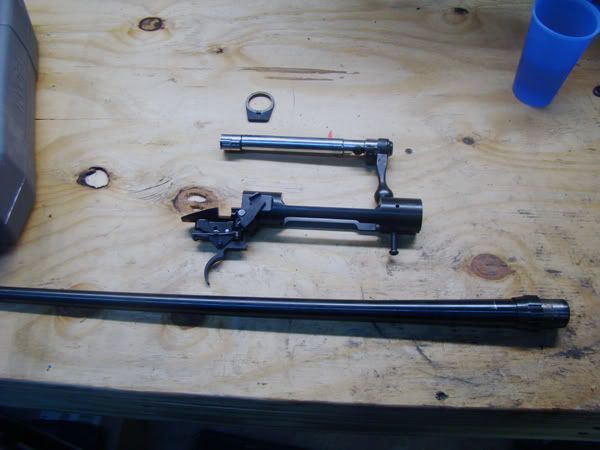
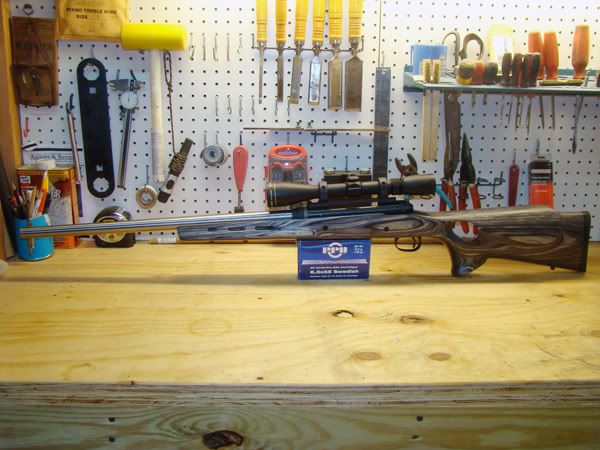
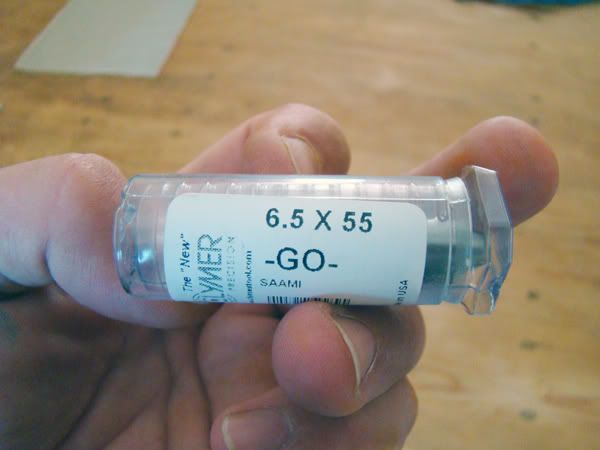
After reading up on these rifles, I decided to see if I could build a shooter in a caliber I have always admired, 6.5X55 Sweede.
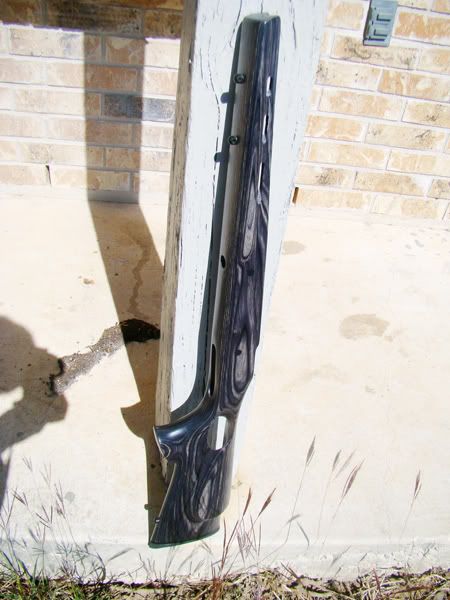
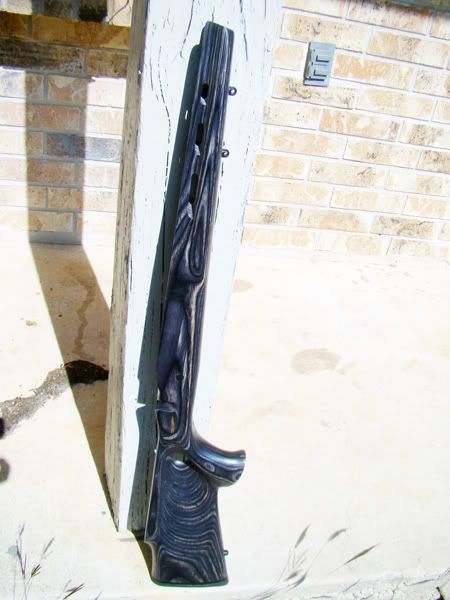
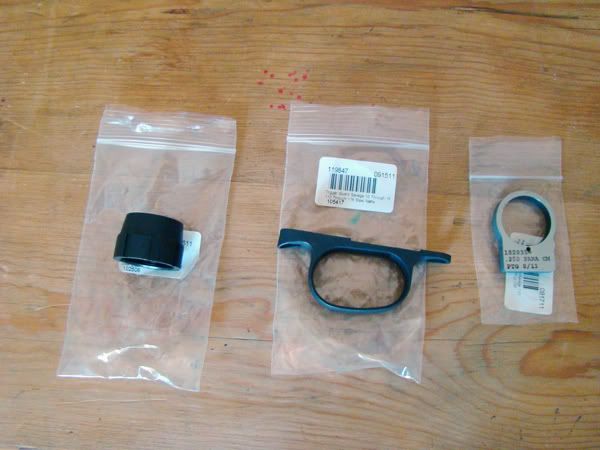
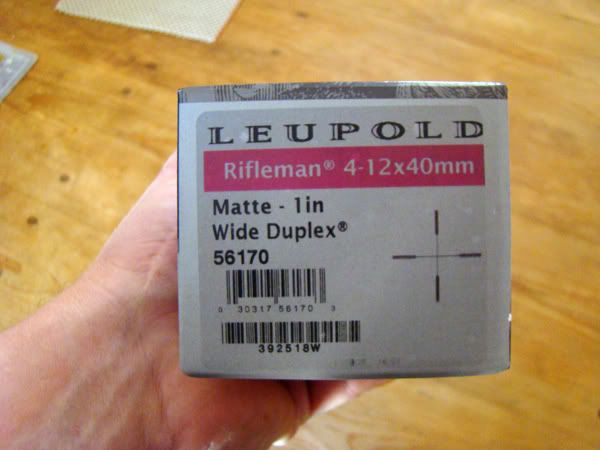
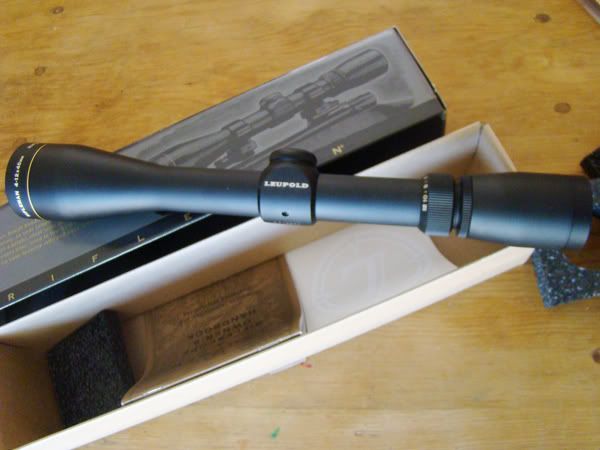
Well slowly but surely I started to get the parts piece by piece, first the basics:

2.jpg


4.jpg


5.jpg


7.jpg


8.jpg


9.jpg


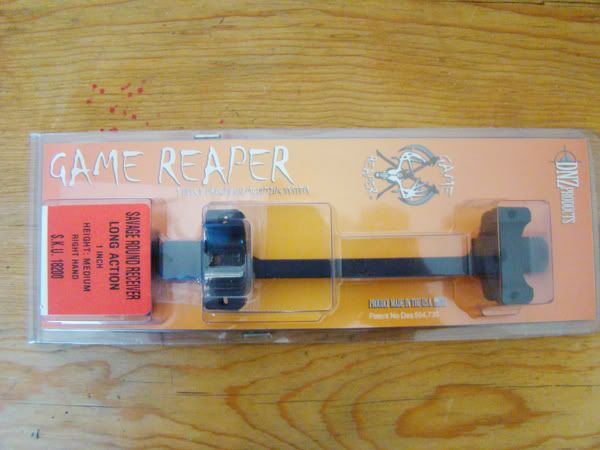
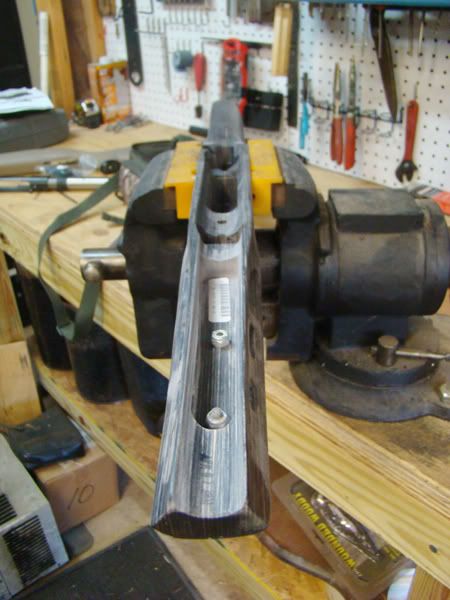
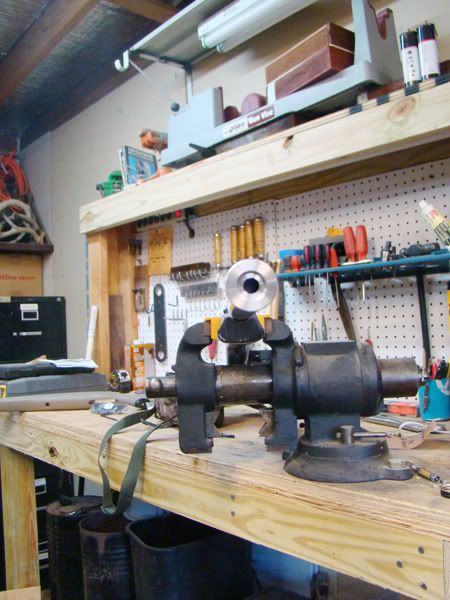
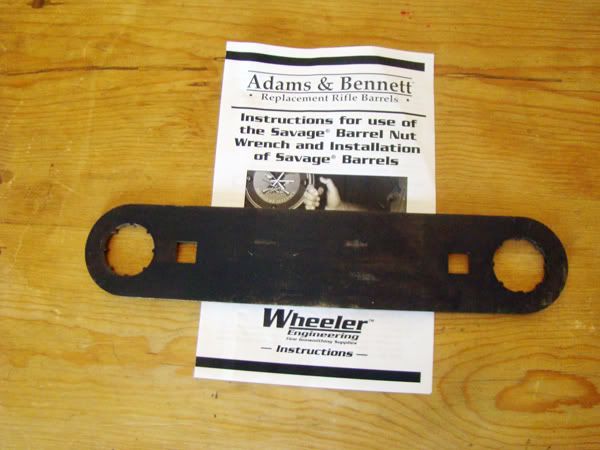
The tools I needed came next:

6.jpg


3.jpg


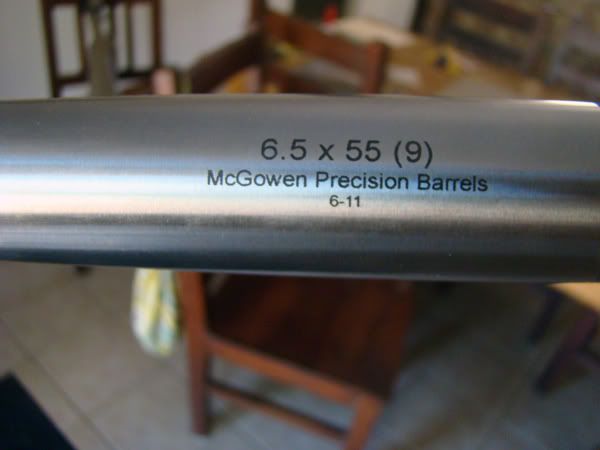
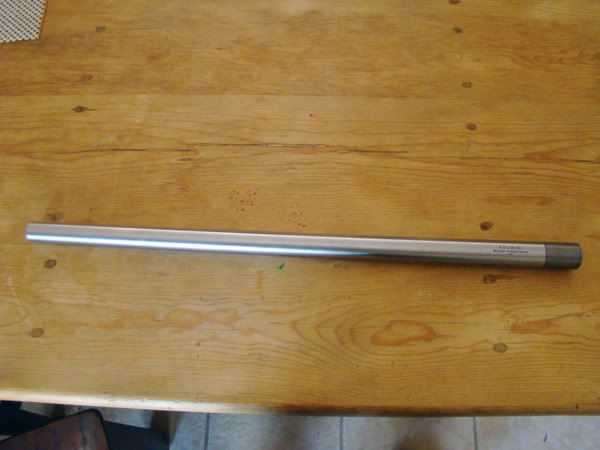
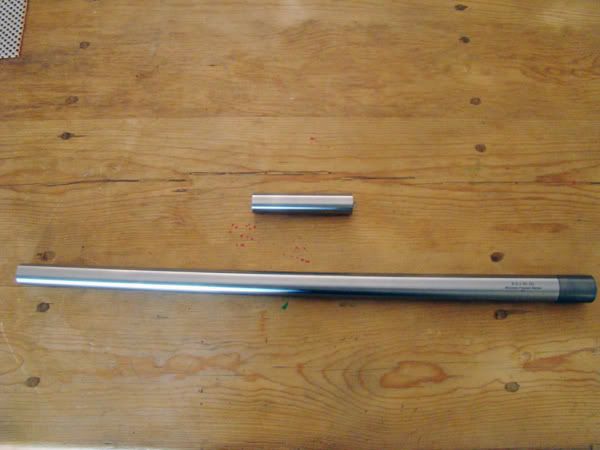
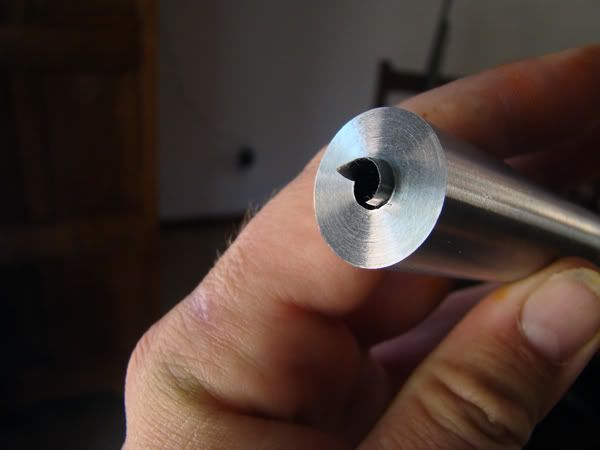
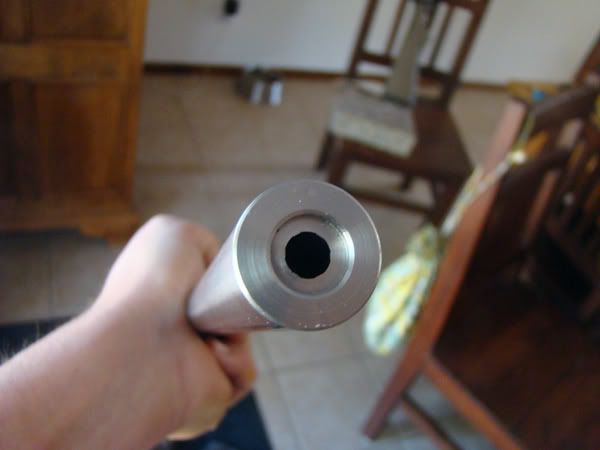
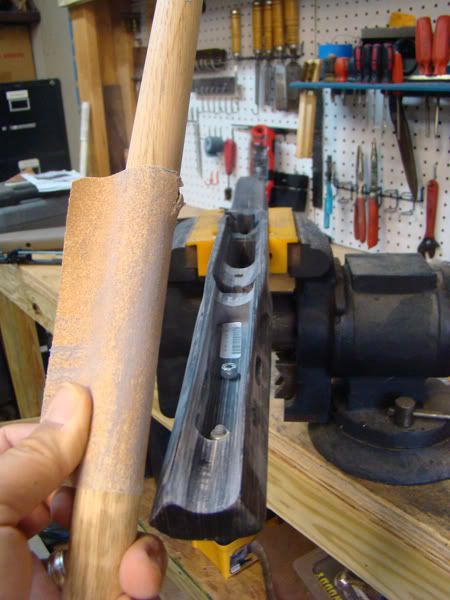
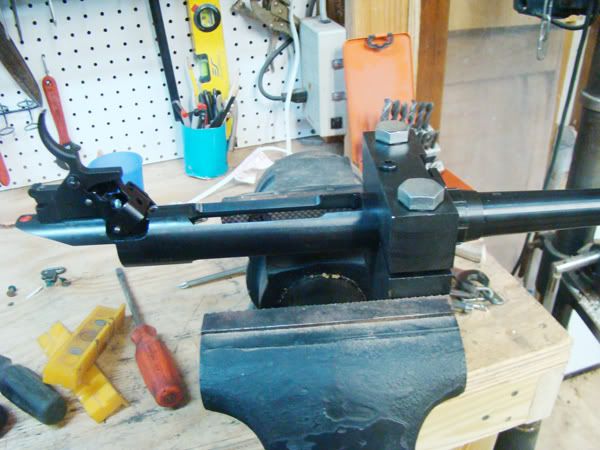
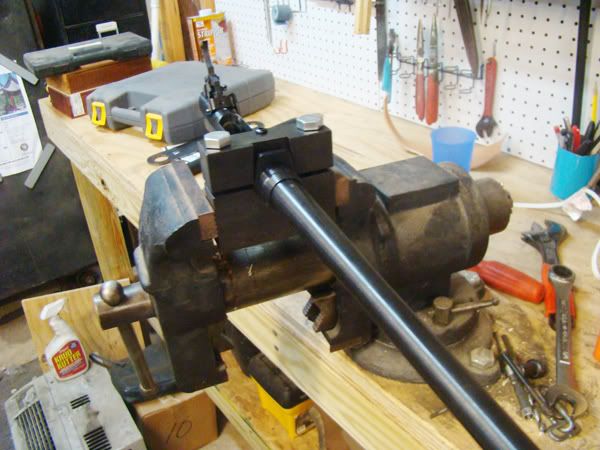
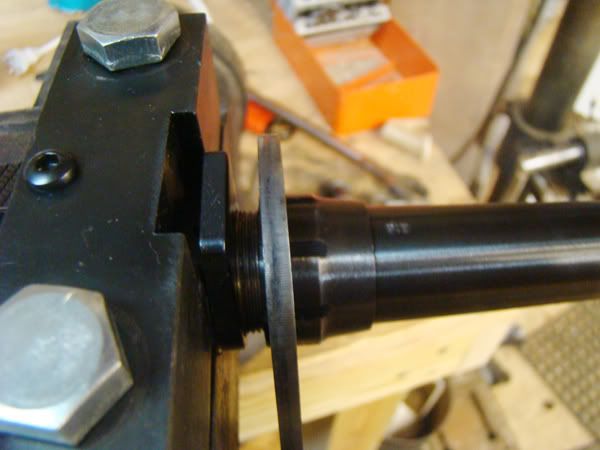
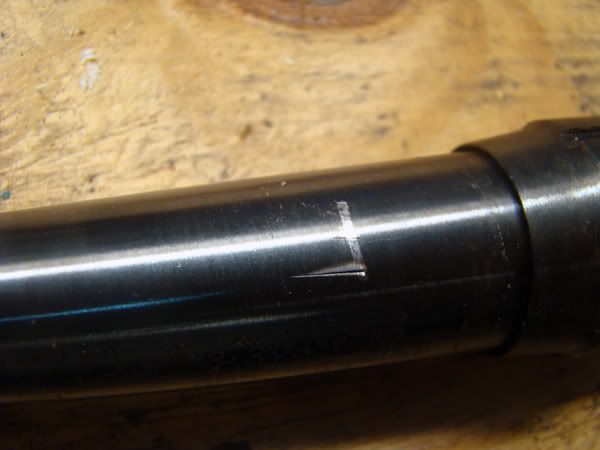
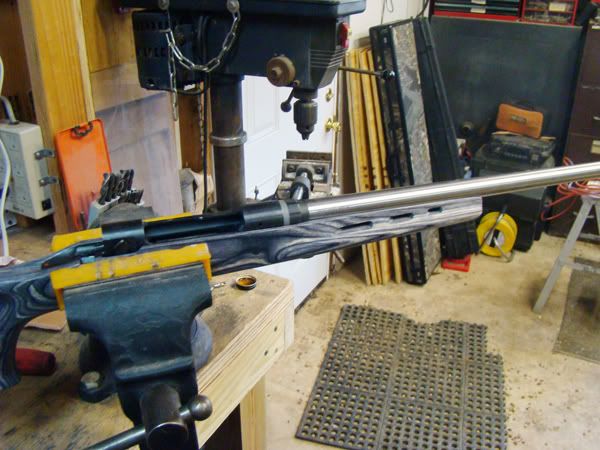
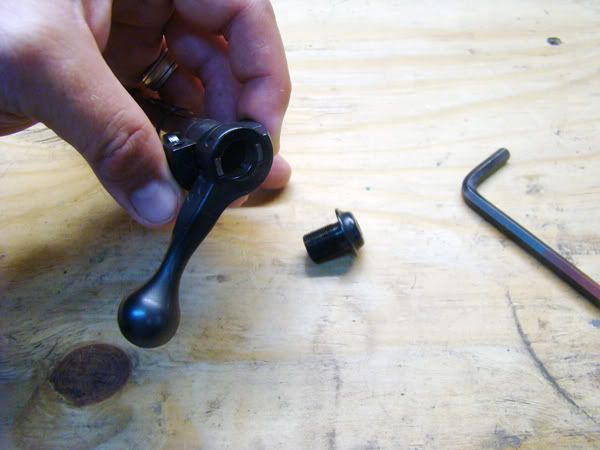
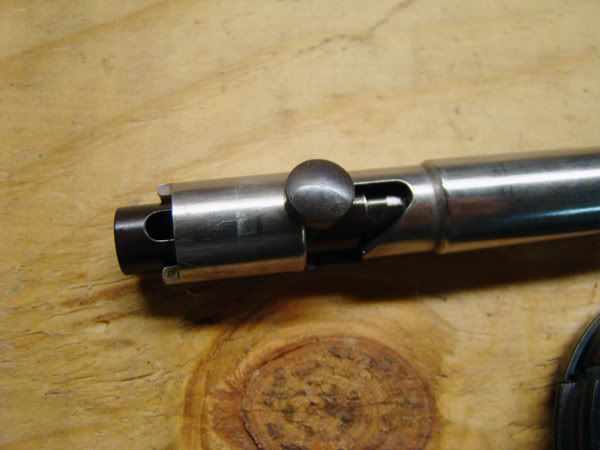
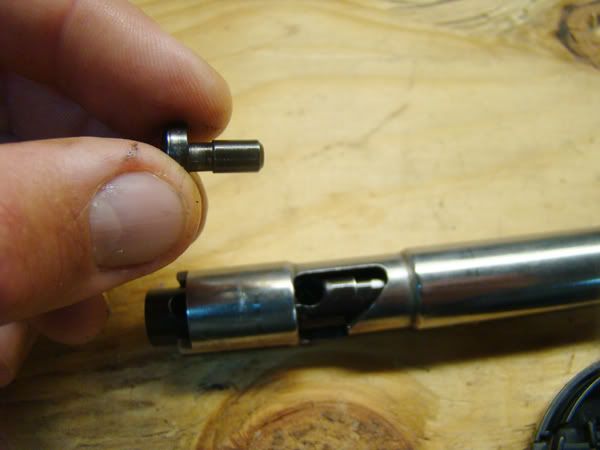
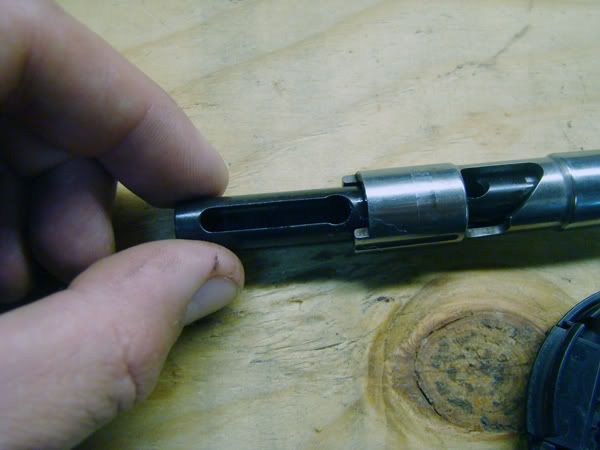
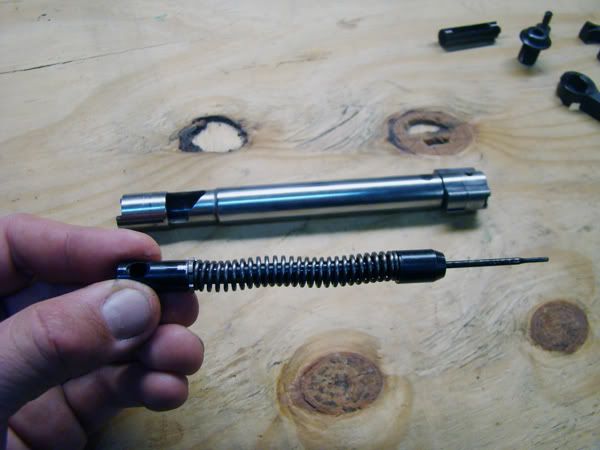
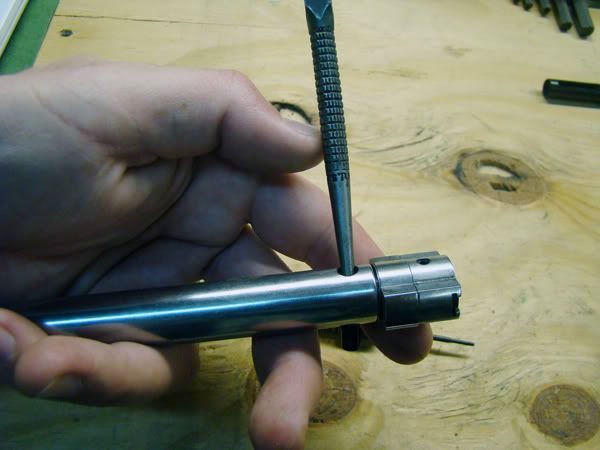
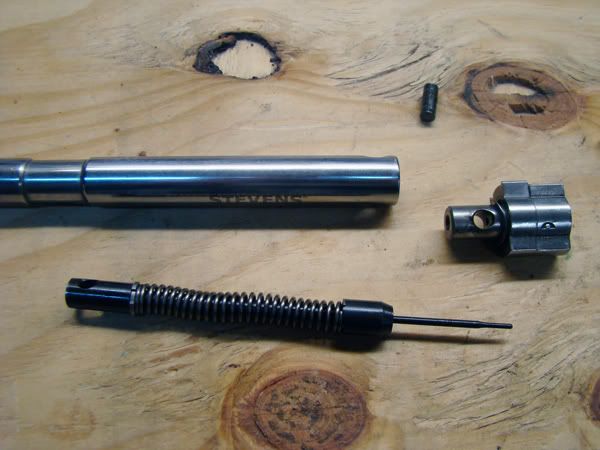
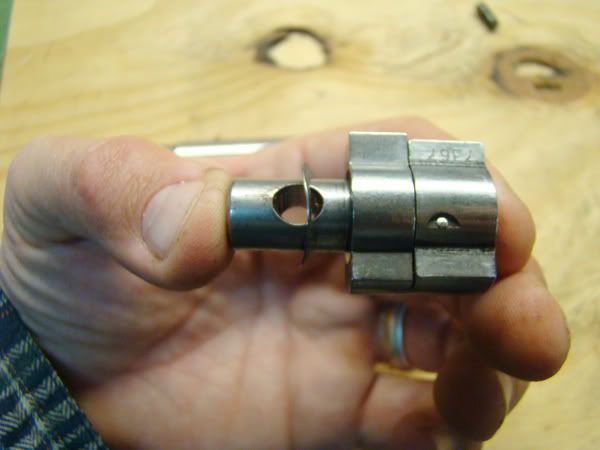
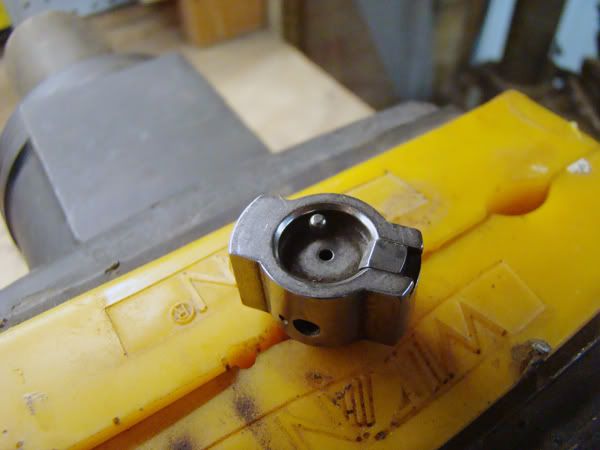
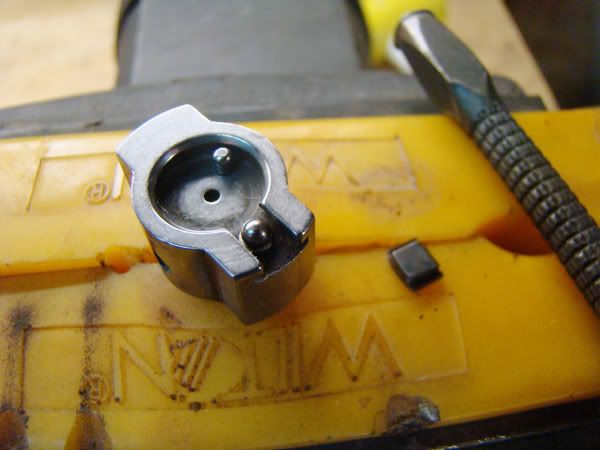
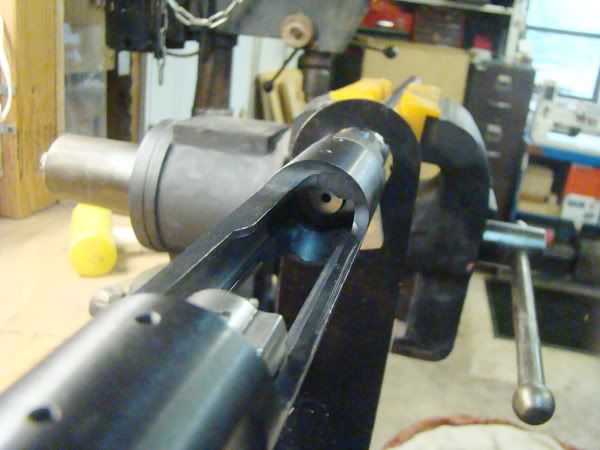
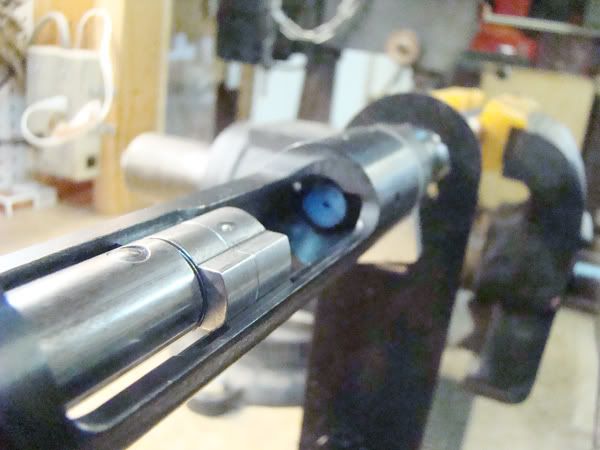
Getting all this stuff took the better part of a year. Once I had all that, I started looking for a barrel for my shooter.

More pics coming......
 
For the barrel, I decided on McGowen 1-9 twist, Savage Varmint Contour #2 from Savagebarrels.com. It came 26"long with a sporting crown. I had it cut to 22" and re-crowned.

10.jpg


11.jpg


12.jpg


Here is the cut off piece, they saved it for me..I guess I could use it as a knuckle duster or papreweight?

13.jpg


New crown..The good guys at Drurys gun shop in San Antonio did a bang up job with a 3 week turnaround on this for a decent price...

14.jpg


While I was waiting on the barrel, I ordered a Boyd's Ross's Featherweight Thumbhole Stock in Pepper laminate. Very happy with the product to say the least.

16.jpg


15.jpg


The barrel channel on the Featherweight is for standard barrels so I had to do a little sanding.. no problem...

s1.jpg


s2.jpg


More pics to come in a bit.......


Last edited:
Now here comes the part that had me all aprehensive and worried... removing that 270 barrel. I had read tons of horror stories about the gorilla that works at Savage that puts on the barrel nut and barrel but I decided to give it a go...

All ready to go on the barrel nut..

dis1.jpg


dis2.jpg


dis3.jpg


One tap on the wrench with a ball peen and Viola!! The nut came loose.. So far so good, now on to getting the barrel off the receiver.
This is where the gorilla comes in. I tried using strap wrenches, leather jaws for the vise, swear words whispered directly onto the barrel and nada....so I had to resort to duct tape and a pipe wrench..

dis4.jpg


Got the sucker off but I put a small divot in the barrel..next time I will use a little more tape

dis6.jpg


dis5.jpg


I screwed the barrel on just to get a glimpse at what we might have in the works...starting to get excited!

s3.jpg


s4.jpg


Bolt disassembly and head spacing next...
 
Last edited:
Next, I took the bolt apart for head spacing. Easy peasy!!

Loosen the BAS, (Big AZZ Screw),.. I used a tutorial on youtube and it is easier than you can believe..

B1.jpg


Take out BAS..


b2.jpg


Rotate and remove cocking indicator..

b3.jpg


b4.jpg


Slide sleeve back and remove..

b6.jpg


Tip back and catch the firing pin assembly as it slides out and you are good to go, (I did a bit of polishing at this step)..

B7.jpg


Remove pin for bolt head...

bh1.jpg


Remove bolt head...

bh2.jpg


Don't loose the spring washer....

bh3.jpg


Next up, extractor removal and headspacing...
 
Lots of people say to do this next step in a plastic bag so you do not loose the detent ball under the extractor. I just made sure I had it covered with my thumb while removing it and it worked out just fine..

bh4.jpg


Cover with thumb, lightly push out with punch and there ya go!!

bh5.jpg


Headspacing was pretty straightforward. Insert Go-Gauge, close bolt, thread barrel down snug, tighten barrel nut, cycle bolt.

hs1.jpg


Put a piece of tape on the end of Go-Gauge and try to cycle, if it don't go you are good.

hs2.jpg


I did this quite a few times to make sure I got it right. Almost too simple.

Reassemble your bolt face/ extractor and bolt. You need to watch what you are doing because you can assemble it backwards and have your extractor on the wrong side of the bolt,(ask me how I know
crazy.gif
).

Tighten everything down to spec and let's see if it explodes when we pull the trigger!!!!
 
Done!!

fin1.jpg


fin2.jpg


I was only able to put 5 rounds down the pipe but it looks promising!! No recoil to speak of and I love the way it feels. All in all I am pretty proud of myself for taking this project on and getting it done. The only things I'd still like to do are bed it and put in a Basix trigger.

Here is the Trashcan and his new shooter..

fin3.jpg


Here are the first 5 shots down the pipe. 88 yds. Last two were right on top of each other. Very excited to see how it shoots once it is broken in.

tar1.jpg


tar2.jpg


Thanks for sticking with the thread guys and gals, Have a Happy New Year and Good Hunting to everybody on PM!!!!!

Trashcan
Death Card Calls
 
VERY NICE! Savage rifles are awesome! Love the 6.5x55 as well it is a great big game cartridge that is easy to shoot with low recoil. I love a good Remington 700 but there is something to be said for a rifle that you can build in the garage... Great Job!
 
Man, that is awesome! It's a satisfying task to build a complete rifle.
thumbup1.gif


Thanks for sharing the step by step picture tutorial with us as well. This will definitely help someone out in the future or at least give someone the confidence.
 
Originally Posted By: N8WillTrashcan, If you don't mind me asking, What was your total cost on the build?

Minus the tools (because I will rent them to my brother and recoup my money,and use them on multiple projects) I added it up to about $800.00-$875.00.

The barrel was the most expensive part at $230.00 and $125.00 for the cut and recessed crown.

I had planned on buying an E.R Shaw at half he price and doing the cutting/crowning myself but ended up with the McGowan and didn't want to fugazi it all up. Going the E.R. Shaw home cut/crown way I could have saved about $225.00 off the final cost.

The best thing was that the cost of this rifle was spread out over a period of almost two years. I was able to parlay birthday/fathers day/Christmas into gift certificates and also using coupon codes for Midway and Brownells for the tools, mounts, trigger guard, recoil lug, barrel nut and go gauge saved me a bit of bread too.

It took a lot of patience but I couldn't be happier with the way it has turned out and I am already planning a Stevens 200 in 308 with a threaded 16.5" barrel.

Trashcan
DCC
 
Back
Top